

What is a checklist?
A checklist is a persistent task list that lives in the corner of your app: a launcher button that expands into a panel of tasks, each with a progress bar ticking toward done. Unlike a flow — which walks a user through one thing right now — a checklist is an anchor across sessions: it stays until the work is done, tracks progress automatically, and gives users a place to come back to. Use a checklist when activation takes several distinct actions (set up a project, invite a teammate, install the SDK…), especially when users complete them across multiple visits.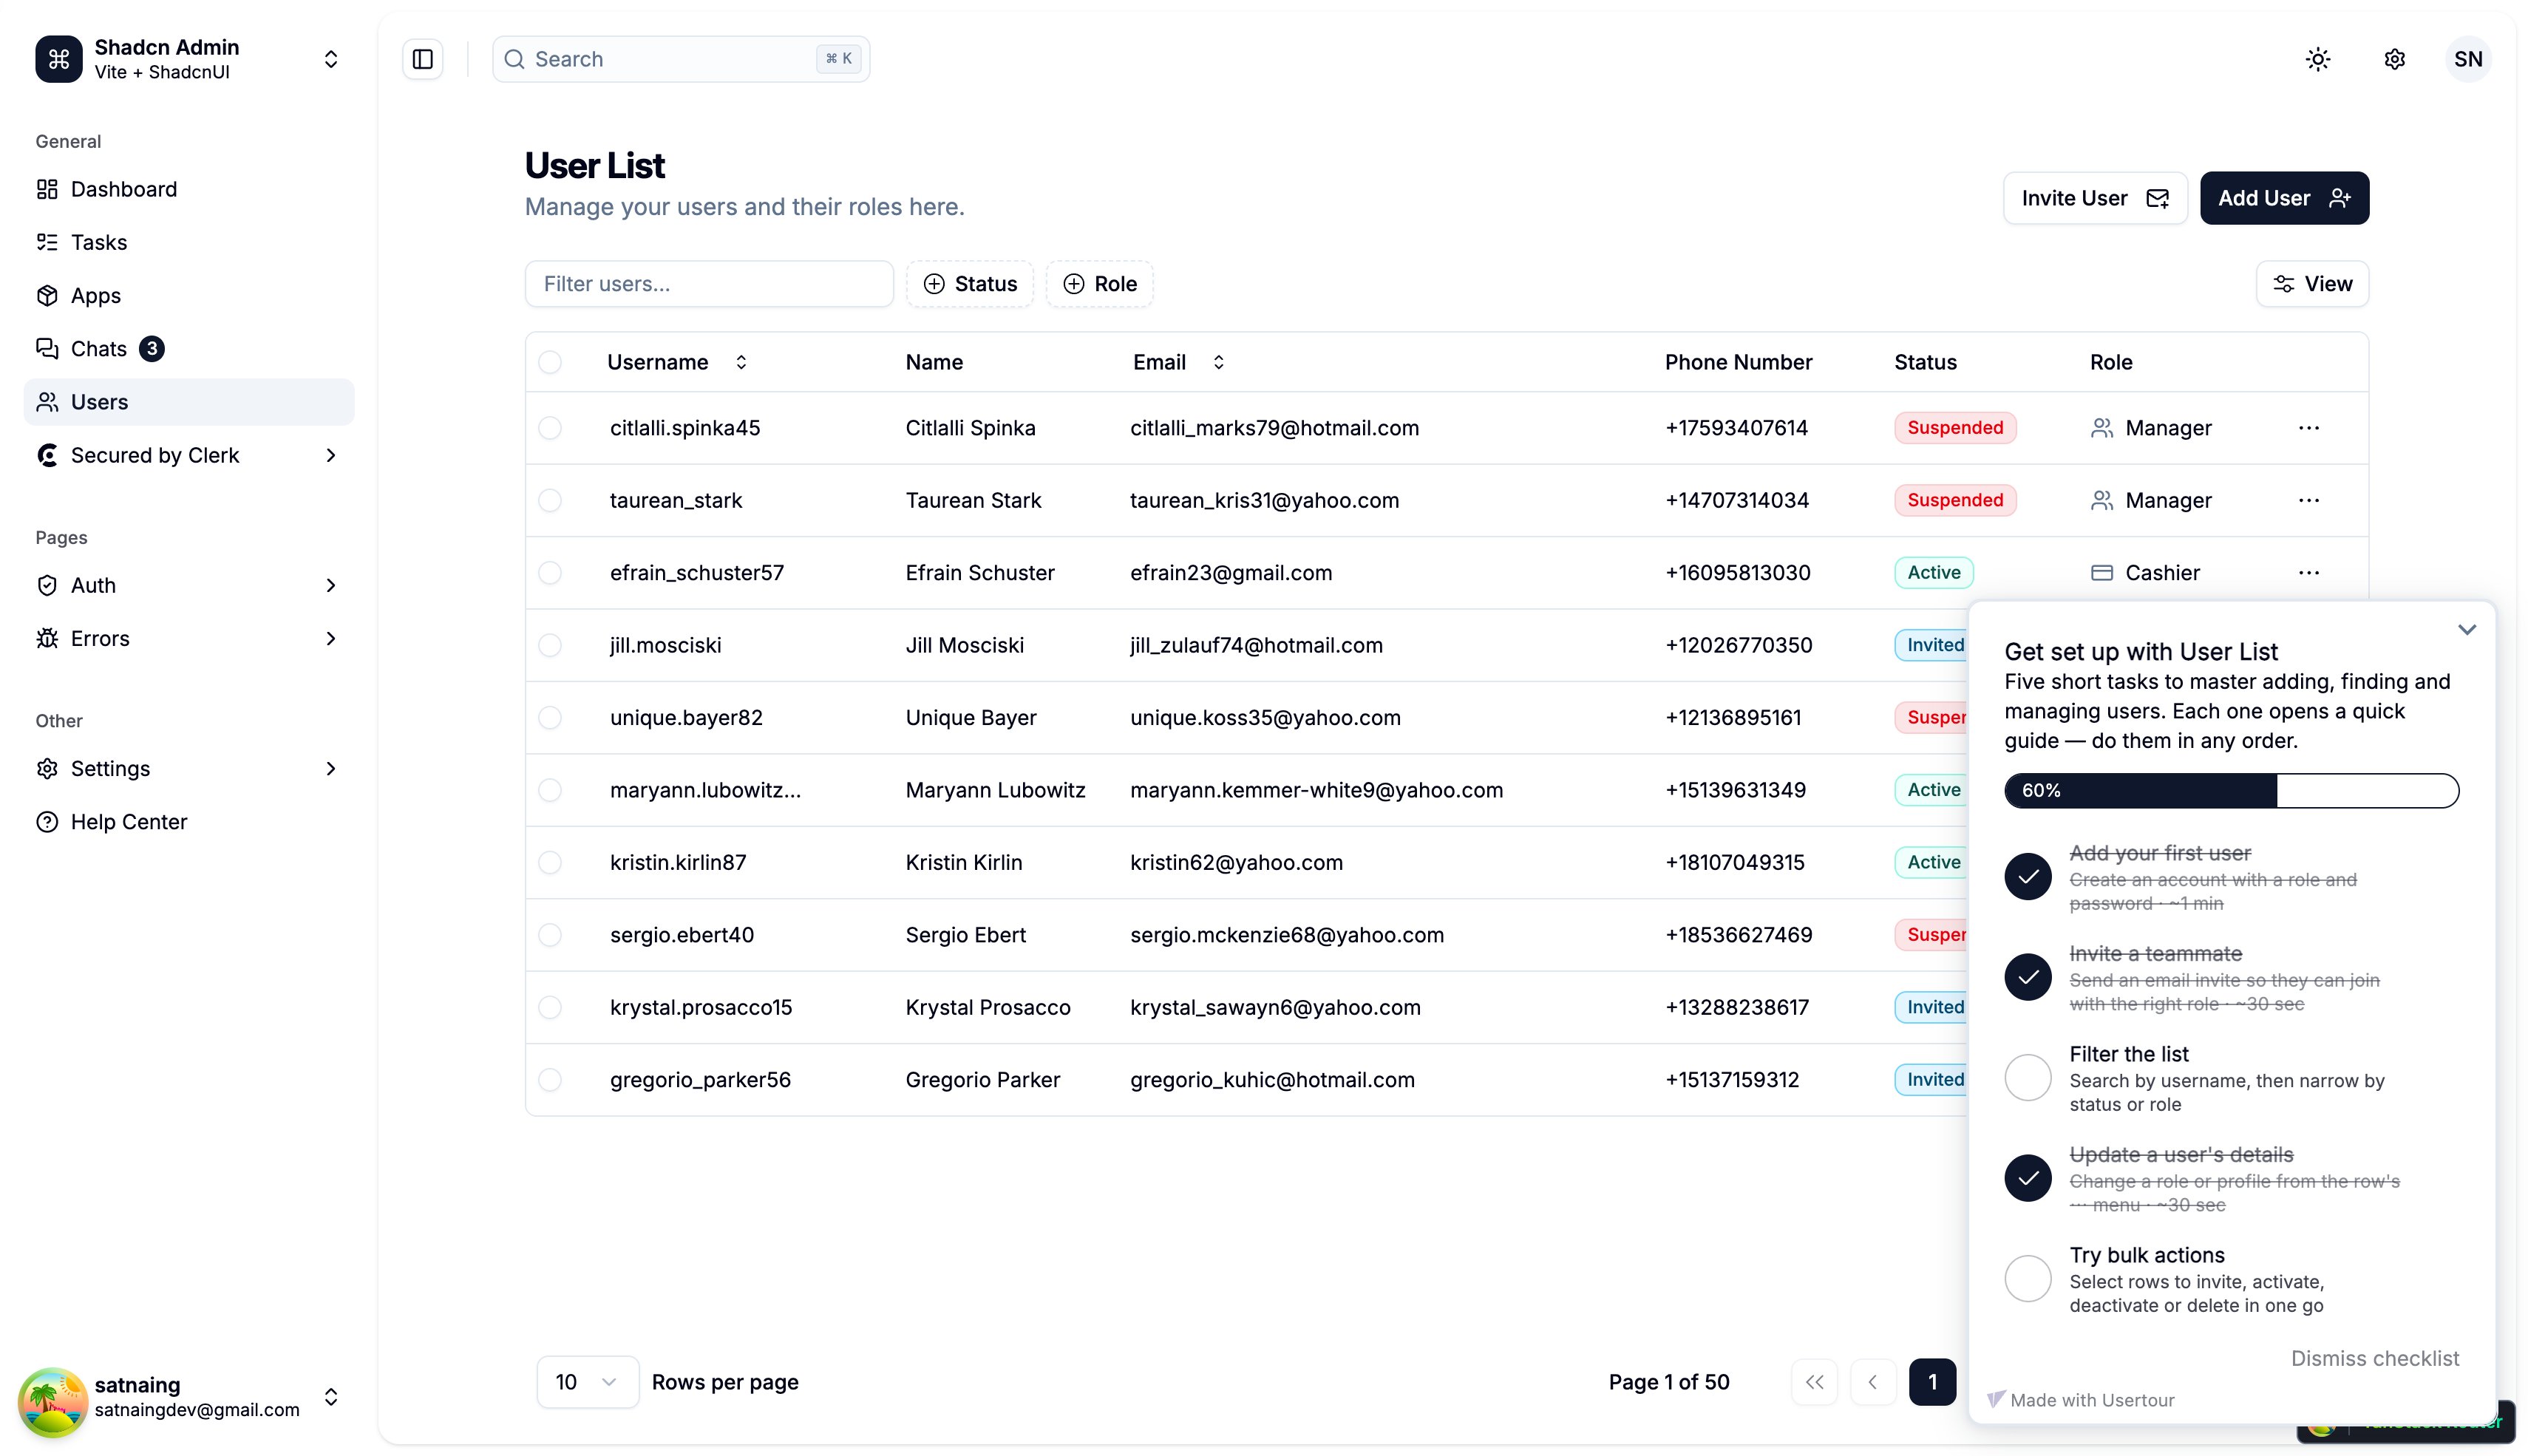
Creating a checklist
- Head over to Usertour and sign in
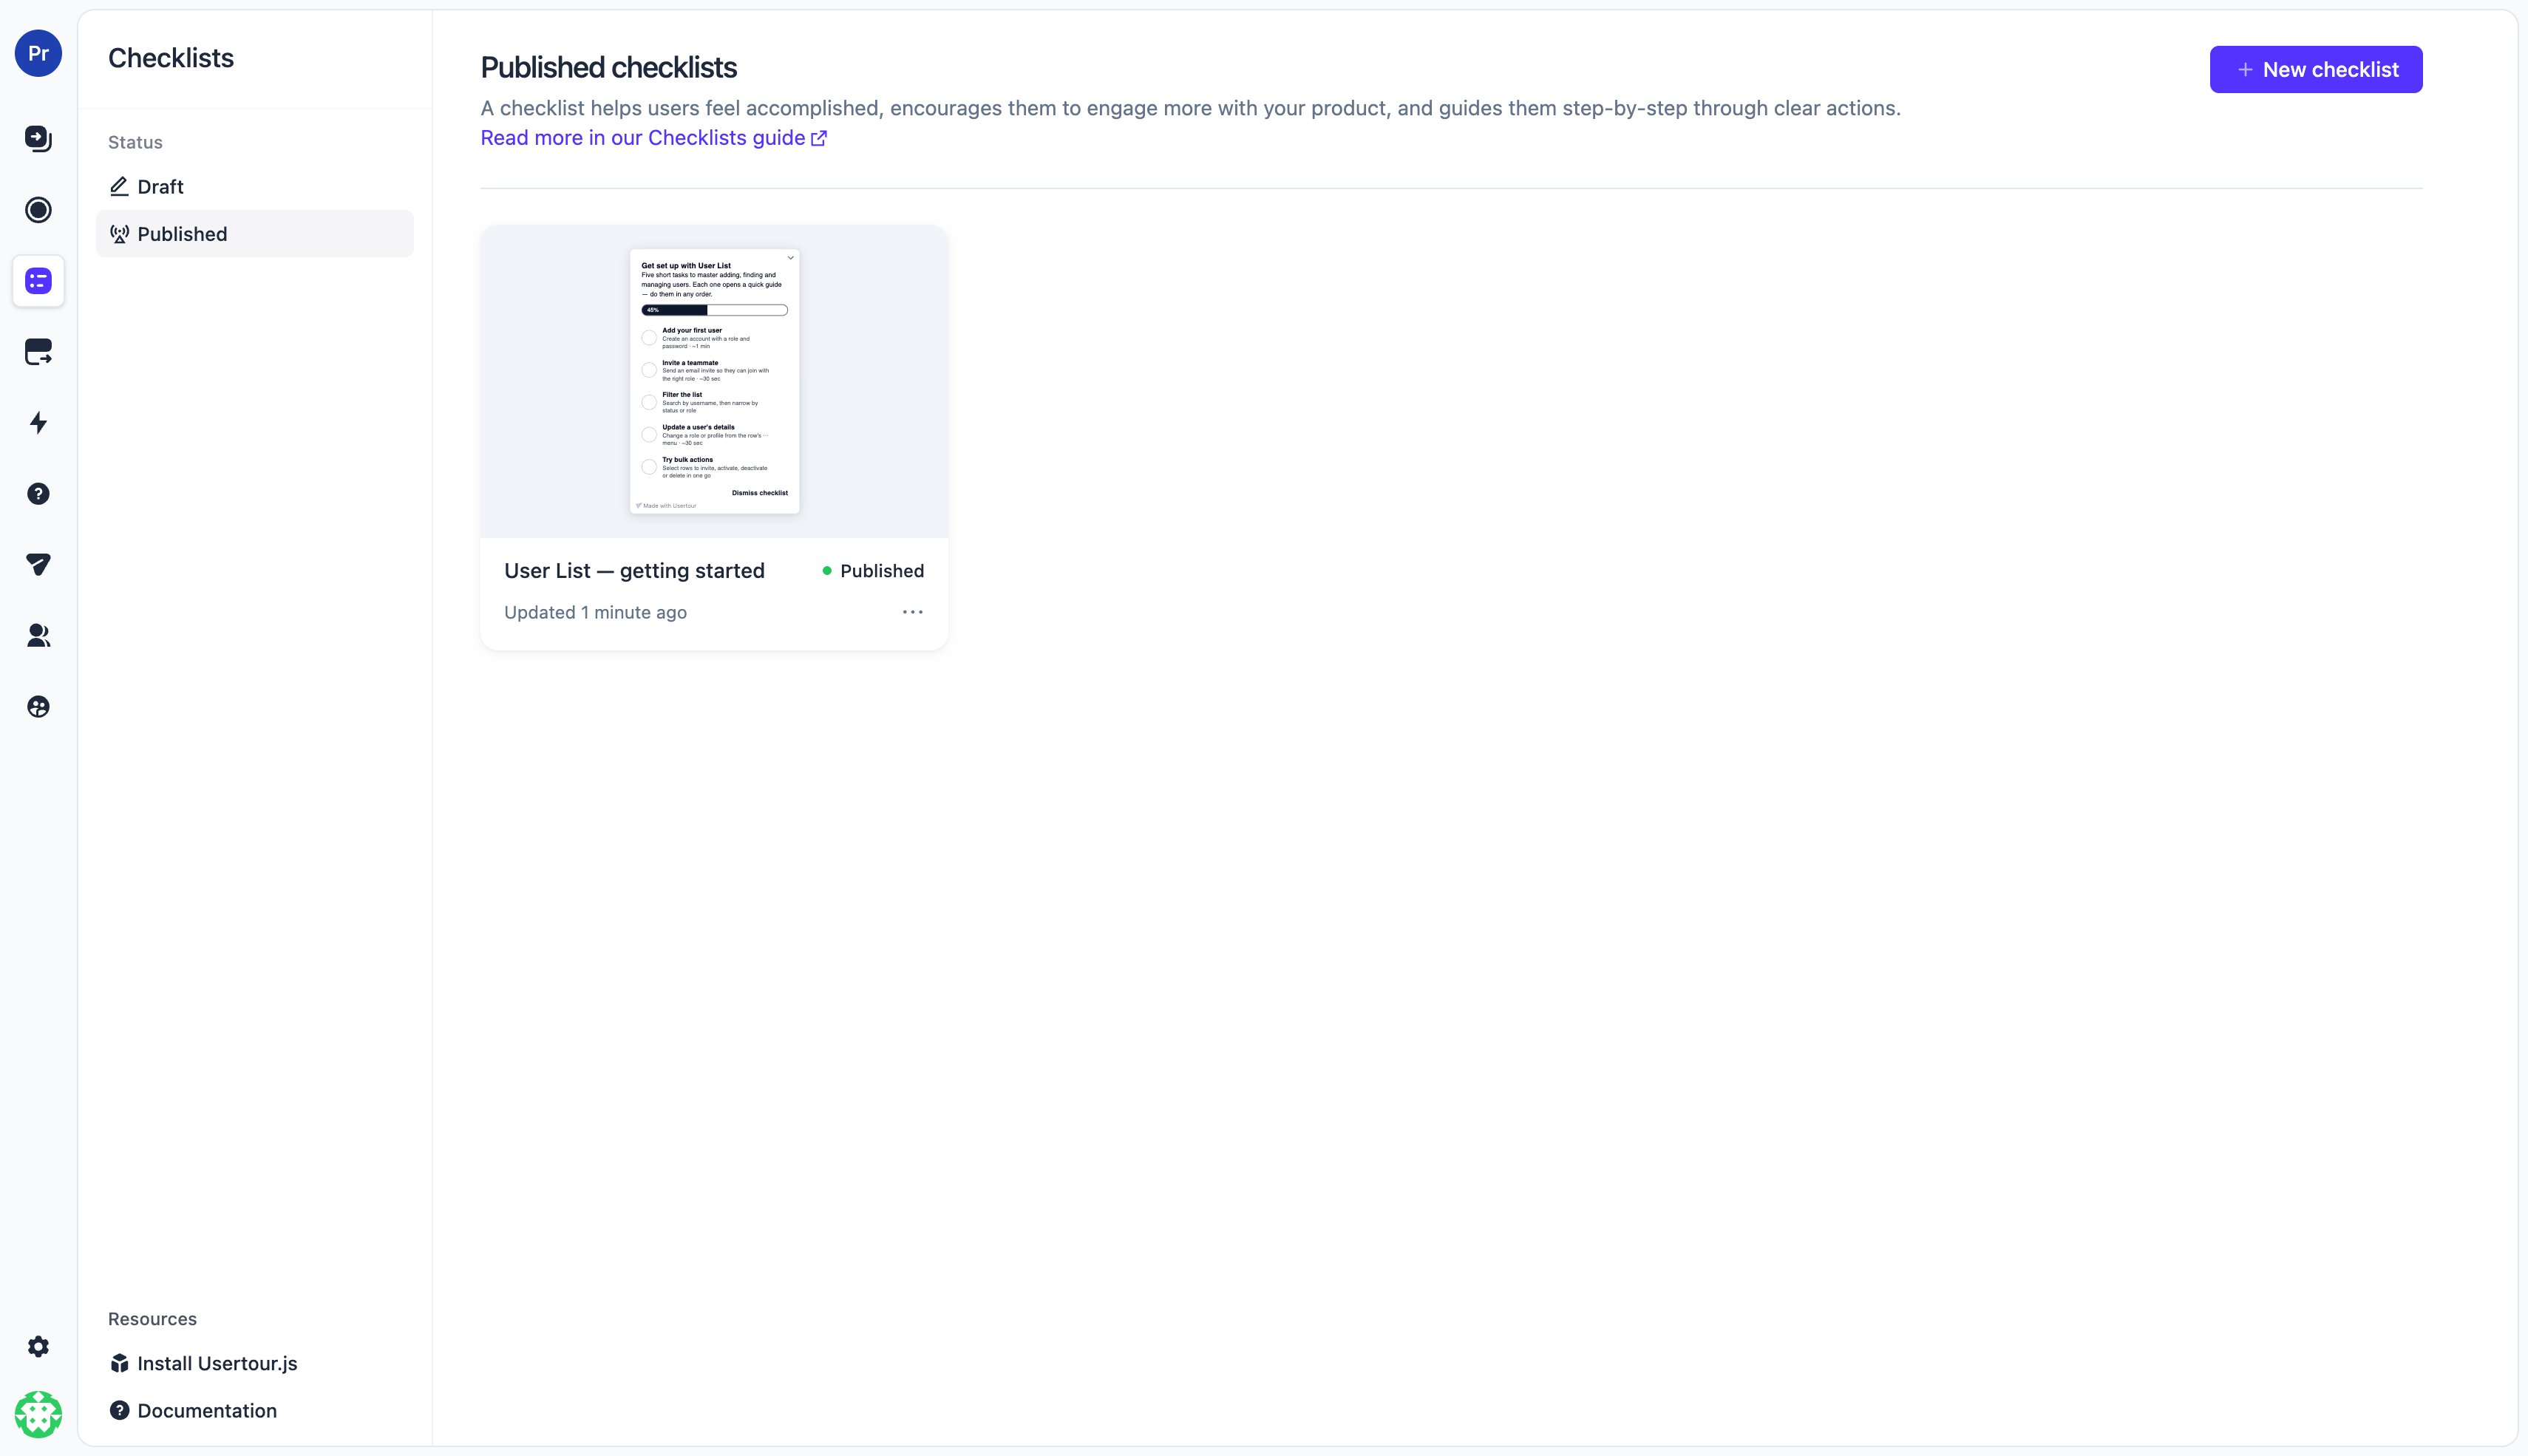
- Click Checklists in the sidebar and create a new checklist
- Add tasks and configure their actions and completion conditions (see below)
- Set auto-start conditions on the detail page
- Publish
Make sure Usertour.js is installed in your app. Without it the checklist will not show up for your users.
Checklist settings
These live on the checklist itself and shape how the whole list behaves:
The panel also carries an intro text block above the tasks — use it for a one-line promise (“Five minutes to your first published flow”), not a paragraph.
Tasks
Each task has a name, an optional description, and three independent pieces of behavior:Click actions
What happens when the user clicks the task row — any combination of four actions:- Start a flow — the most common pattern: click → the flow that teaches this task
- Navigate to a page — send the user to the screen where the task happens
- Evaluate JavaScript — run custom code in your app
- Dismiss checklist — for an explicit “close this list” task
Completion conditions
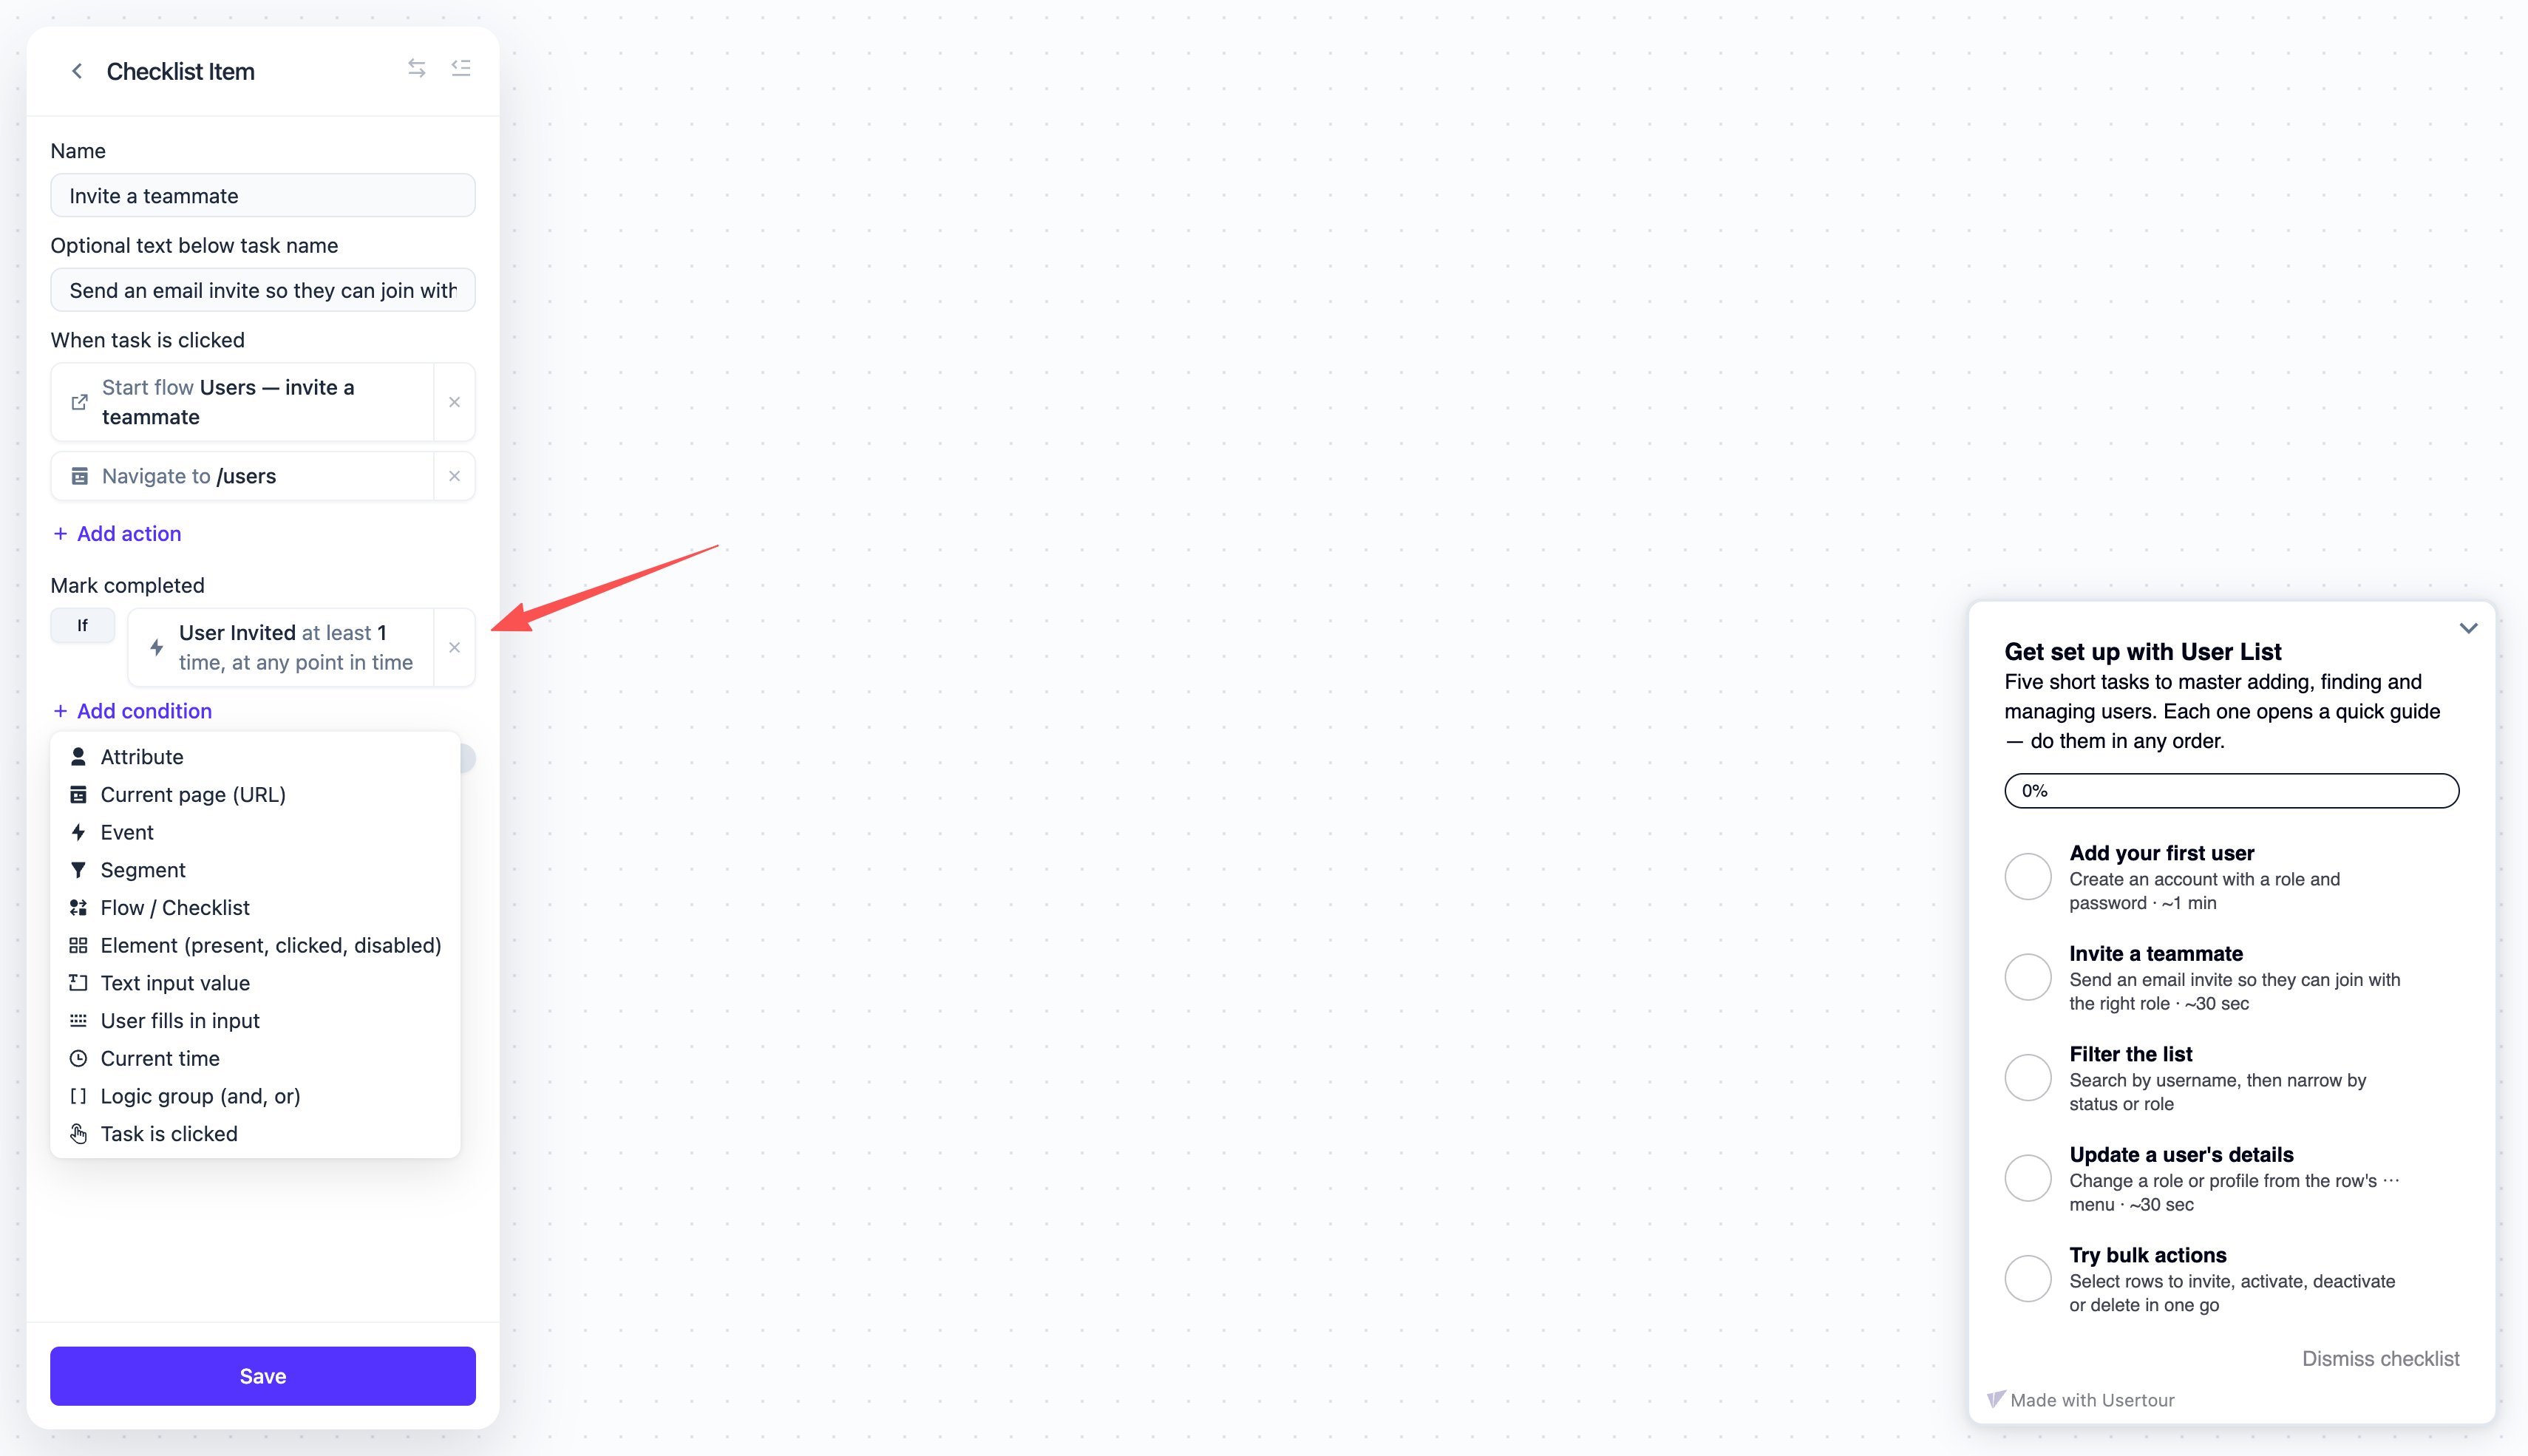
What marks the task as done. Three patterns, from weakest to strongest:- Completed when clicked — the task ticks as soon as the user clicks it. Fine for “read this” tasks; weak for anything you actually want done.
- Completed when its flow completes — pair with a click action that starts the flow. The task only ticks when the user finishes the guided walkthrough.
- Completed by real behavior — condition on an event or attribute (“created their first project”, “invited a teammate”). The task ticks even if the user did the thing on their own, without touching the checklist.
Per-task visibility
Each task can carry its own visibility condition (the same condition toolbox as completion), so different users see different lists: hide the “Invite your team” task for solo plans, show an admin-only task to admins. Hidden tasks don’t count toward progress.Wiring tasks to flows
The pattern that makes checklists work as an activation engine:- Build a flow that teaches one task (e.g. “Create your first project”)
- In the checklist task, set the click action to start that flow
- Set the task’s completion condition to “flow completed”
User experience
- First appearance follows your initial-display setting; after that, the expanded/collapsed state follows the user’s own choice.
- Minimized, the launcher button shows the remaining-task count; the panel shows a live progress bar.
- Dismissing asks for confirmation. With prevent dismissal on, the dismiss action is hidden entirely — except after completion when auto-dismiss takes over.
- One checklist at a time: if several published checklists match a user, only one shows — order them with the priority setting on the detail page.
Customization
Style checklists through the theme editor: Settings → Themes → the Checklist section — launcher shape and color, panel width, progress bar, fonts and corner radius. Changes apply to every checklist using that theme. See customizing themes for the full guide.Measuring
The analytics tab answers the questions that matter for a checklist:- Opens — unique users who opened the panel, and total opens
- Per-task completion — for every task: how many users completed it, and the completion rate. This is where you find the task everyone skips.
- Session details include a per-item snapshot (shown / clicked / completed) for each user’s run, so support can see exactly where one user stands.
Best practices
- Three to six tasks. Below three, use a flow; above six, completion rates collapse. Split a long list into a “getting started” checklist and a later “go further” one.
- Order tasks by increasing effort — first task doable in under a minute. Early momentum is what carries users to the harder ones.
- Prefer behavior-based completion. “Completed when clicked” measures curiosity; an event condition measures activation. The per-task analytics are only as honest as the conditions behind them.
- Use In order sparingly. Locking tasks reads as friction unless the dependency is real (you genuinely can’t invite teammates before creating a workspace).
- Turn on auto-dismiss. The countdown-and-gone moment is the closest thing to a celebration the checklist has; a completed list that lingers forever just becomes clutter.
- Think twice before prevent dismissal. A list users can’t close is a list users learn to ignore. Prefer making the tasks worth finishing.