What is a banner?
Banners are like the friendly helper notes in your app. They let you talk directly to your users about things that matter — whether it’s a big new feature you just shipped, a quick heads-up about maintenance, or an exciting limited-time offer. You can use banners to:- Announce updates and new features — Let users know what’s new and cool
- Notify system events — Give them a heads-up about any planned downtime
- Promote special events — Highlight those limited-time deals or important announcements they shouldn’t miss
Creating a banner
Getting started
- Click Banners in the left sidebar
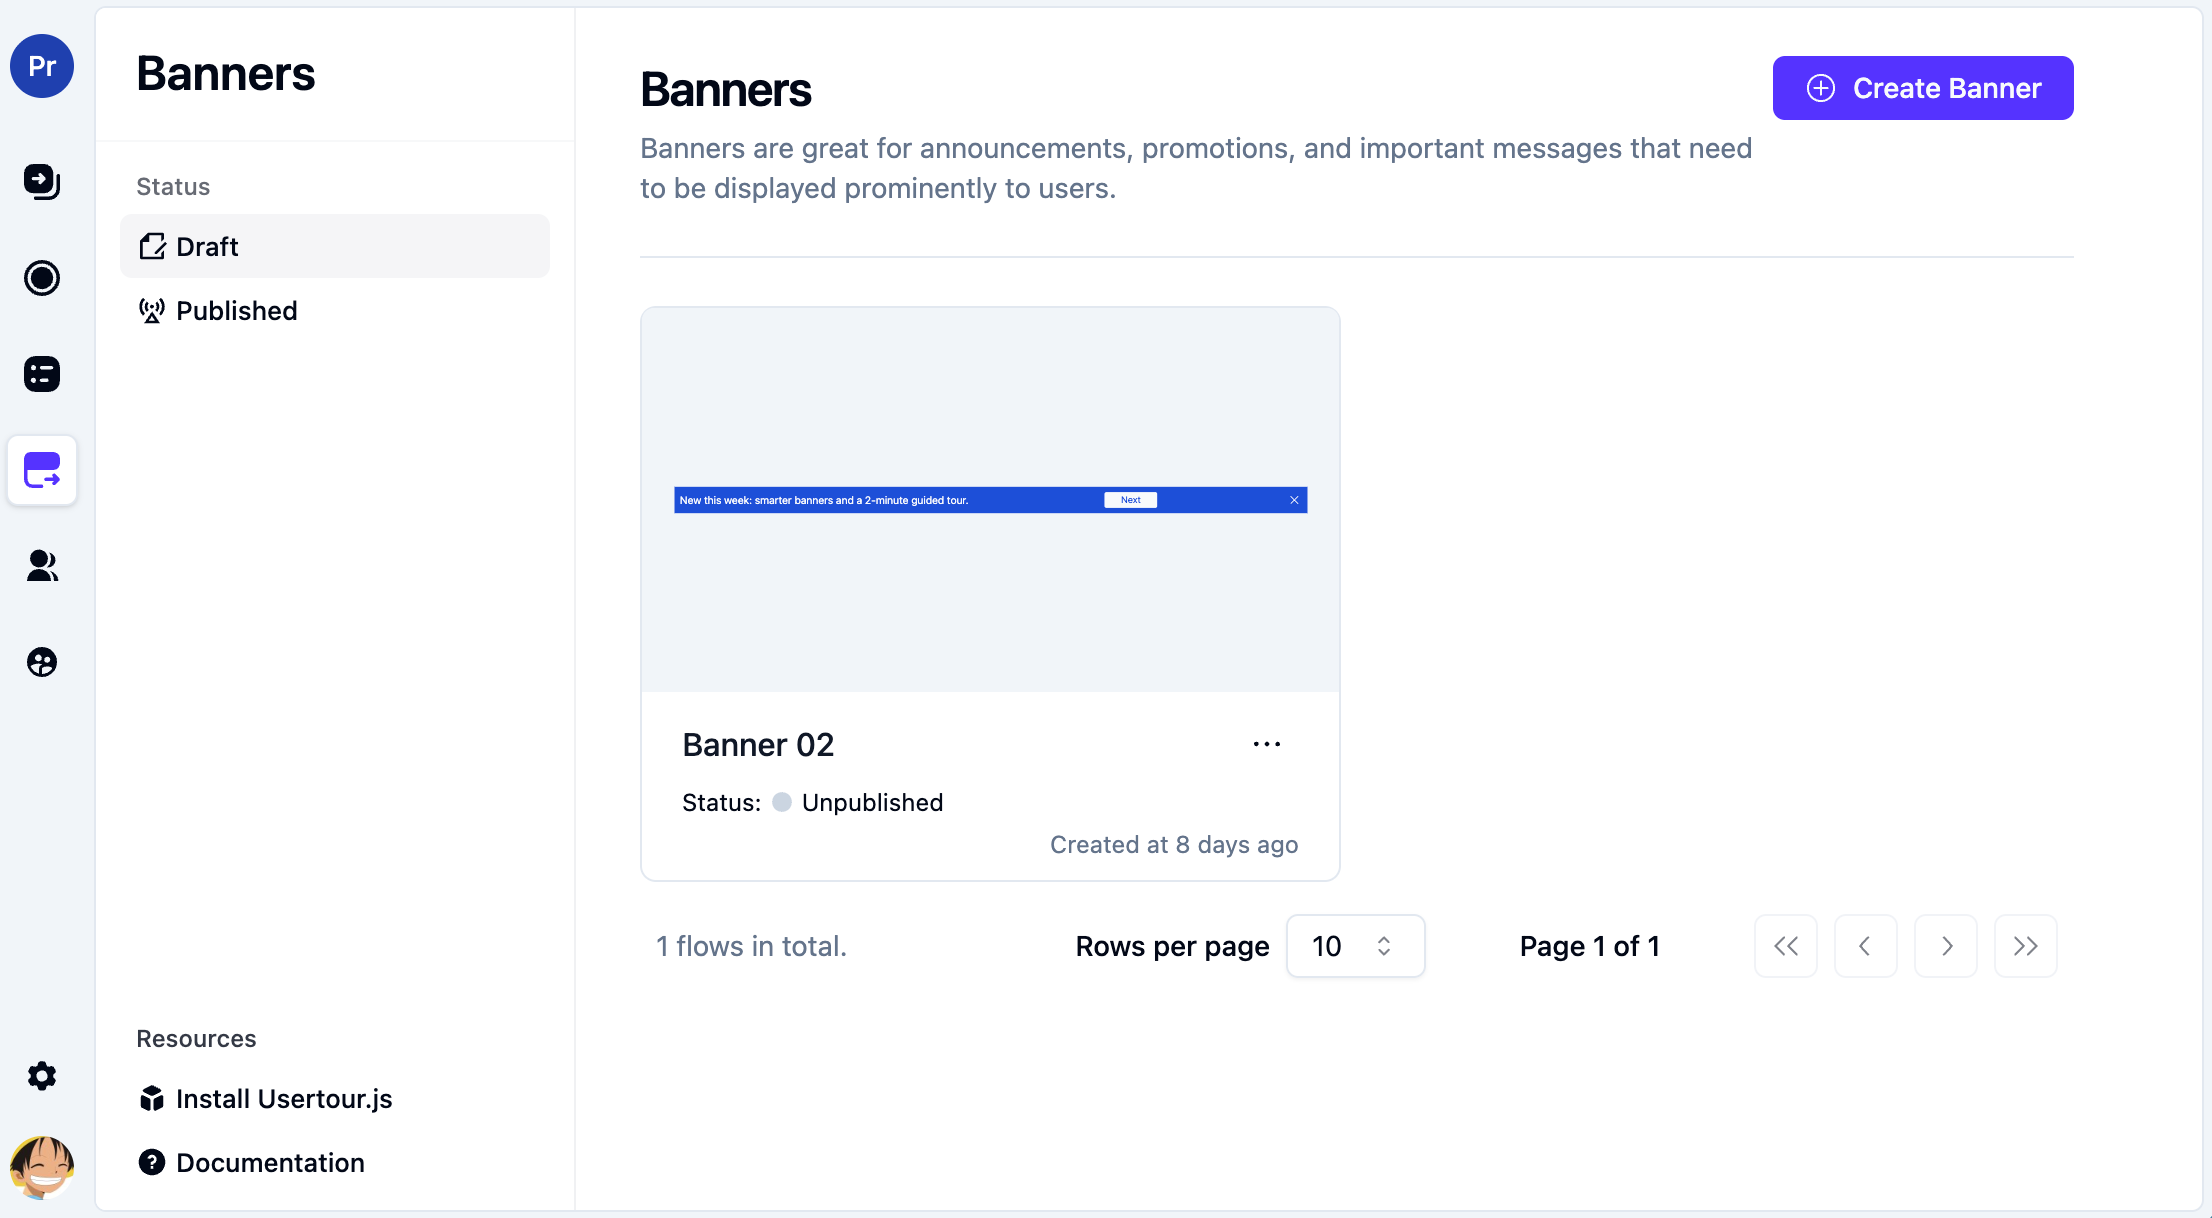
- Click Create banner

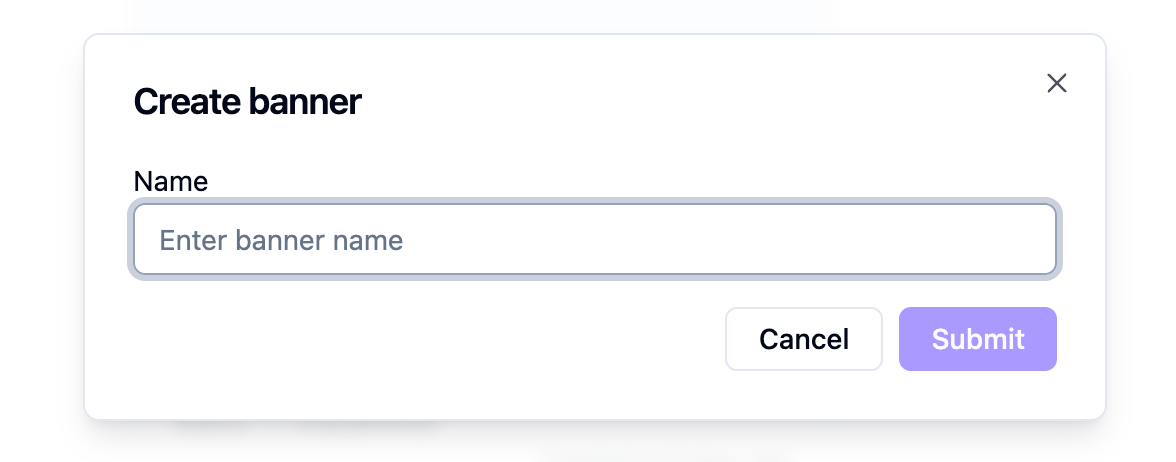
- Enter a name for your banner and click Submit
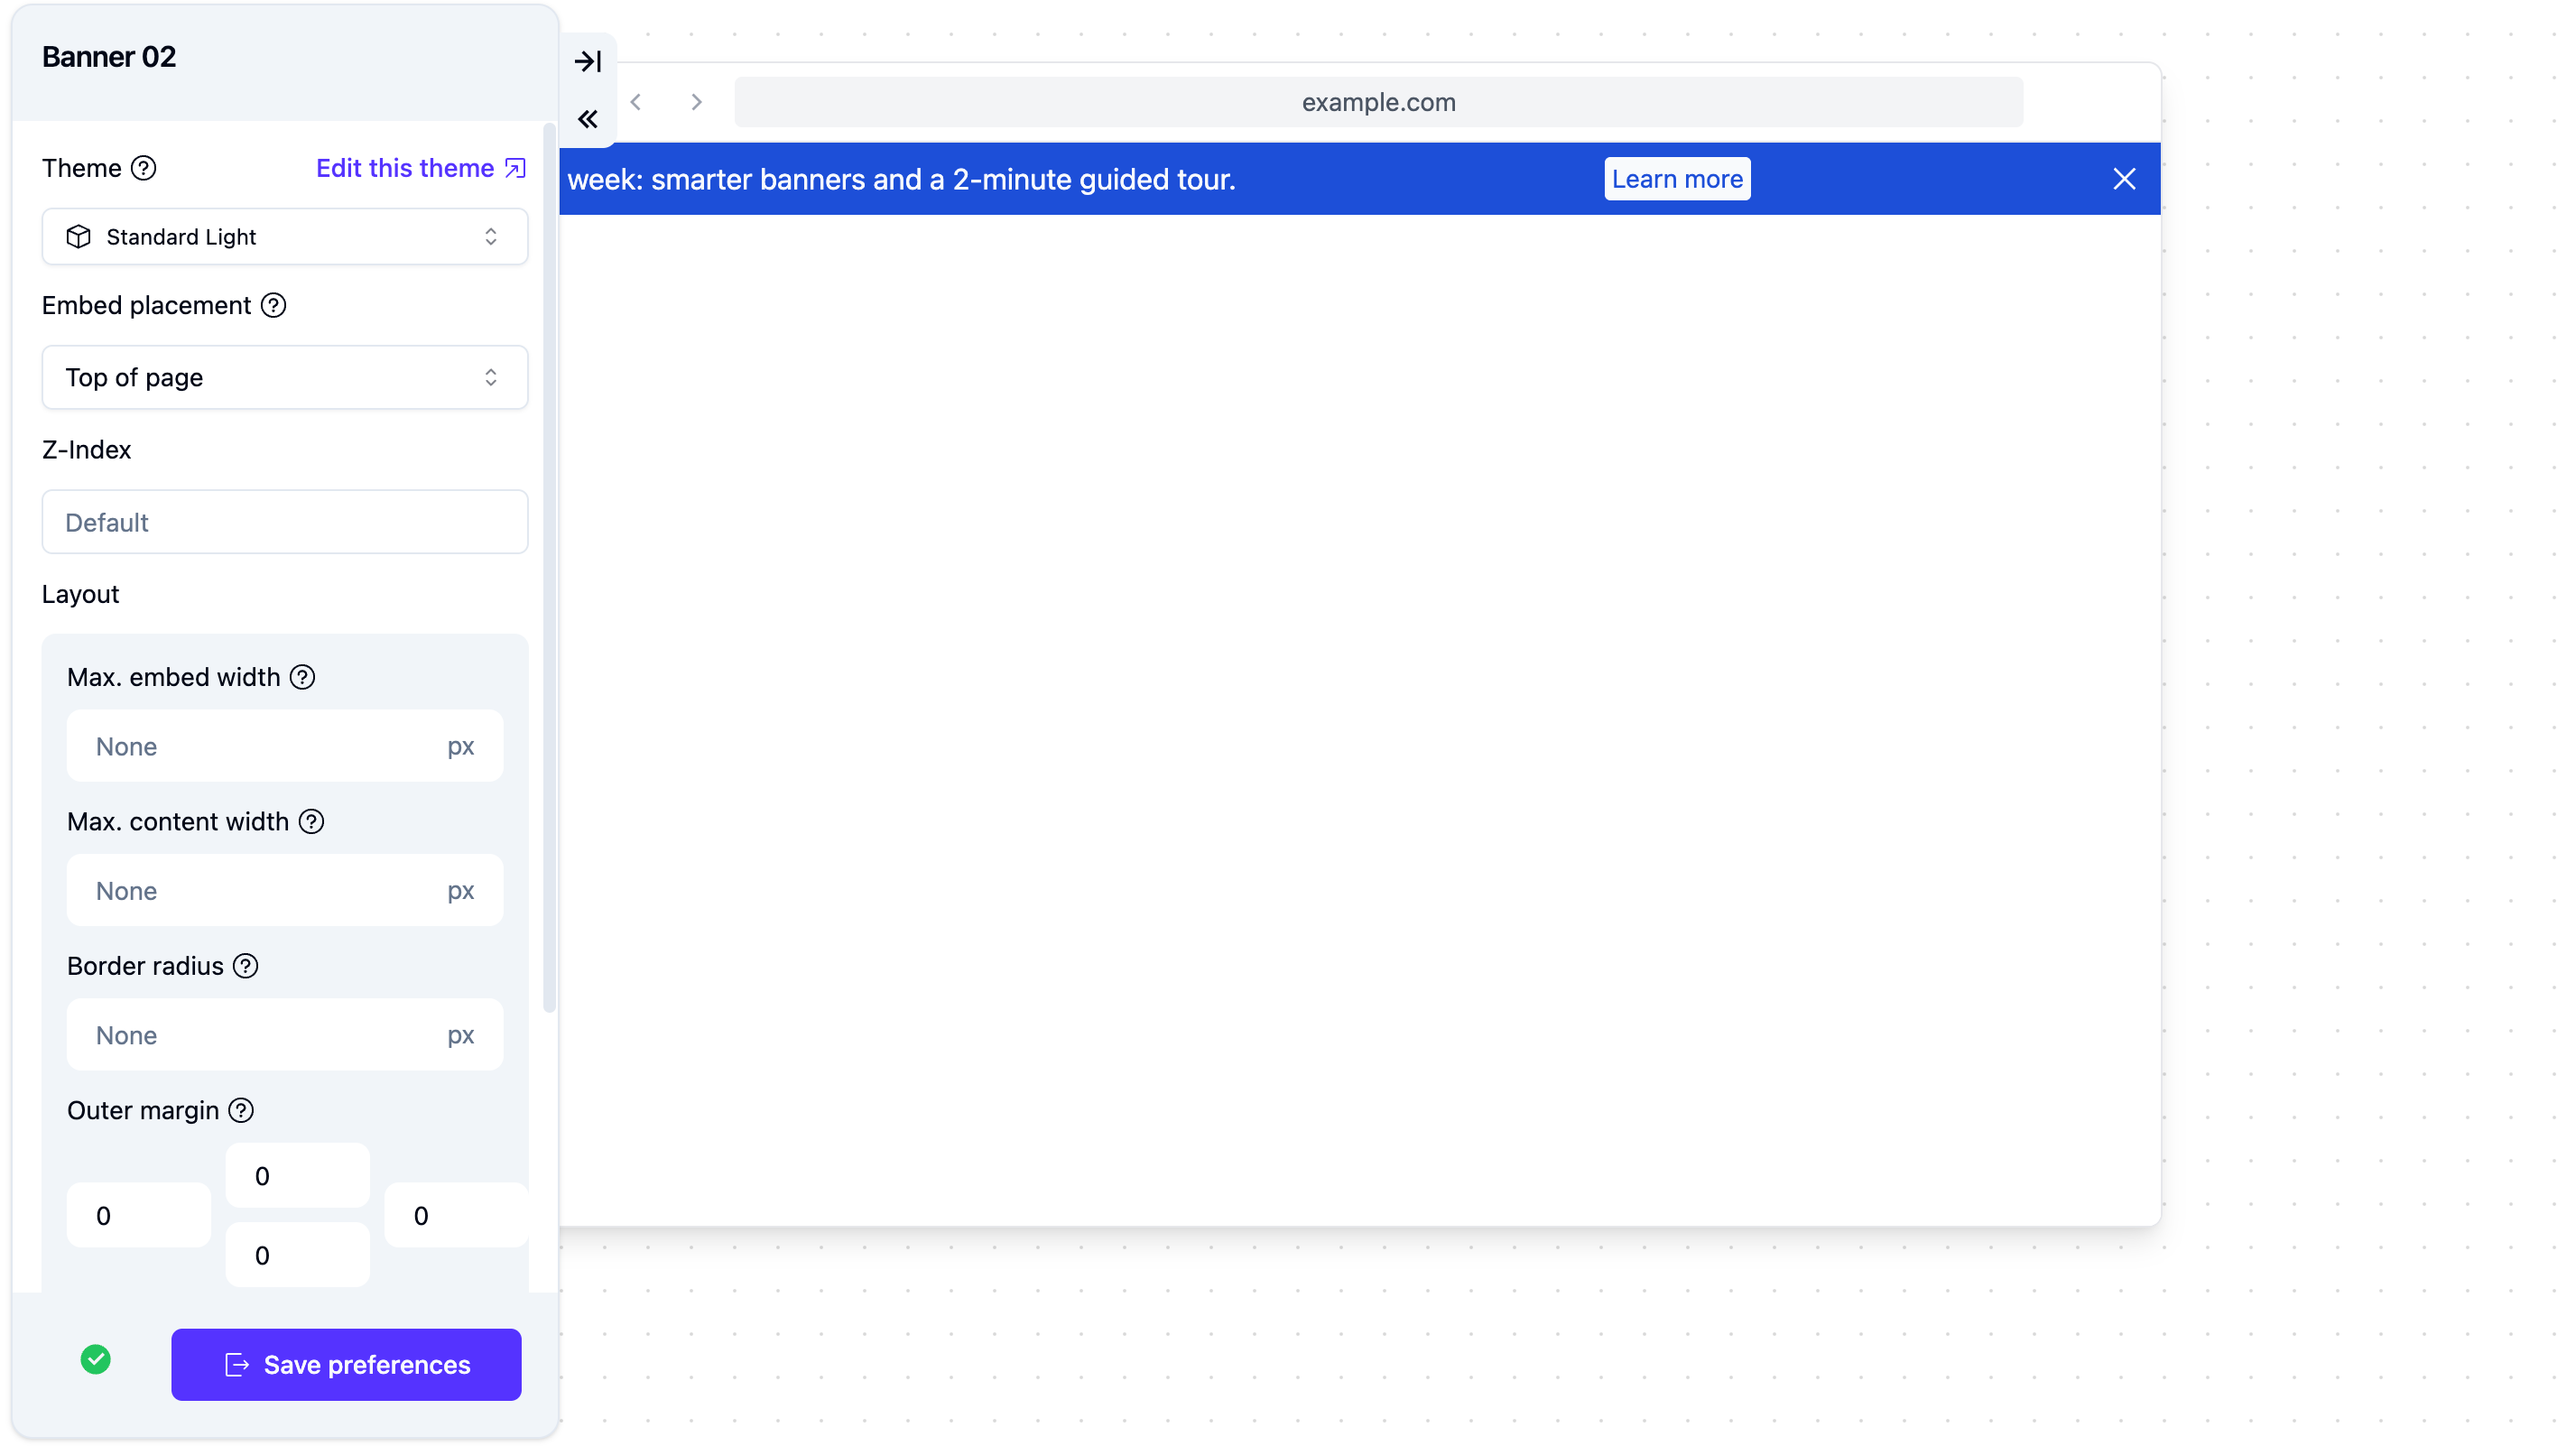
- The editor opens with the canvas on the right and settings panel on the left
Editing banner content
- Type your message right into the preview on the right side. Keep it clear and to the point!
- (Optional) Want to make it interactive? Click the + button, pick Button from the menu, and add a call-to-action
- Use the left panel to customize everything — placement, appearance, behavior, and targeting rules
- Hit Save when you’re done
Adding and editing buttons
Buttons are your banner’s superpower. They let users take action without leaving your app.Adding a button
- Click the + button in the banner editor
- Select Button from the menu that pops up
- Write button text that’s short and tells users what happens when they click (“Learn More”, “Start Now”, etc.)
- Pick a style: Primary for your main action, or Secondary for alternatives
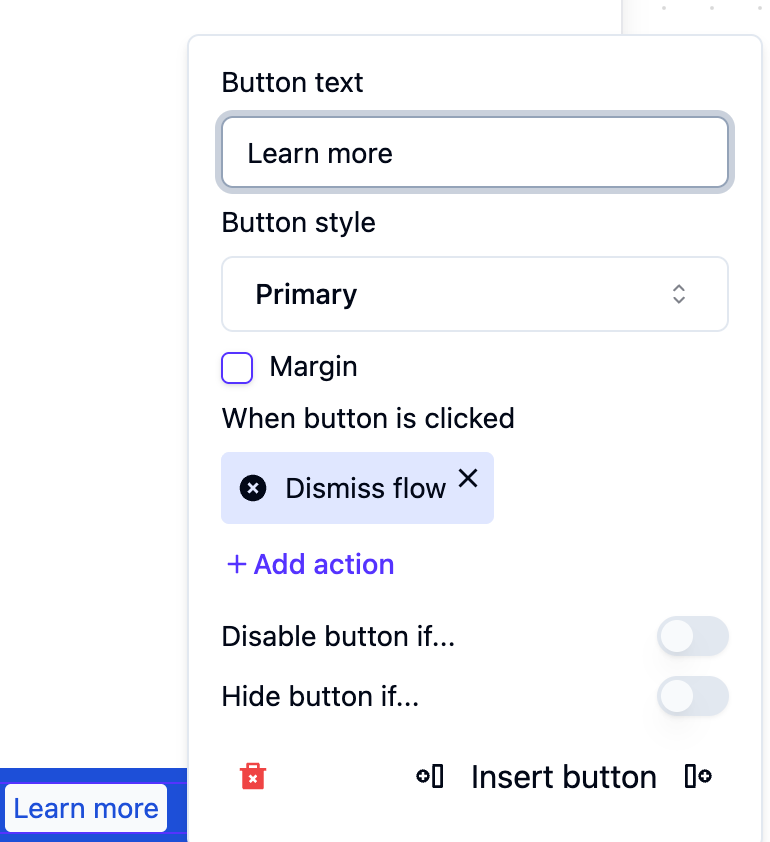
Button actions
When someone clicks a button, you can trigger:- Dismiss banner — Close it up
- Start new flow — Launch a new user journey
- Navigate to page — Send them somewhere specific
- Set user attribute — Remember something about them
- Evaluate JavaScript — Run your own custom code
Button visibility conditions
Here’s where it gets smart. You can set rules for when each button shows up based on:- User attributes (who they are)
- User behavior (what they’ve done)
- Context and events (what’s happening)
Configuring banner placement
The left panel is your control center. Here’s where you decide where your banner lives on the screen.Embed placement
Pick a spot that feels natural for your message:- Top of page — Right up top where eyes go first
- Bottom of page — At the footer, less intrusive
- Top of container element — Above a specific section of your app
- Bottom of container element — Below a specific section
- Immediately before element — Right before a specific thing
- Immediately after element — Right after a specific thing
Z-Index
This controls whether your banner sits on top of or below other stuff on the page.- Default — We handle the layering for you (usually perfectly fine)
- Custom value — Got a modal or dialog that should float above the banner? Enter a higher number to put it on top
Banner layout
Make your banner look and feel just right.- Max. embed width — How wide the entire banner can be (leave blank for full width)
- Max. content width — How wide just the content inside can be (great for keeping things readable)
- Border radius — Make those corners rounded or sharp (values in pixels)
- Outer margin — Add breathing room around your banner (control each side separately: top, right, bottom, left)
Banner behavior settings
Tweak how your banner acts and feels:- Overlay over content — Float it on top without pushing stuff down, or let it take up space. Your choice!
- Stick to top — Keep it visible even when users scroll, or let it scroll away naturally
- Allow dismiss — Let users close it themselves with an X button, or keep it there
- Animate on appear — Slide it in smooth and pretty, or pop it up instantly
Banner theme and colors
Your banner automatically picks up your brand colors, but you can customize if you want:- Background color — We pull this from your brand colors automatically
- Text color — Sets itself to be readable against the background
- Custom overrides — Want something different? Tweak the colors in the theme designer
See how it’s doing
Check out your banner’s performance in the Analytics tab:- Banner Seen — How many eyeballs saw it
- Banner Dismissed — How many people closed it
Some tips for banner success
- Keep it short — One look and users should get it. Aim for 1-2 sentences
- Action matters — Use buttons with clear verbs: “Start Free Trial”, “Learn More”, “Get 50% Off”
- Show it to the right people — Use targeting so the person sees your message only if it’s relevant to them
- Don’t overload — Too many banners = users stop reading. Use them strategically
- Watch and learn — Check your analytics regularly and keep tweaking. What works today might need a refresh in a few weeks