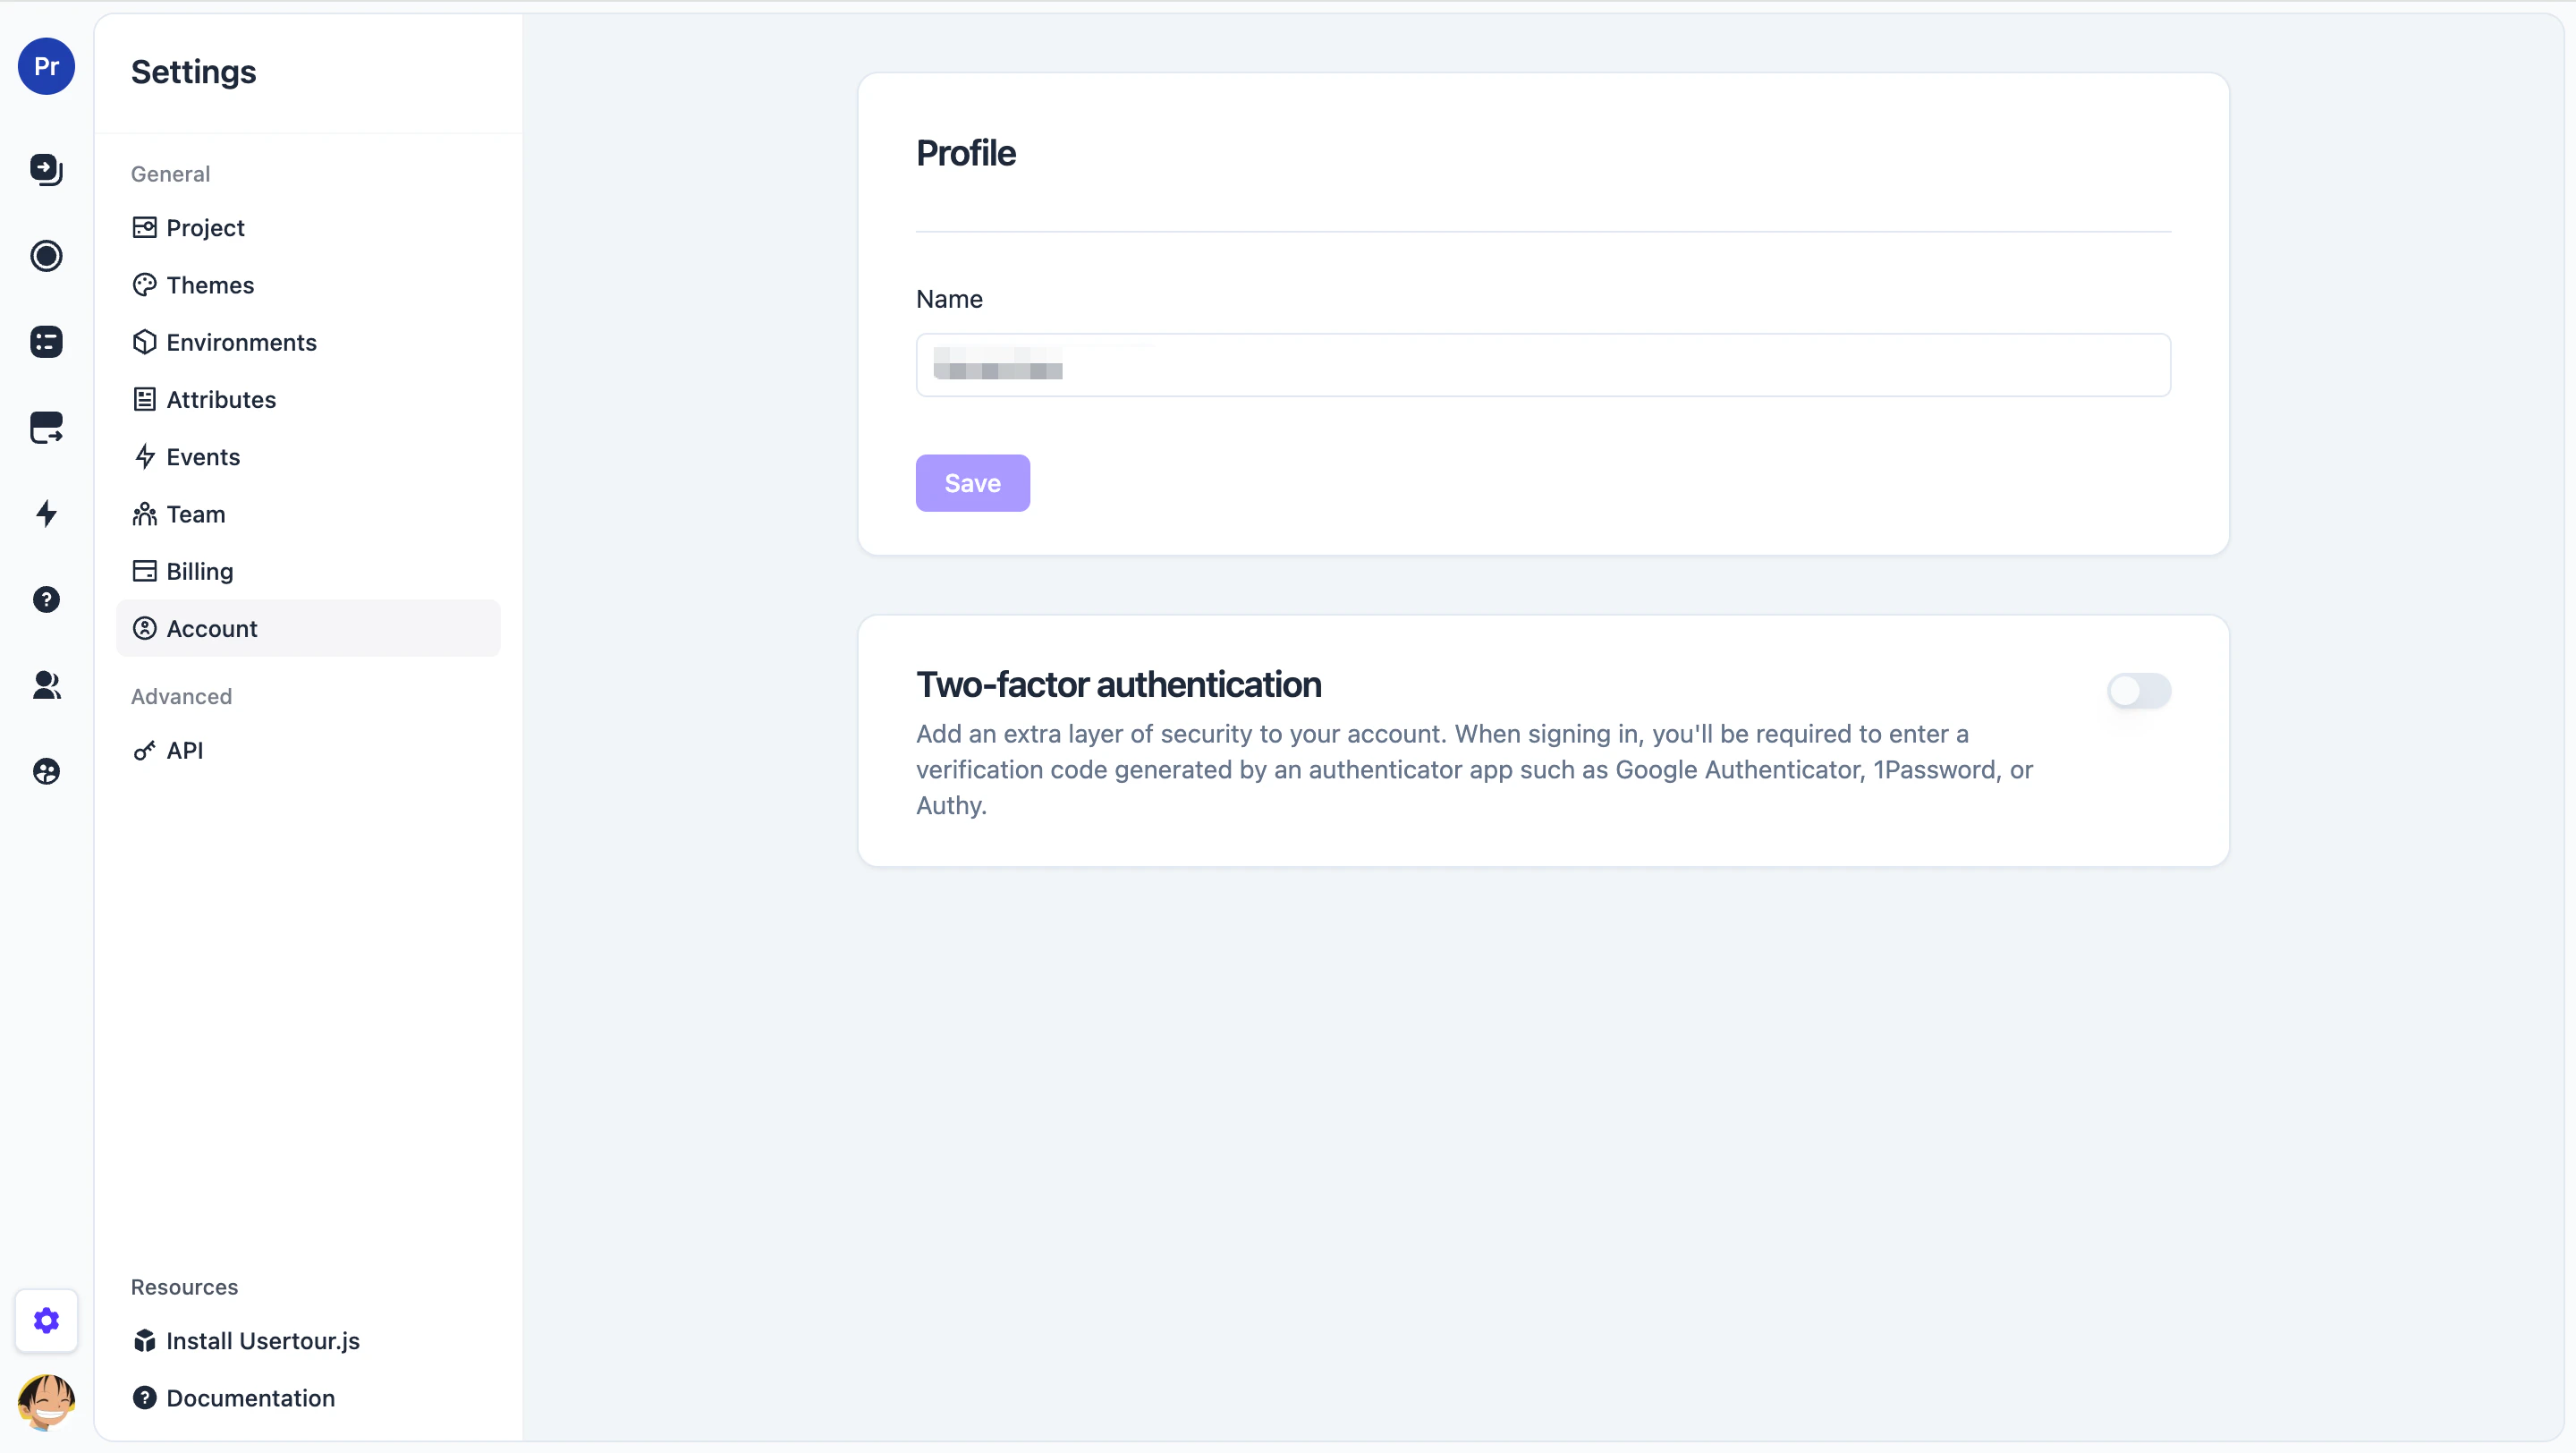
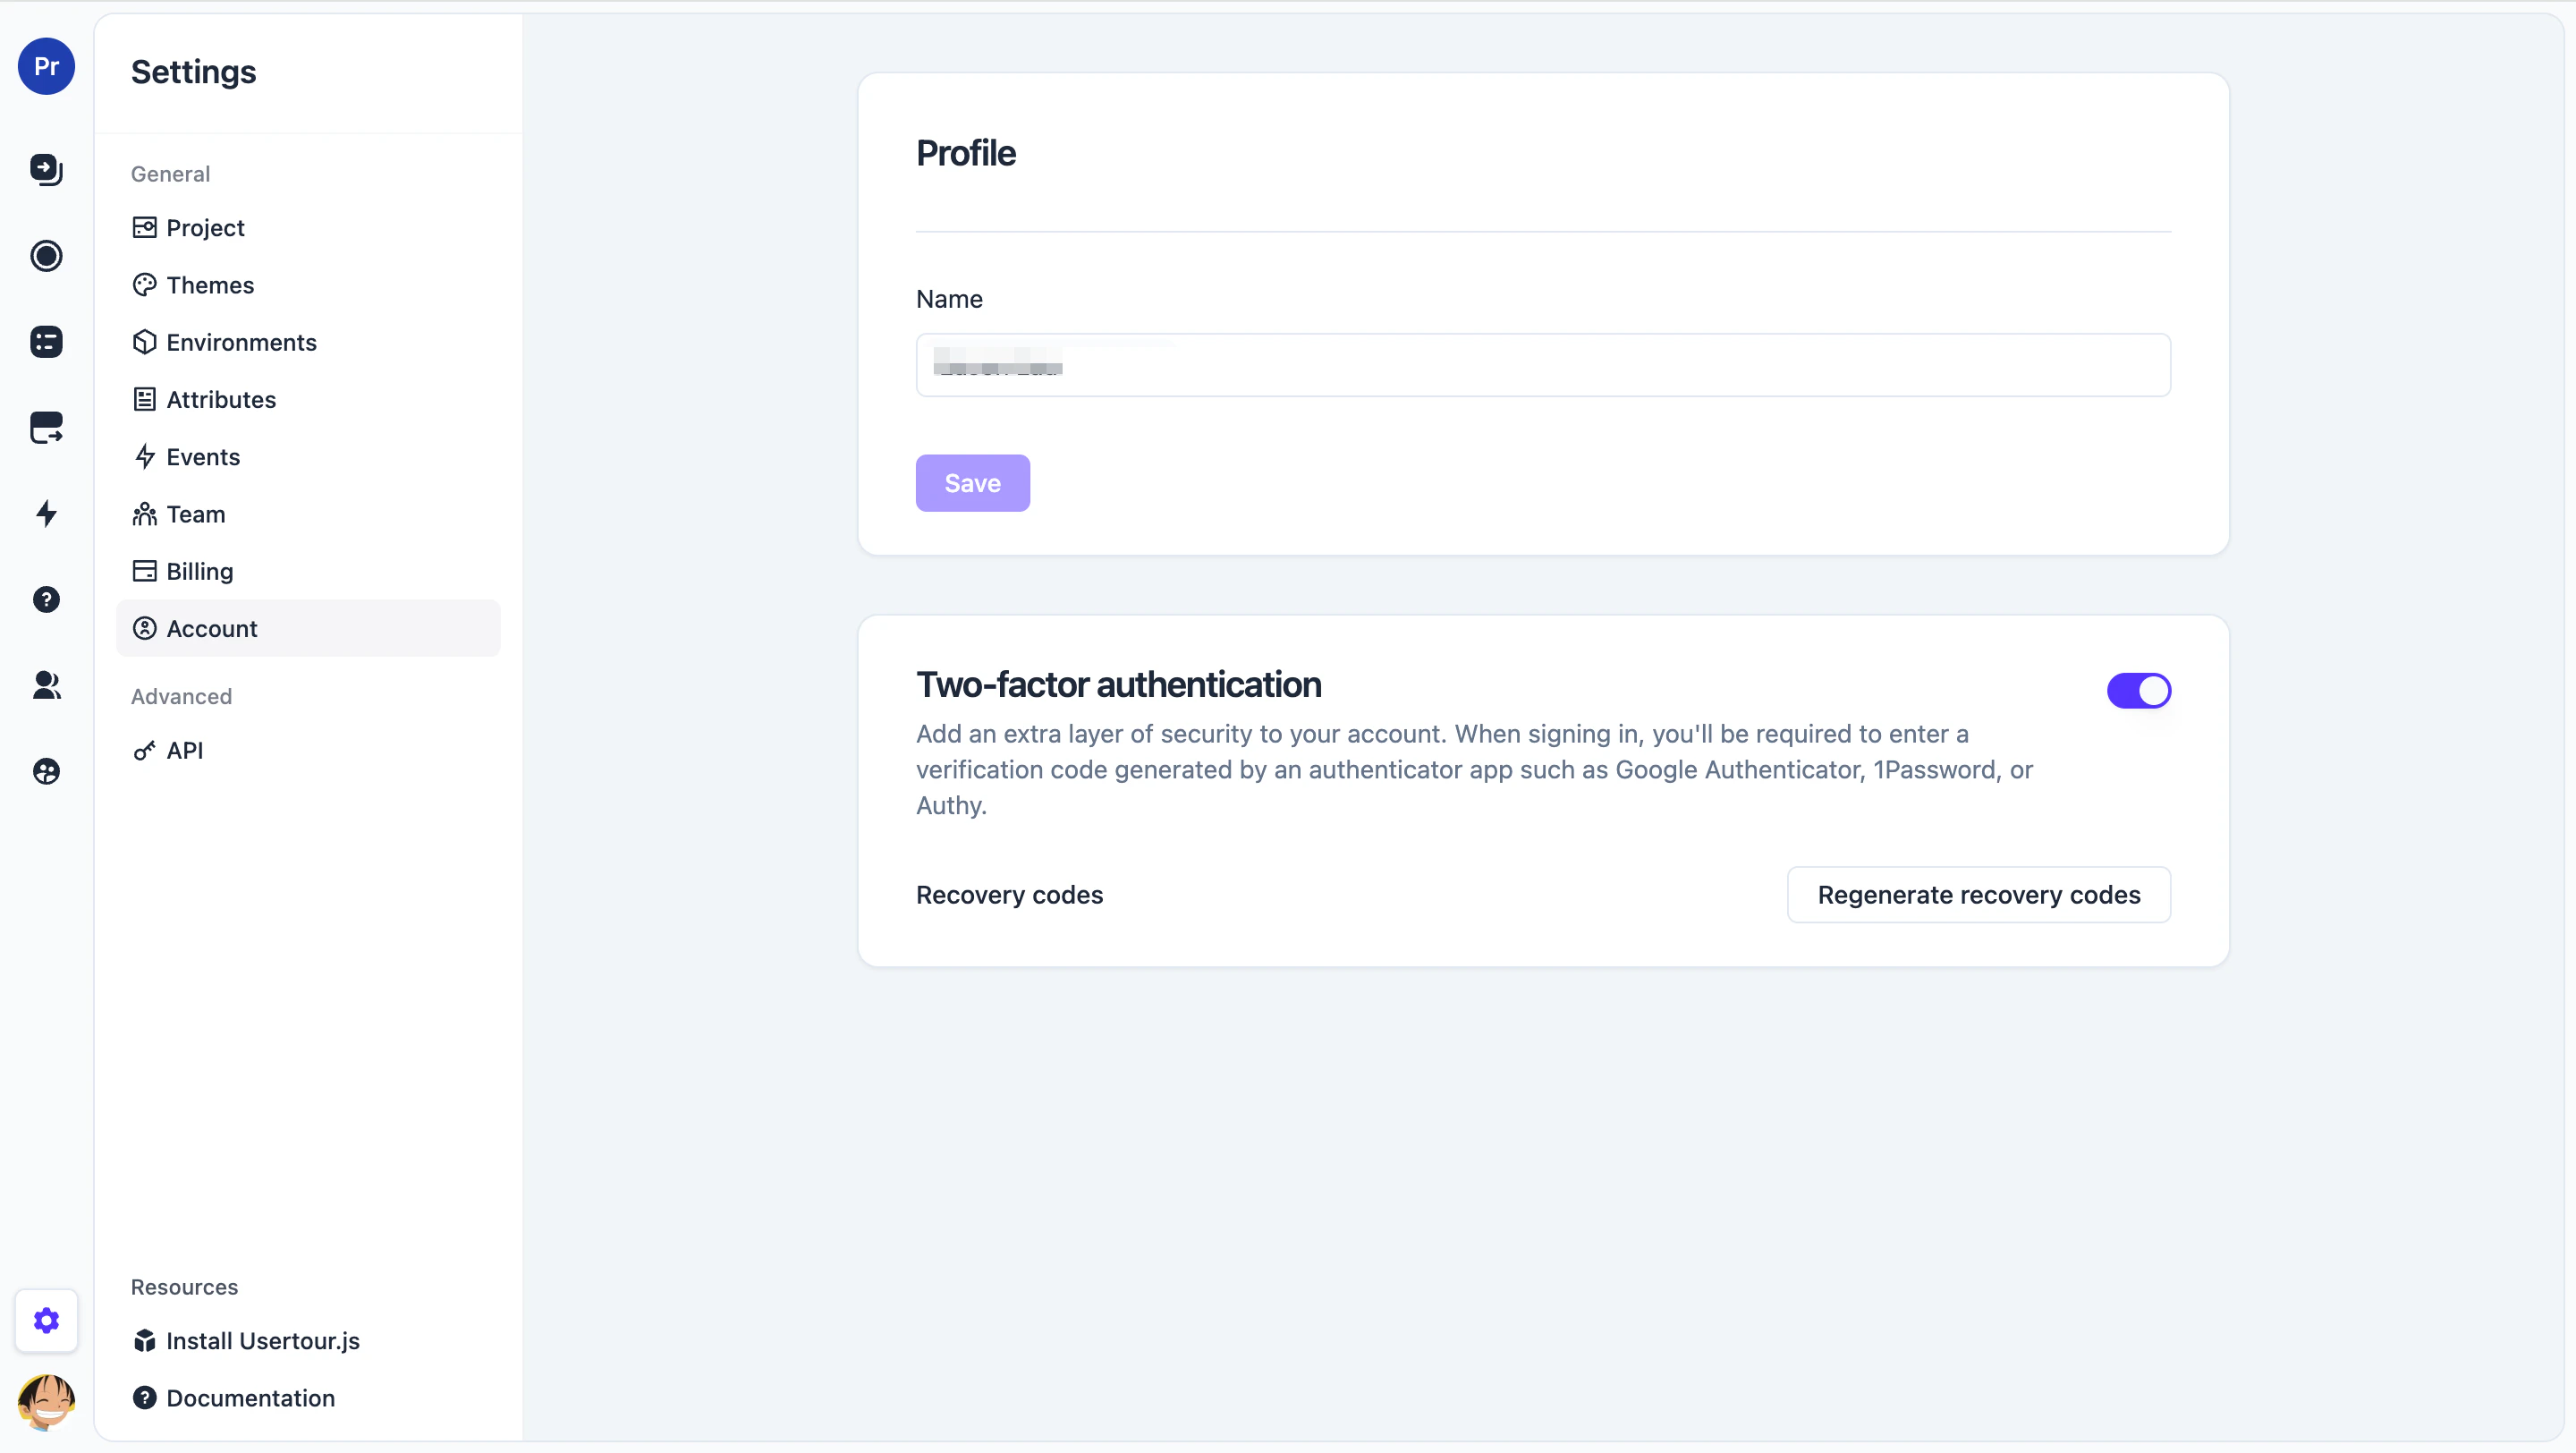
Enable 2FA on your account
- Go to Settings → Account.
- Find the Two-factor authentication section and turn the toggle on.
Step 1 — Scan the QR code
Open your authenticator app and scan the QR code shown in the setup dialog. If your app doesn’t support scanning, click Can’t scan? Enter this code manually to copy the secret as text.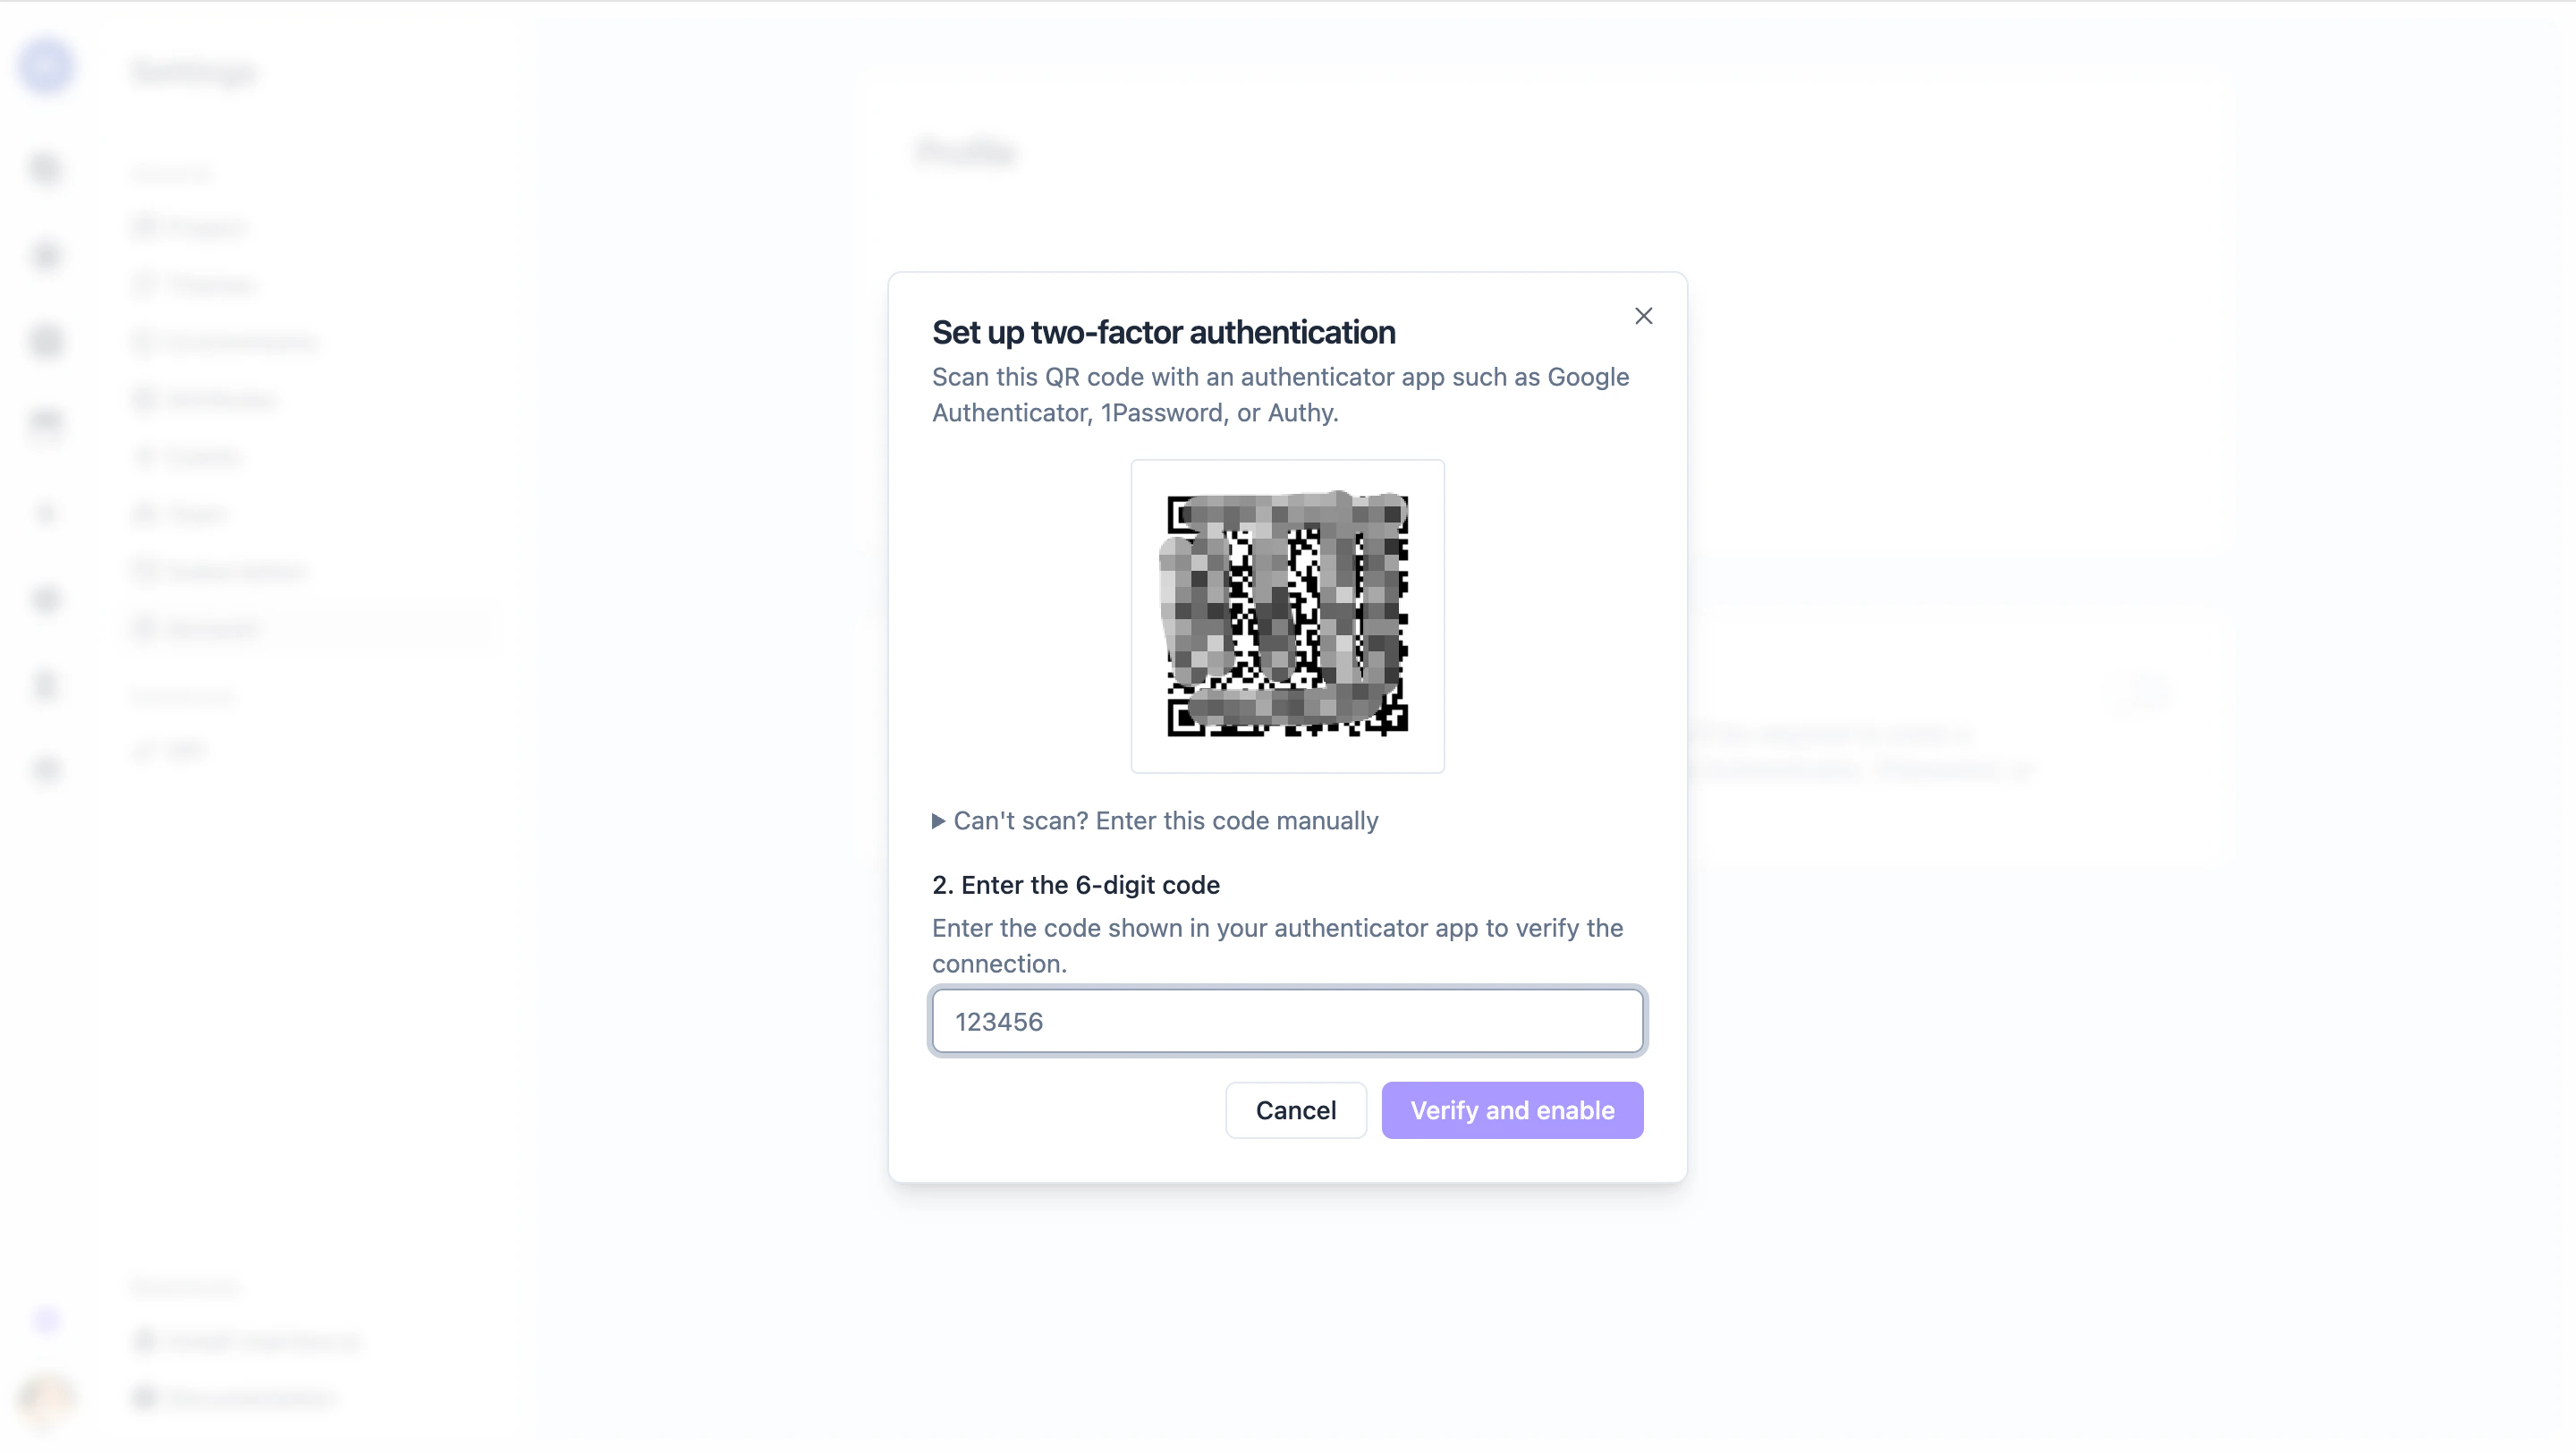
Step 2 — Enter the verification code
Type the six-digit code your authenticator app shows for Usertour, then click Verify and enable.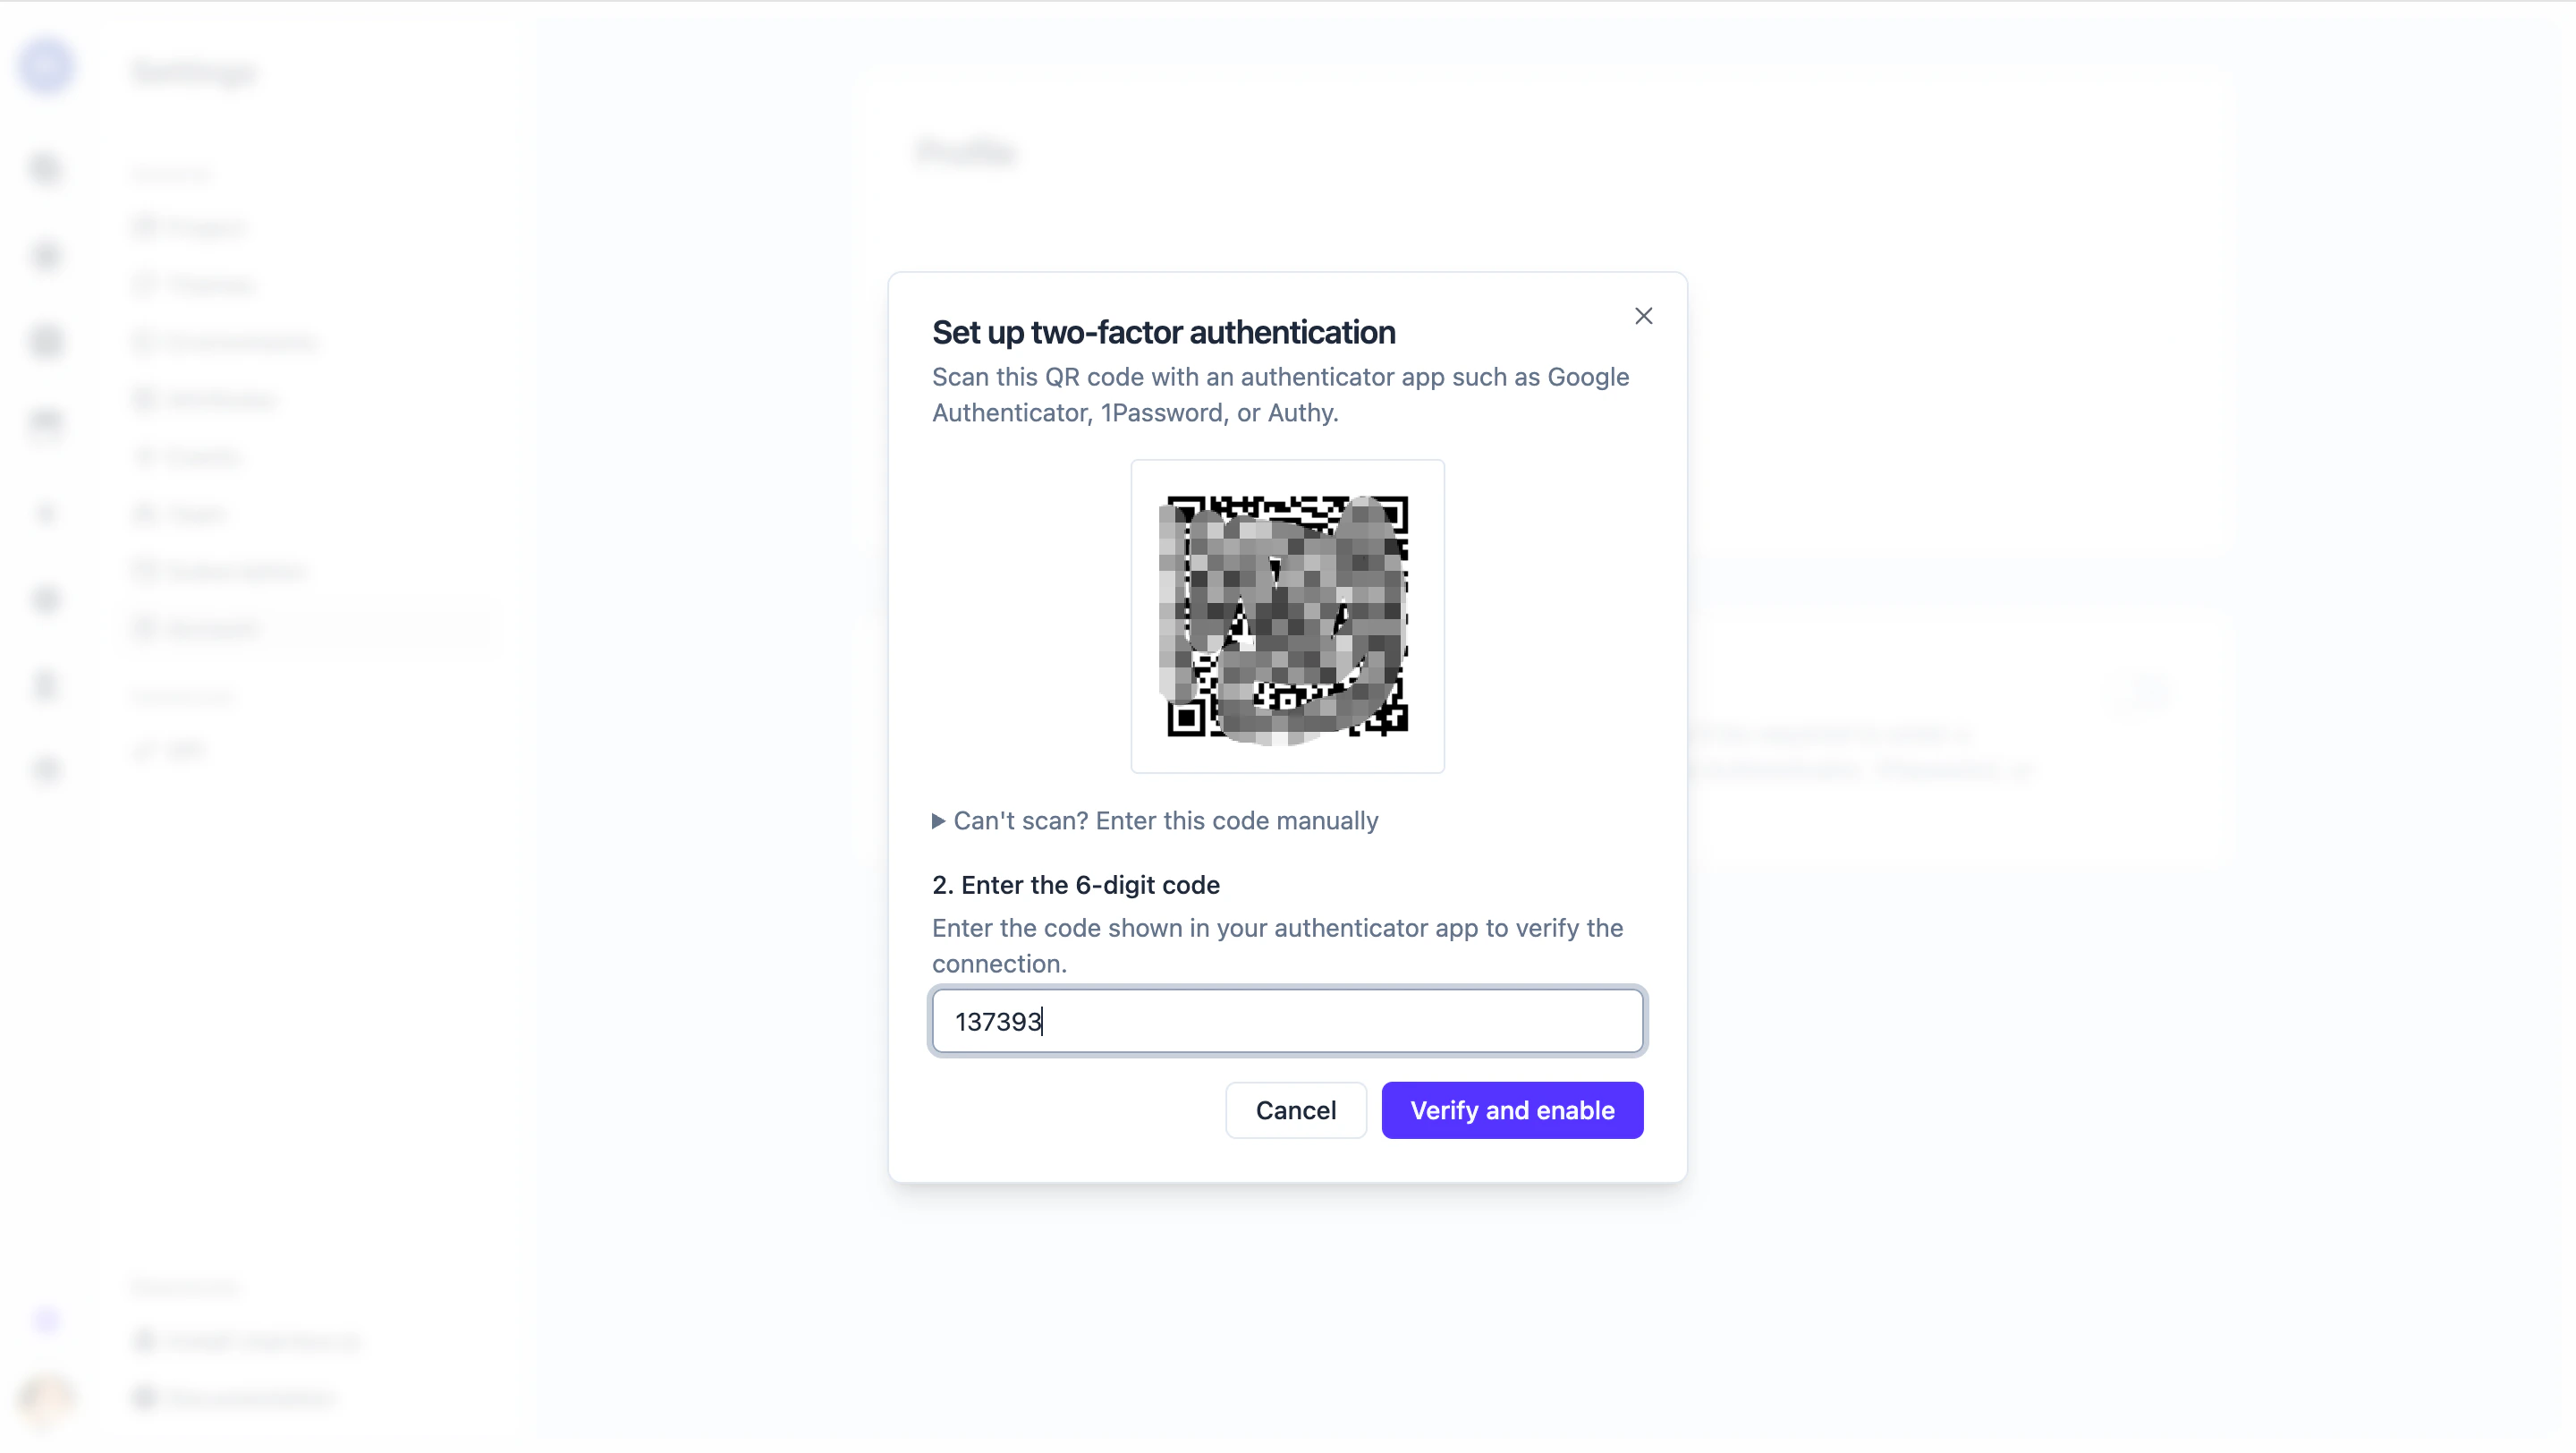
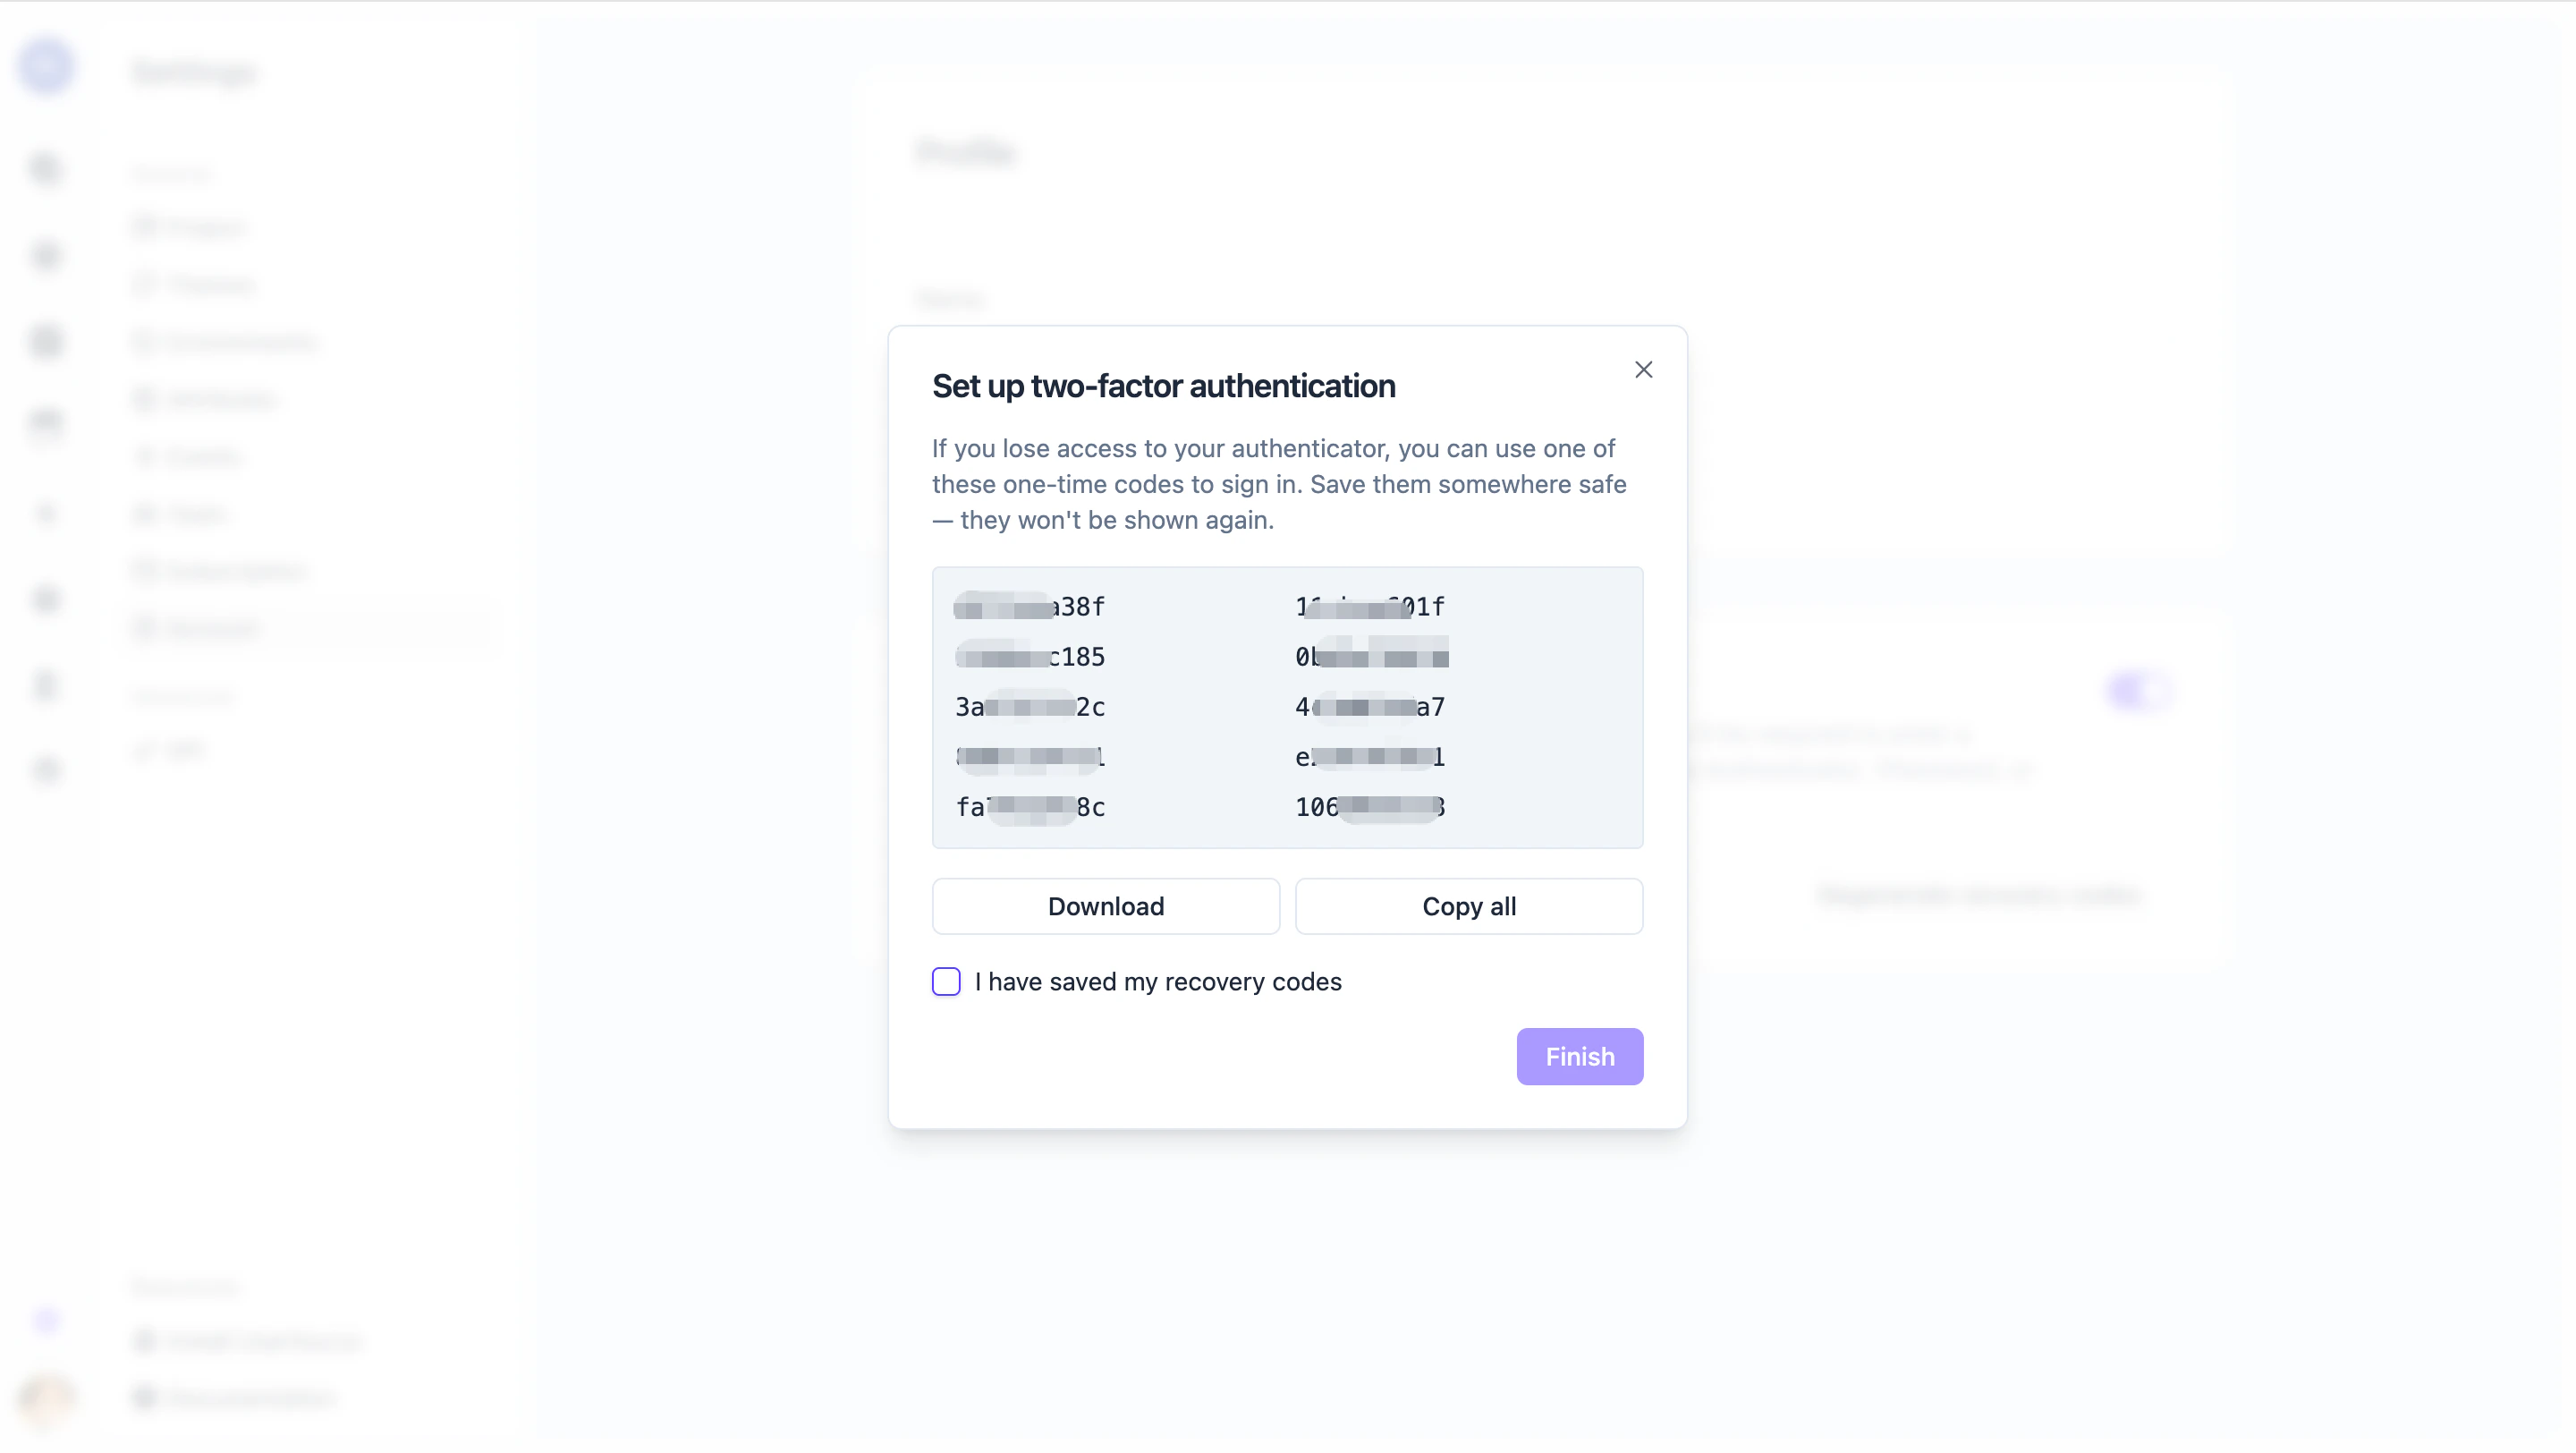
Step 3 — Save your recovery codes
Usertour shows ten one-time recovery codes. Each can be used once if you lose access to your authenticator app.- Click Download to save them as a text file, or Copy all to put them on the clipboard.
- Tick I have saved my recovery codes to unlock the Finish button.
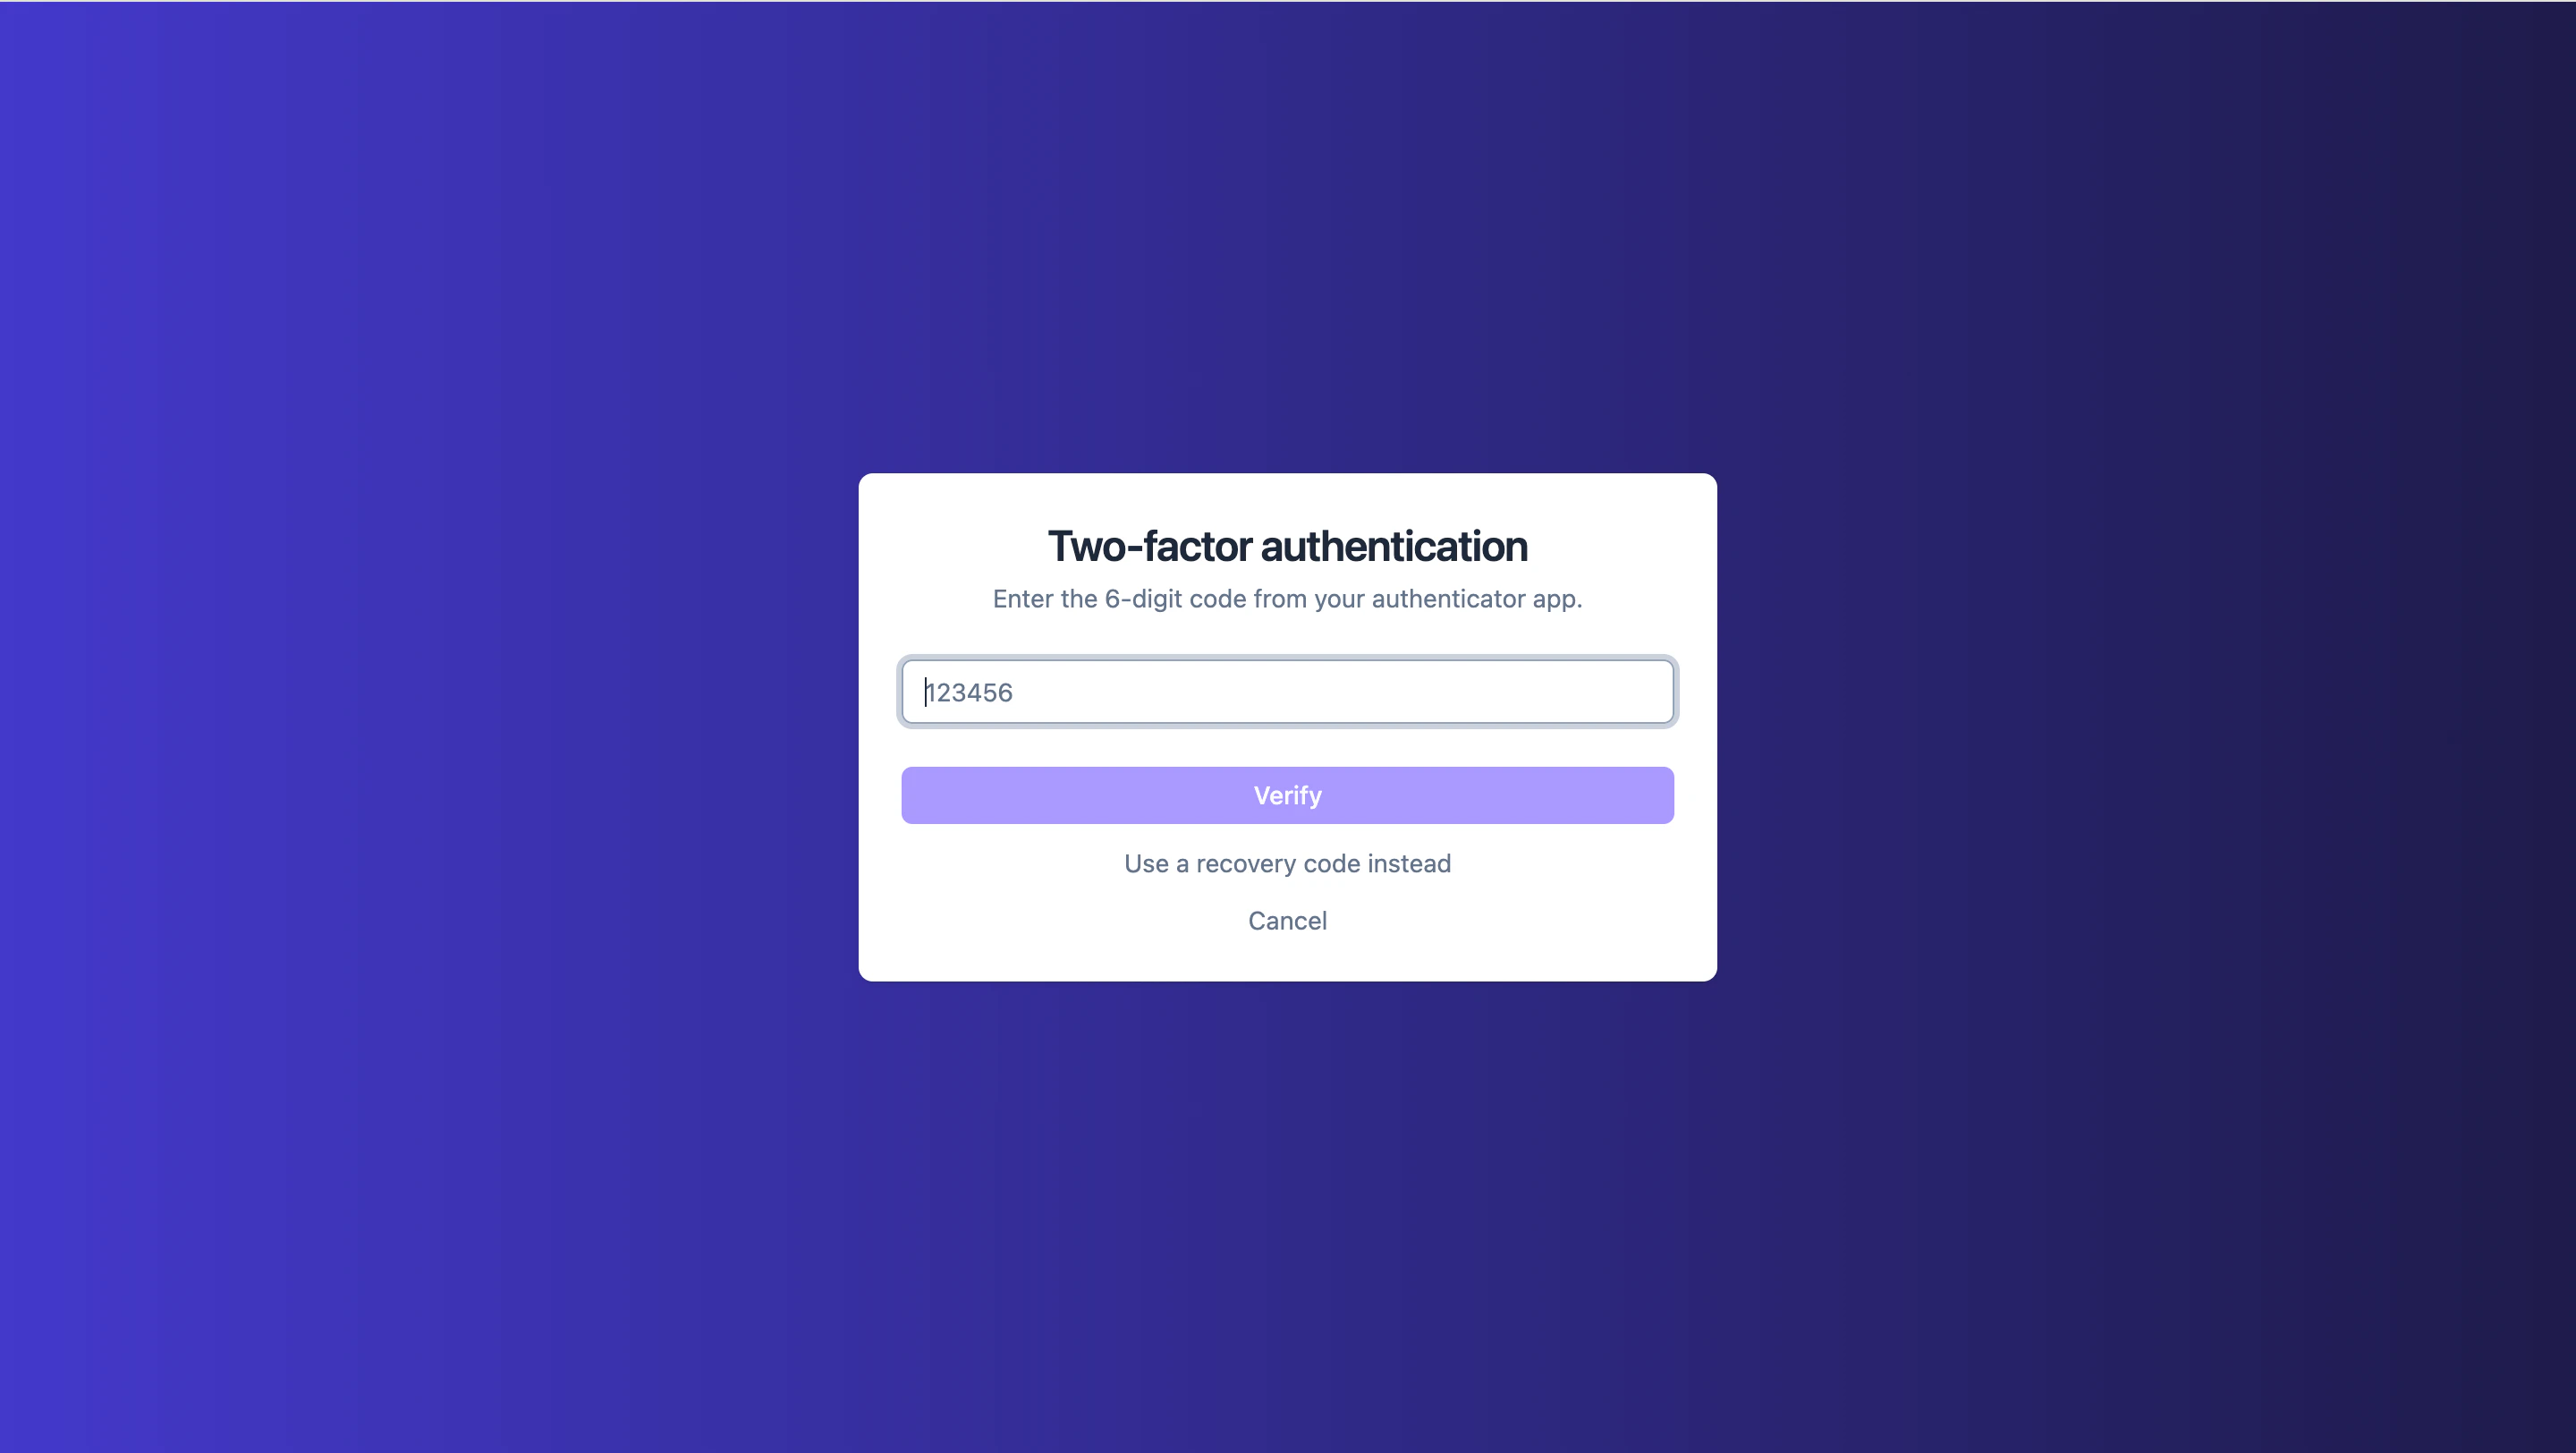
Sign in with 2FA
After 2FA is enabled, the sign-in flow has one extra step:- Enter your email and password (or use Google / GitHub).
- On the next screen, enter the six-digit code from your authenticator app and click Verify.
Use a recovery code instead
If you don’t have your authenticator handy, click Use a recovery code instead on the verification screen and paste one of the codes you saved during setup.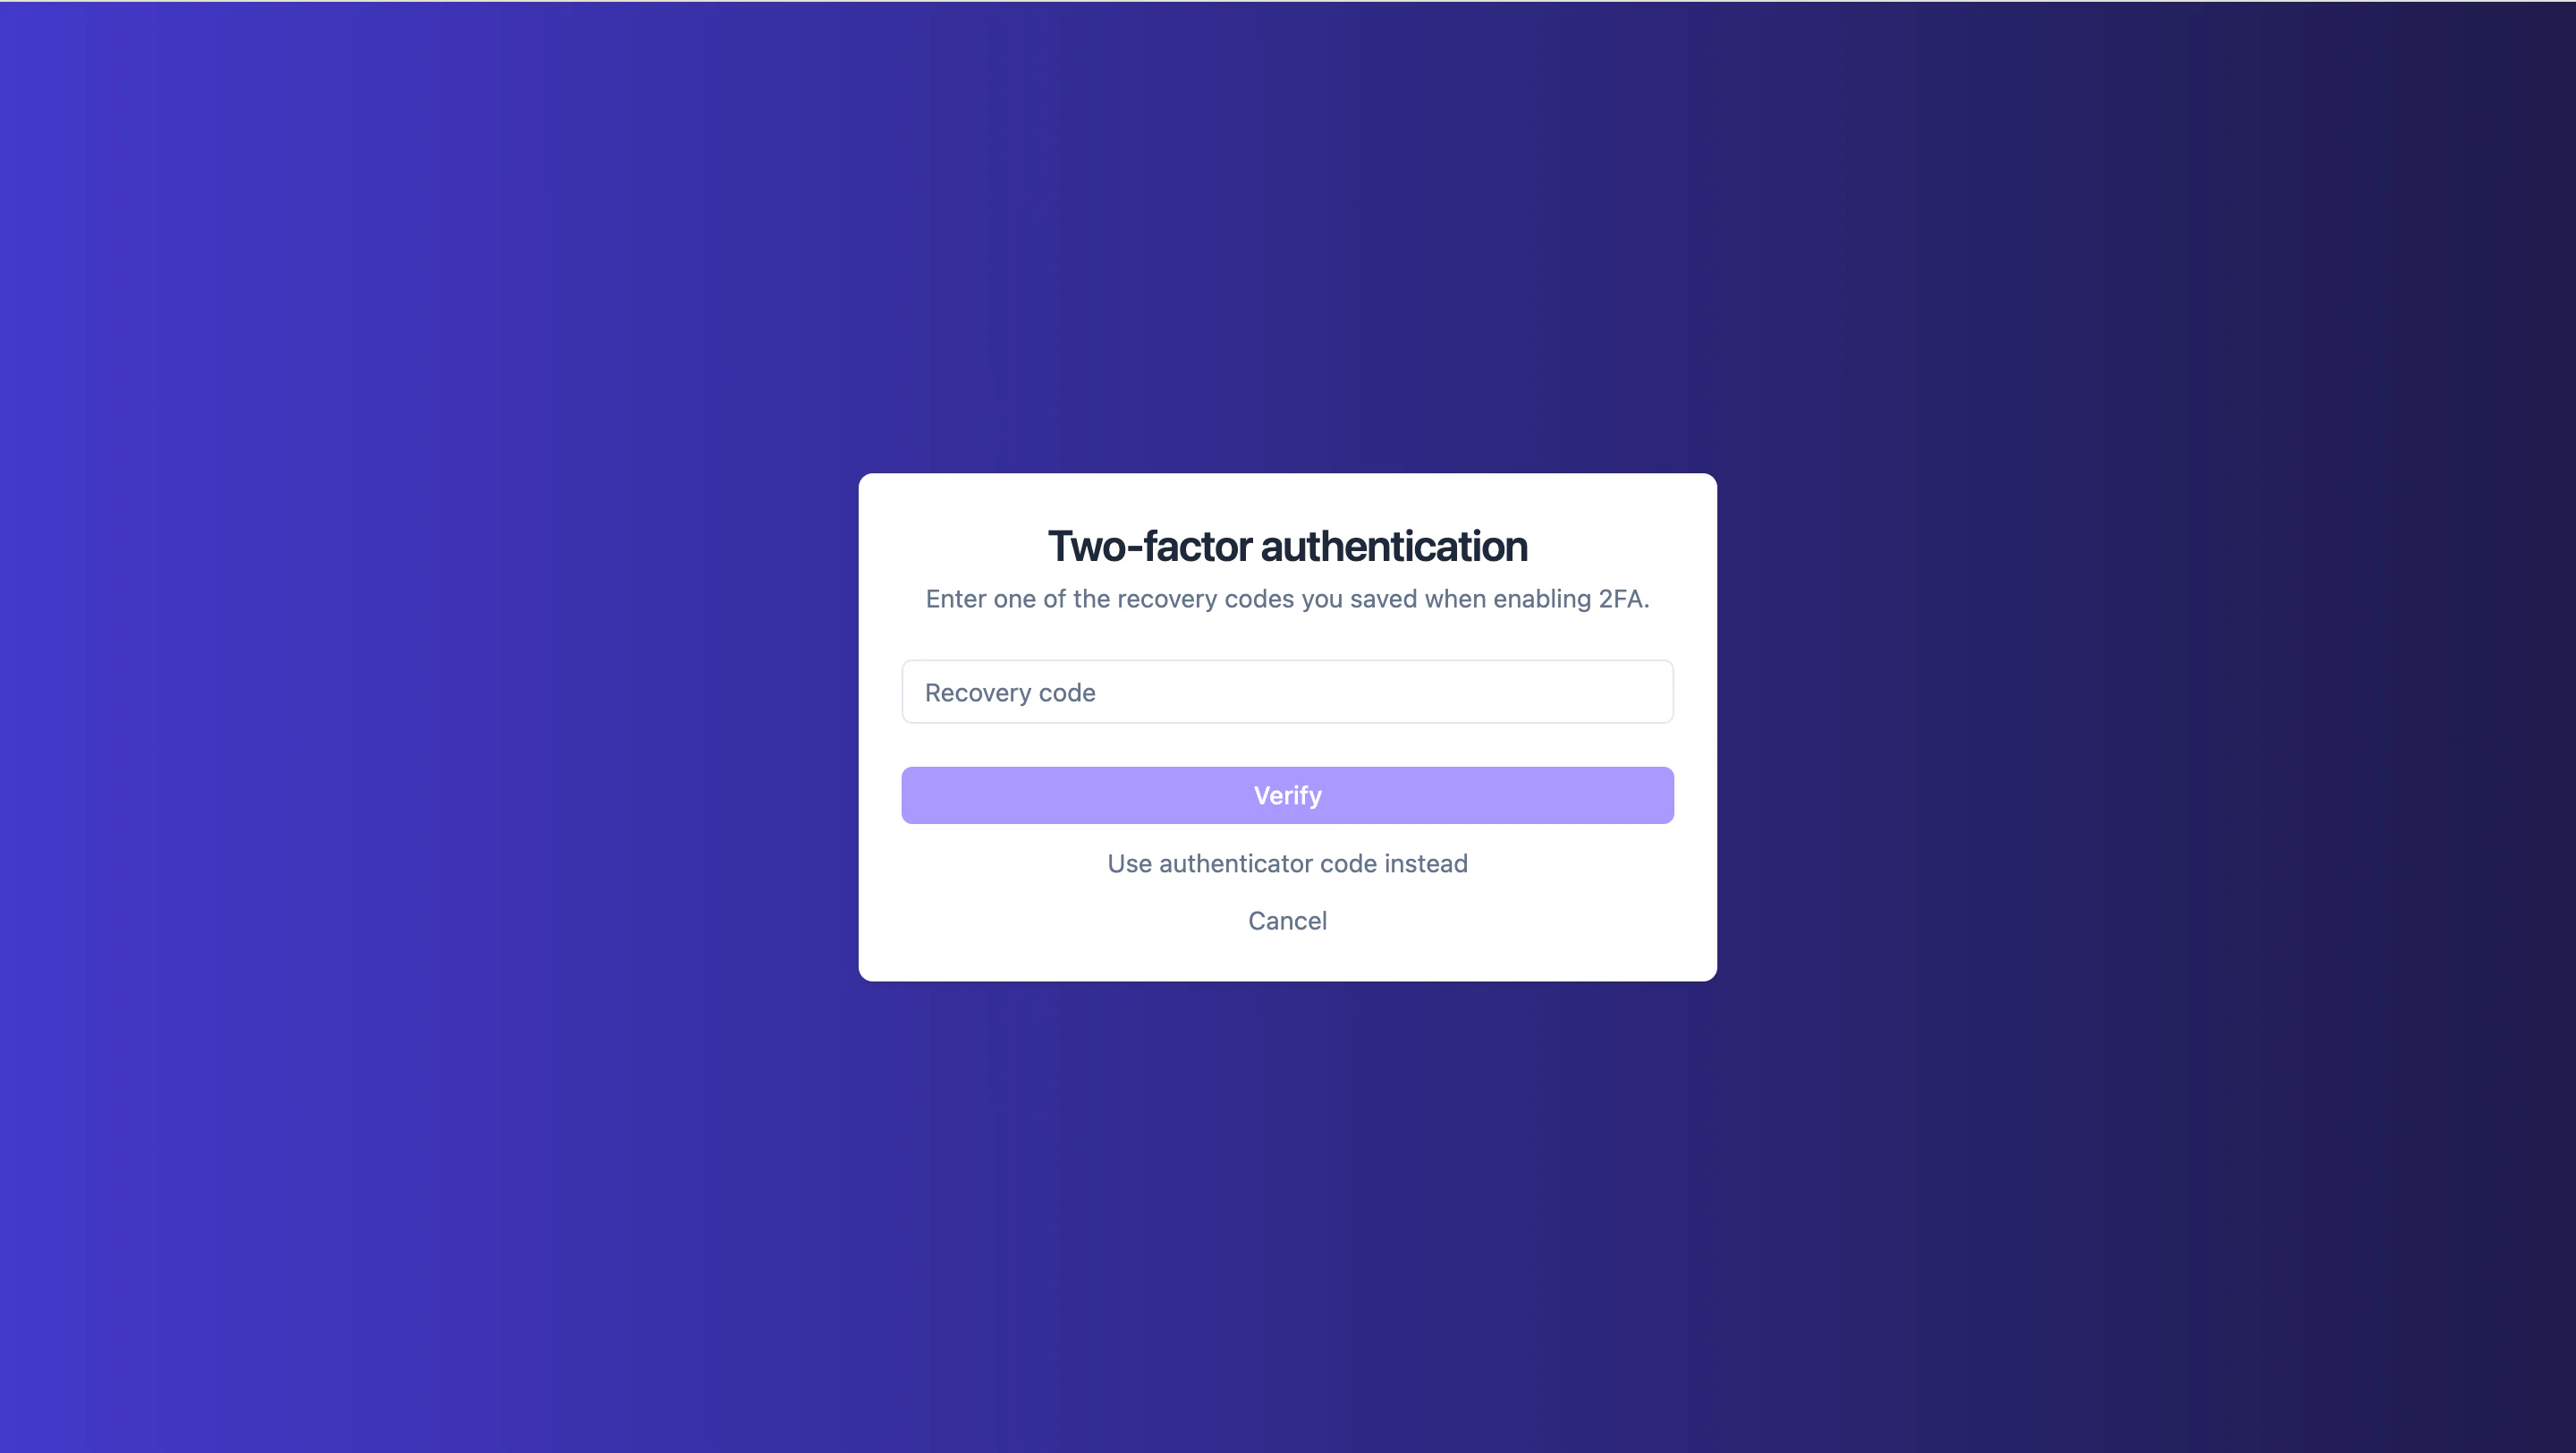
Regenerate recovery codes
If you’ve used most of your codes, or you think the list may have been exposed:- Open Settings → Account → Two-factor authentication.
- Click Regenerate recovery codes.
- Enter a current authenticator code to confirm.
- Save the new list — the previous codes stop working immediately.
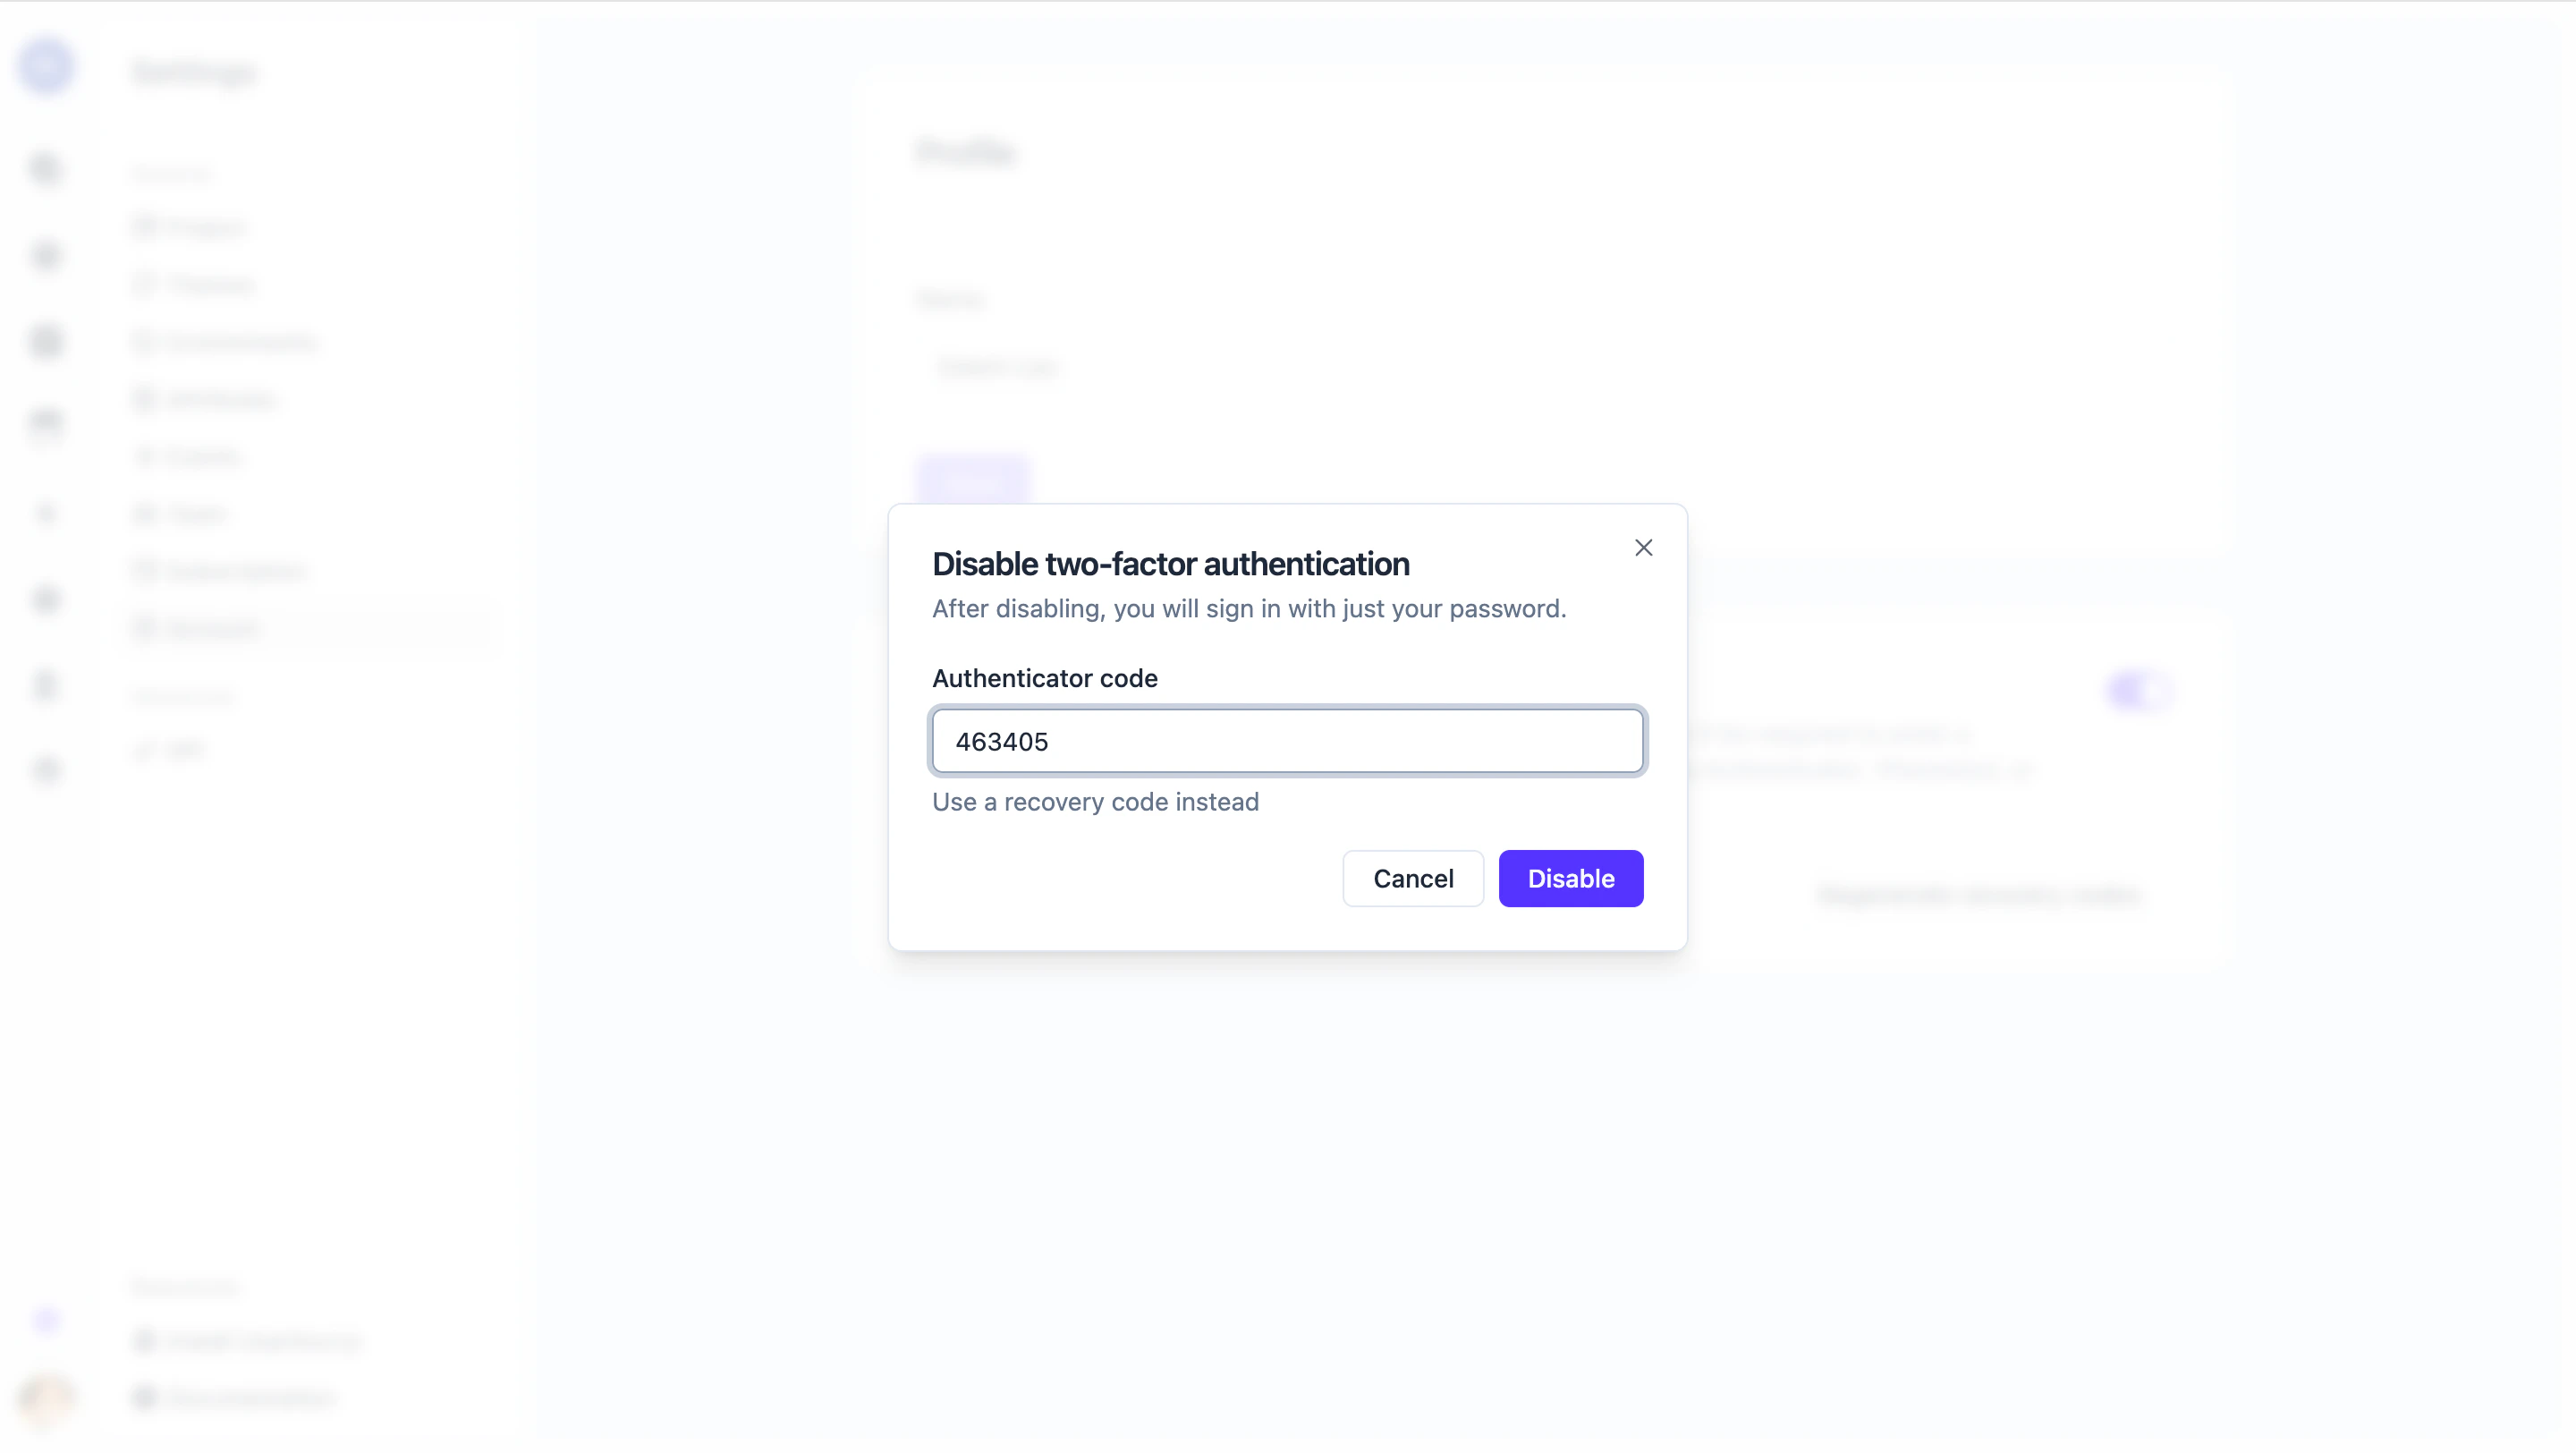
Disable 2FA
- Open Settings → Account → Two-factor authentication.
- Turn the toggle off.
- Enter a current authenticator code (or a recovery code) to confirm.
On self-hosted deployments, if your instance administrator has turned on
Require 2FA for all users, the disable toggle is locked. See Two-factor
authentication in System
Admin for details.
Lost your authenticator app?
- If you still have a recovery code, sign in with it (see Use a recovery code instead), then regenerate recovery codes and re-enable 2FA on your new device.
- If you have no recovery codes left, contact your account administrator. On self-hosted deployments, a System Admin can reset 2FA on your account directly in the database — see Emergency 2FA reset.