Setting a custom font
Open Settings → Themes, edit (or duplicate) a theme, and find the Font section.- Open the Font family dropdown.
- Choose Custom font (listed above the built-in system and web fonts).
- In the field that appears, type the exact
font-familyname your widgets should use.
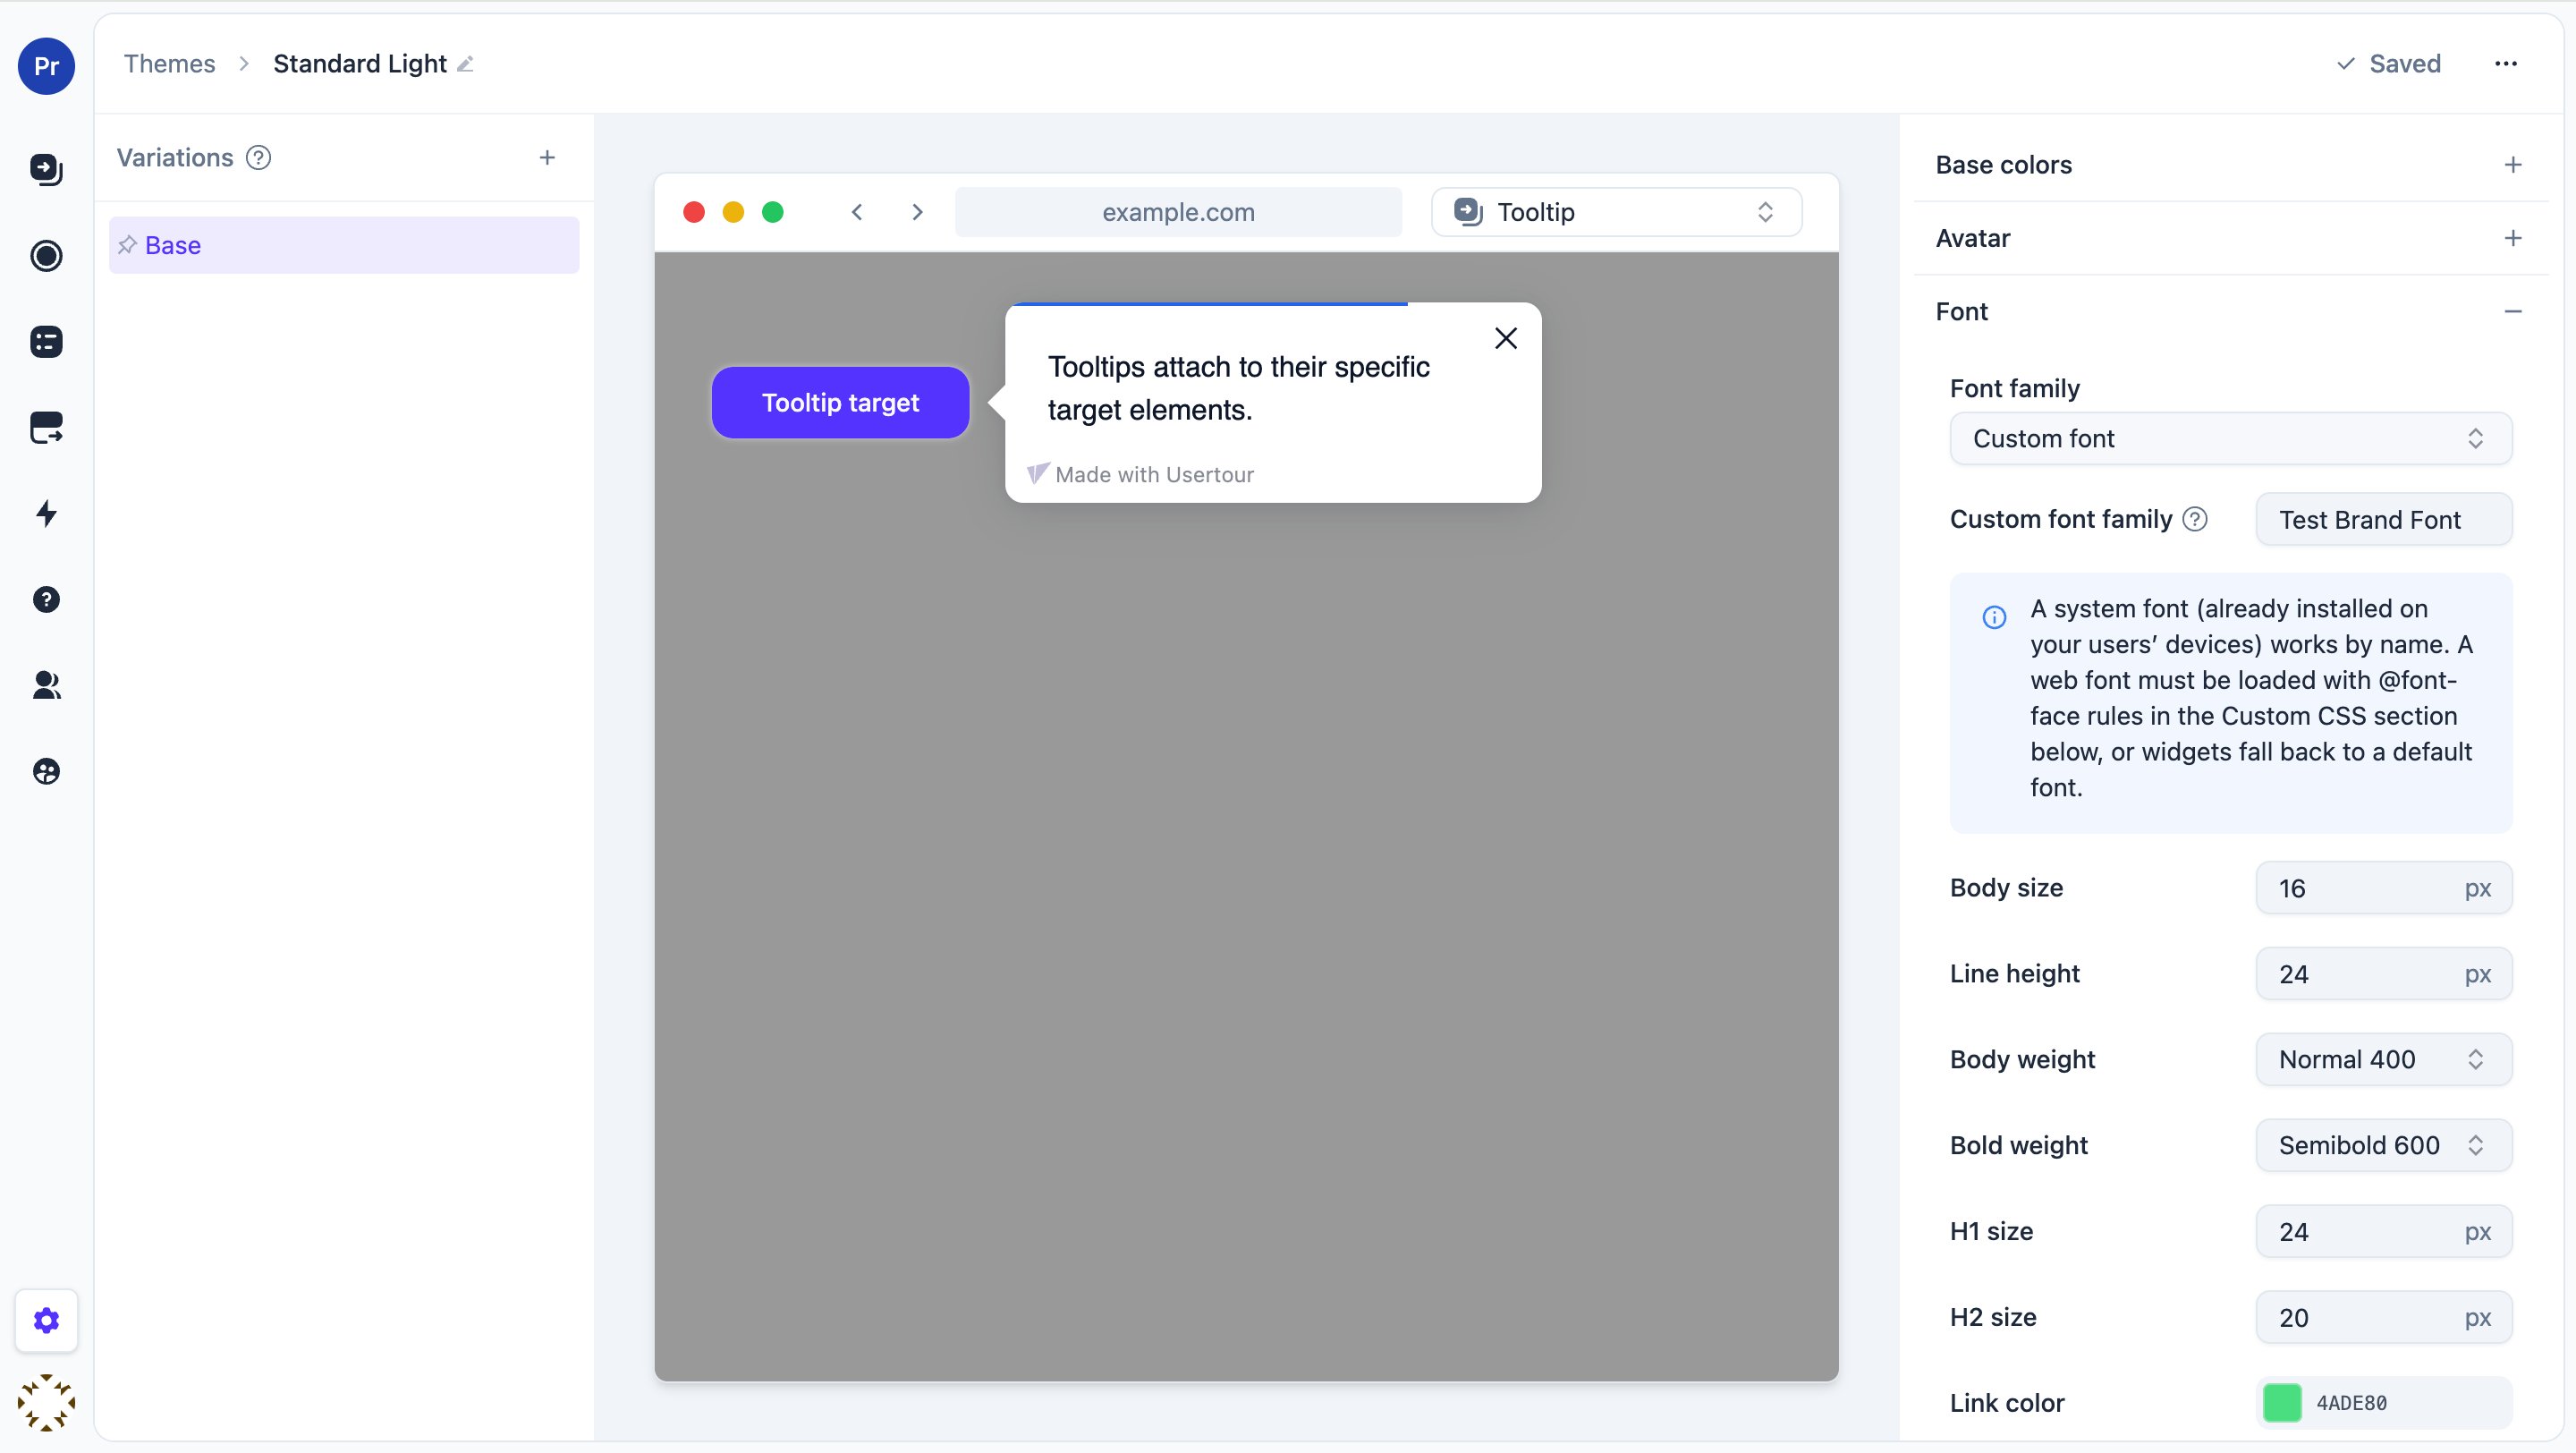
- A system font already installed on your users’ devices (for example
Segoe UIor-apple-system) works by name alone — nothing else to do. - A web font must be loaded with
@font-facerules in the Custom CSS section below. Without that, widgets fall back to a default font.
Custom CSS
The Custom CSS field injects raw CSS as a<style> tag into every Usertour widget — tooltips, modals, checklists, banners, and the resource center. Its two sanctioned uses are loading a custom web font and advanced style overrides the visual editor doesn’t cover.
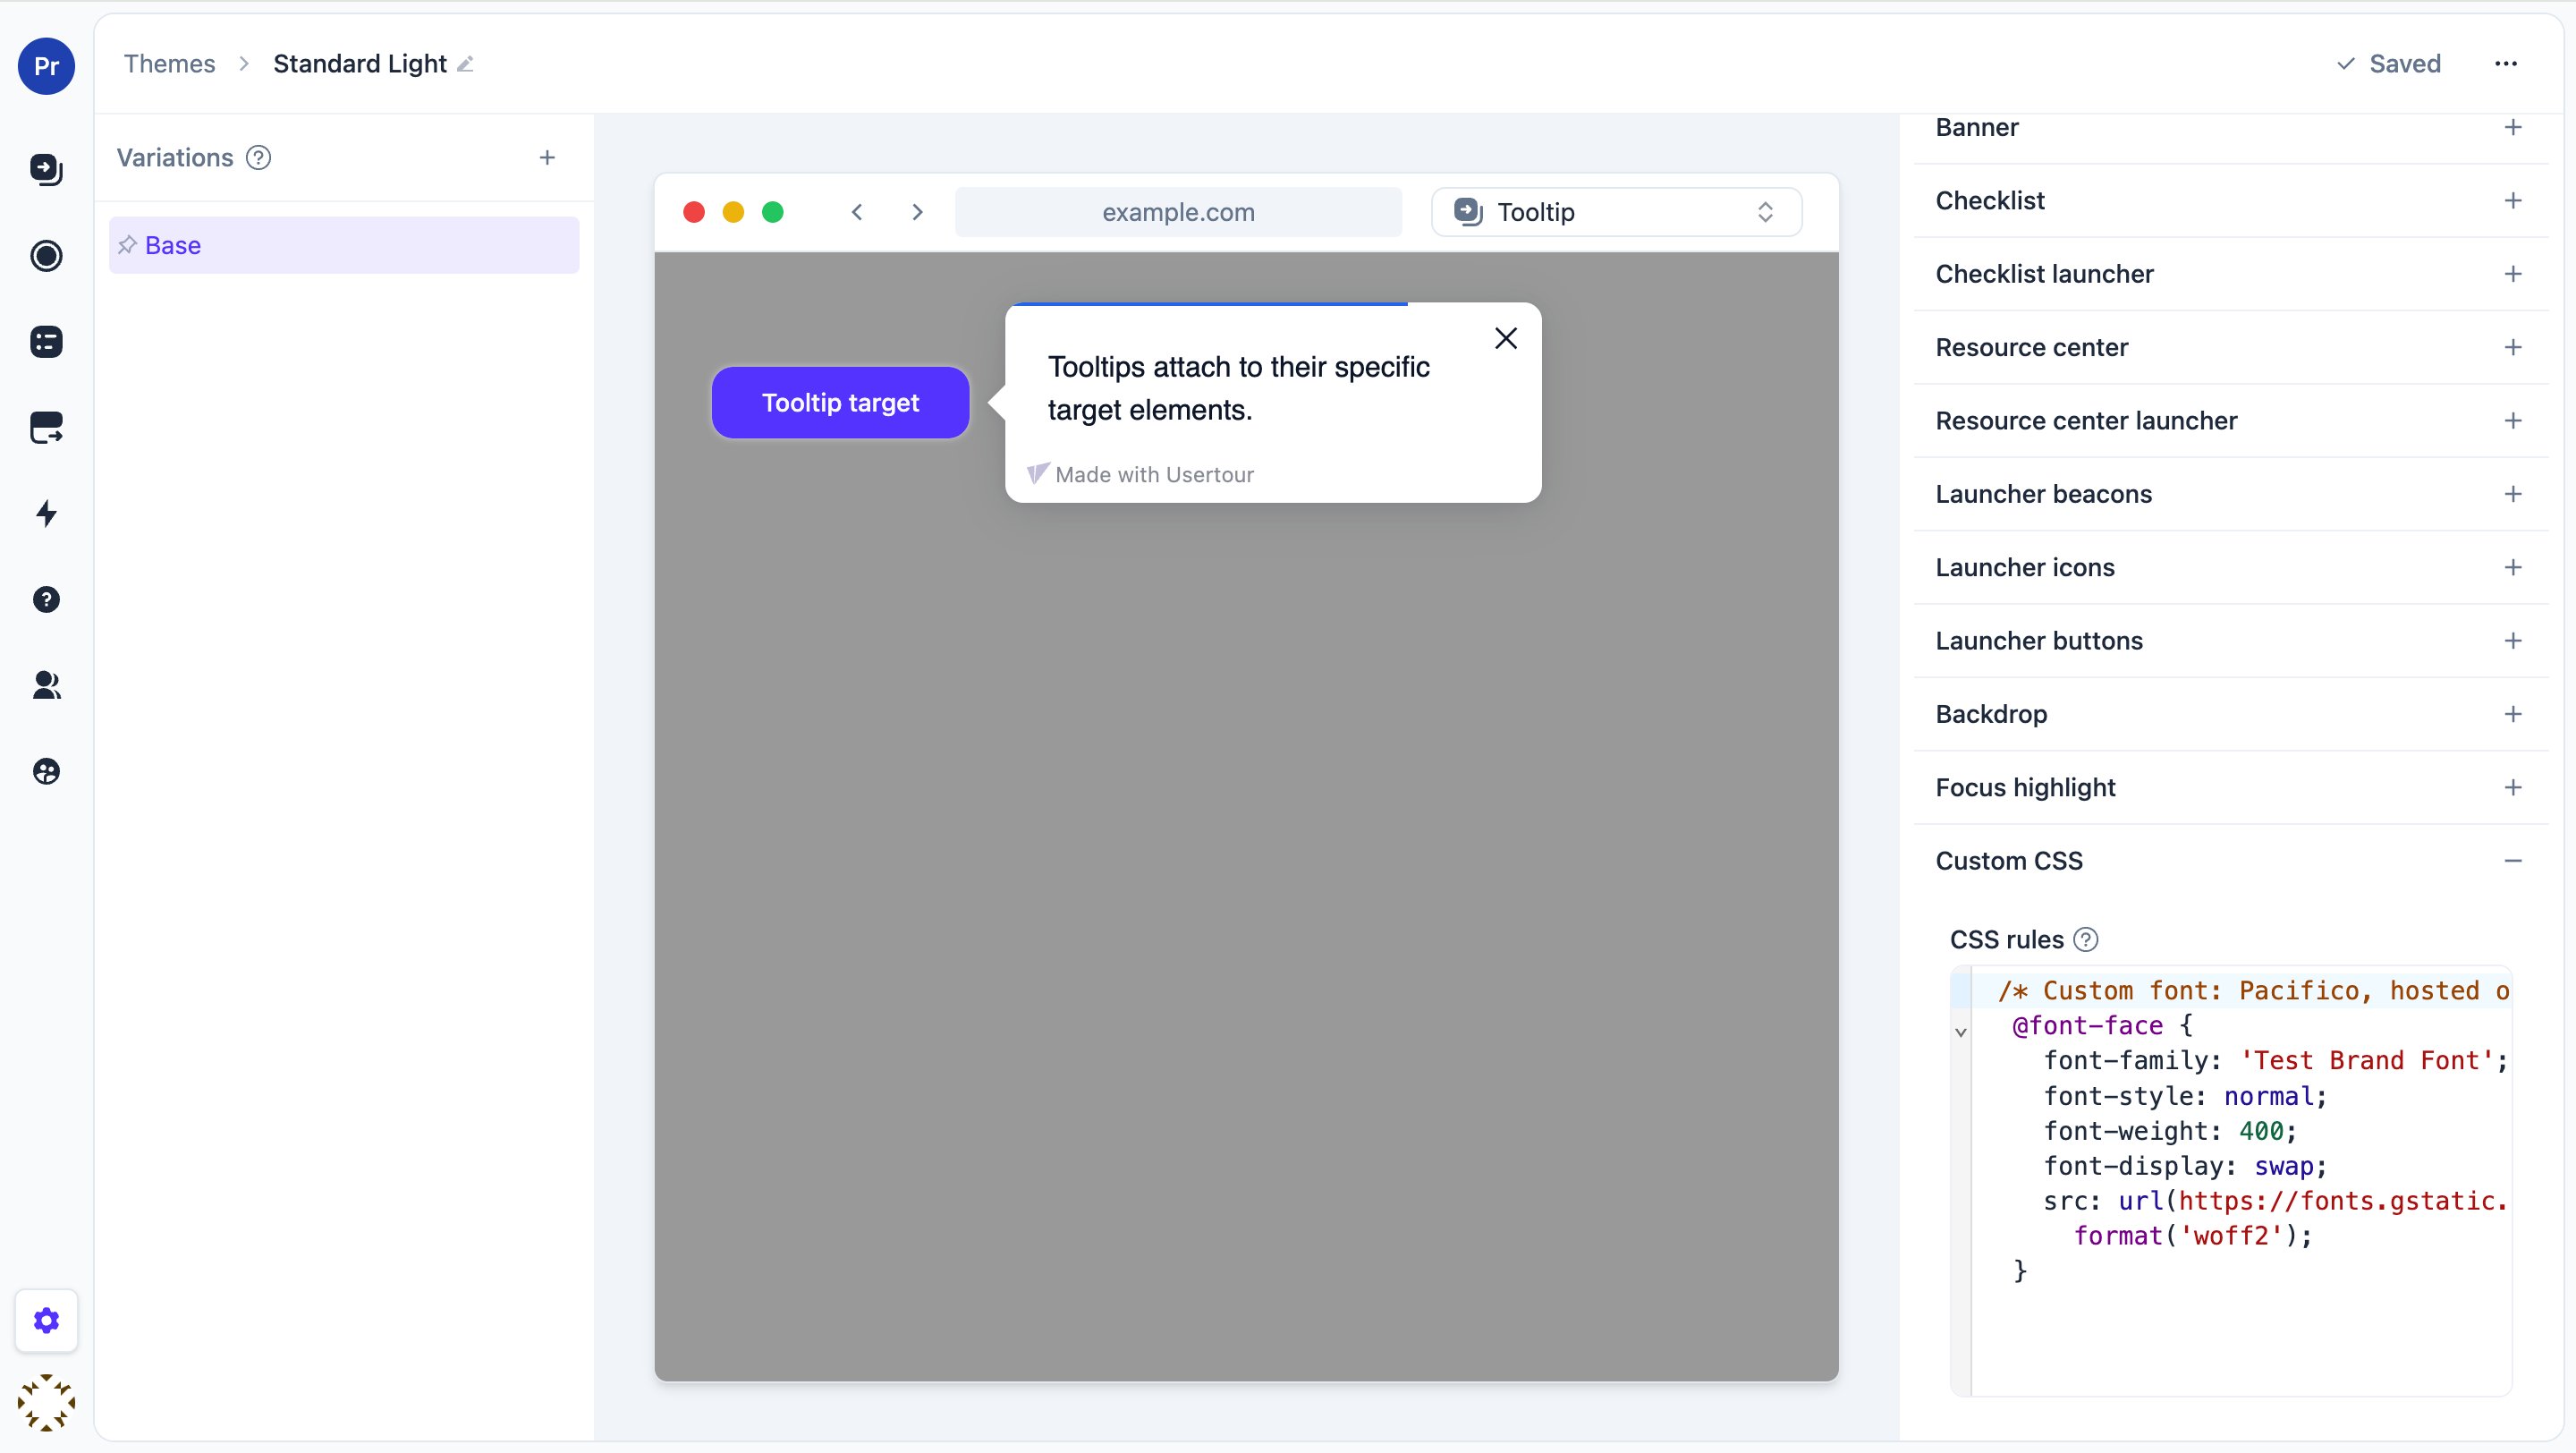
Loading a web font with @font-face
This is the companion to the Custom font setting above. Declare the font once in Custom CSS, then set Custom font to the same font-family name.
The example below is copy-paste runnable: it loads Pacifico from Google’s CDN under the name Test Brand Font, so you can verify the whole mechanism end to end. Paste it into Custom CSS, set Custom font to Test Brand Font, and your widgets switch to a handwriting font right away.
src for your own hosted file and change font-family — in both the @font-face rule and the Custom font field — to your font’s name. Add one @font-face per weight you use (e.g. 400 and 700).
Advanced style overrides
You can also use Custom CSS for adjustments the editor doesn’t expose, such as fine-tuning spacing or a specific element’s appearance.On Usertour Cloud, Custom CSS is a paid feature. The Custom font setting itself is always available — only the CSS injection is gated.