

What a project is
A project is the top-level container in Usertour. Everything you build and every setting you configure belongs to exactly one project:- Content: flows, checklists, launchers, banners, announcements, surveys, trackers and resource centers
- Environments and their
Usertour.jstokens - Themes, attributes, events and localizations
- End users, companies and segments
- Team members and their roles
- Subscription and billing
Projects vs. environments
Environments live inside a project. They exist so that one application can have separate development, staging and production setups that share the same themes, attributes and team, and so that a flow can be published to staging first and promoted to production later. See Environments.Your first project
Your first project is created when you sign up. The Project name you enter on the sign-up form becomes its name. If you sign up with Google or GitHub instead, the project is called Unnamed Project.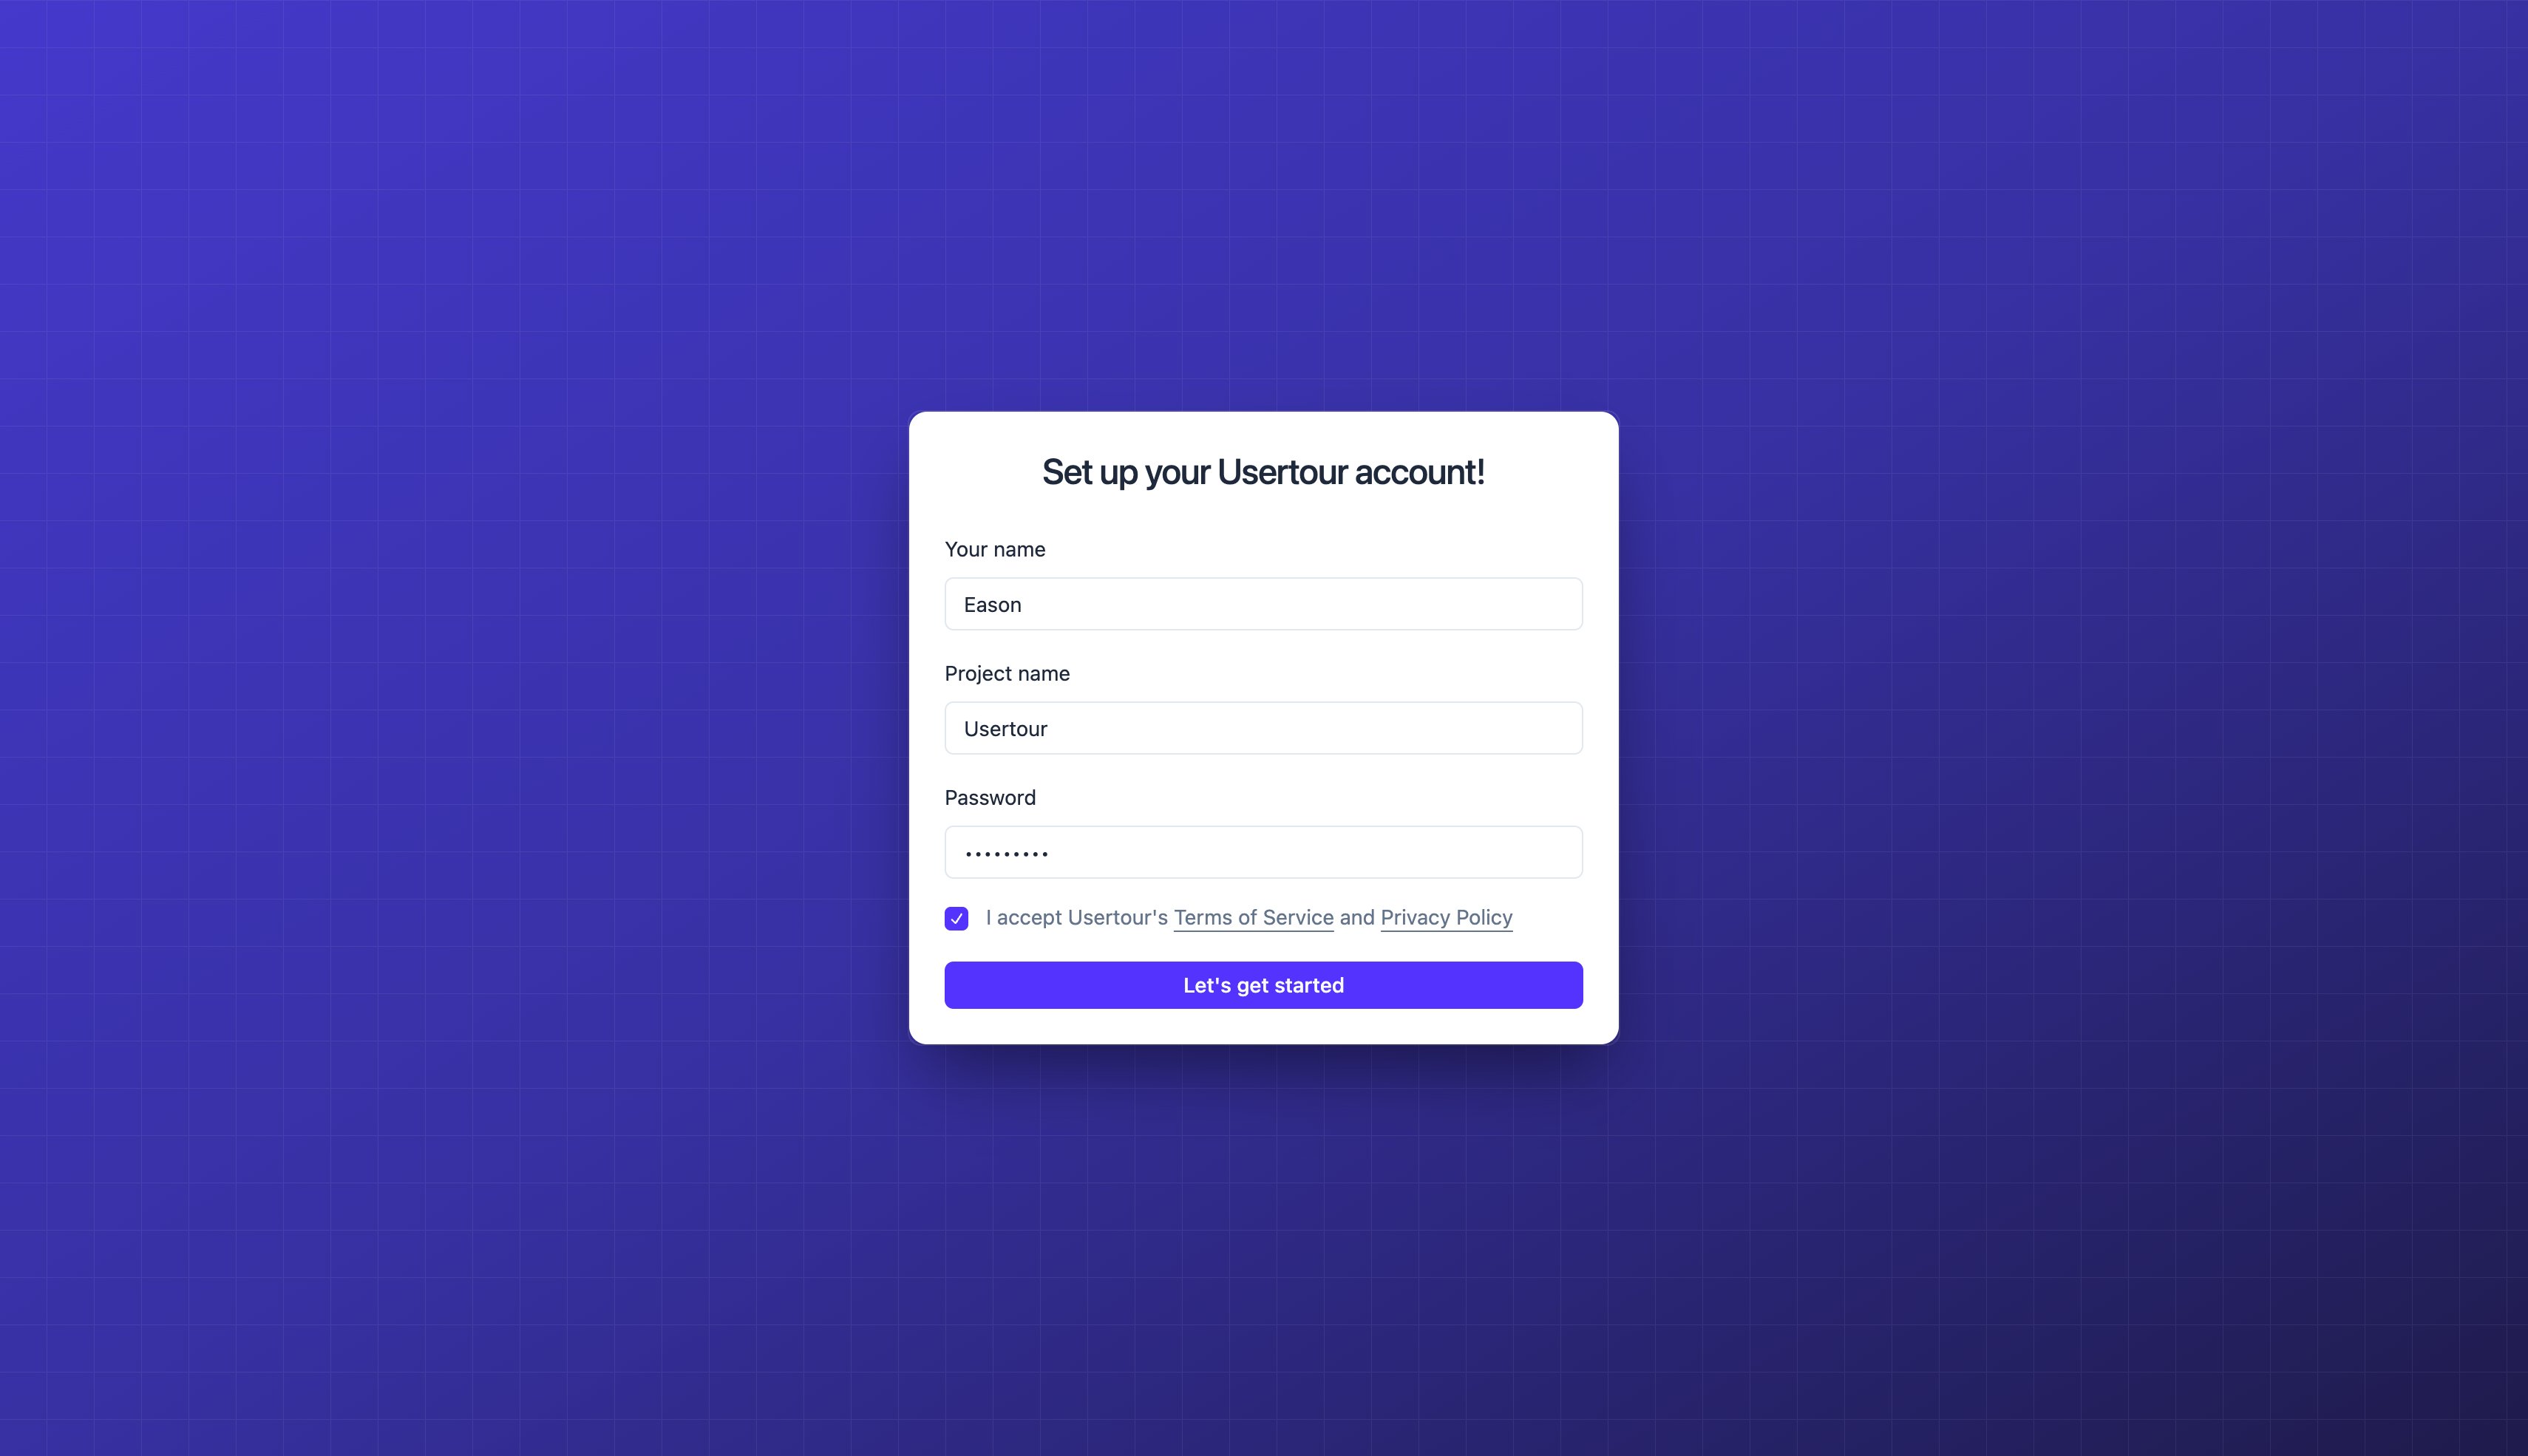
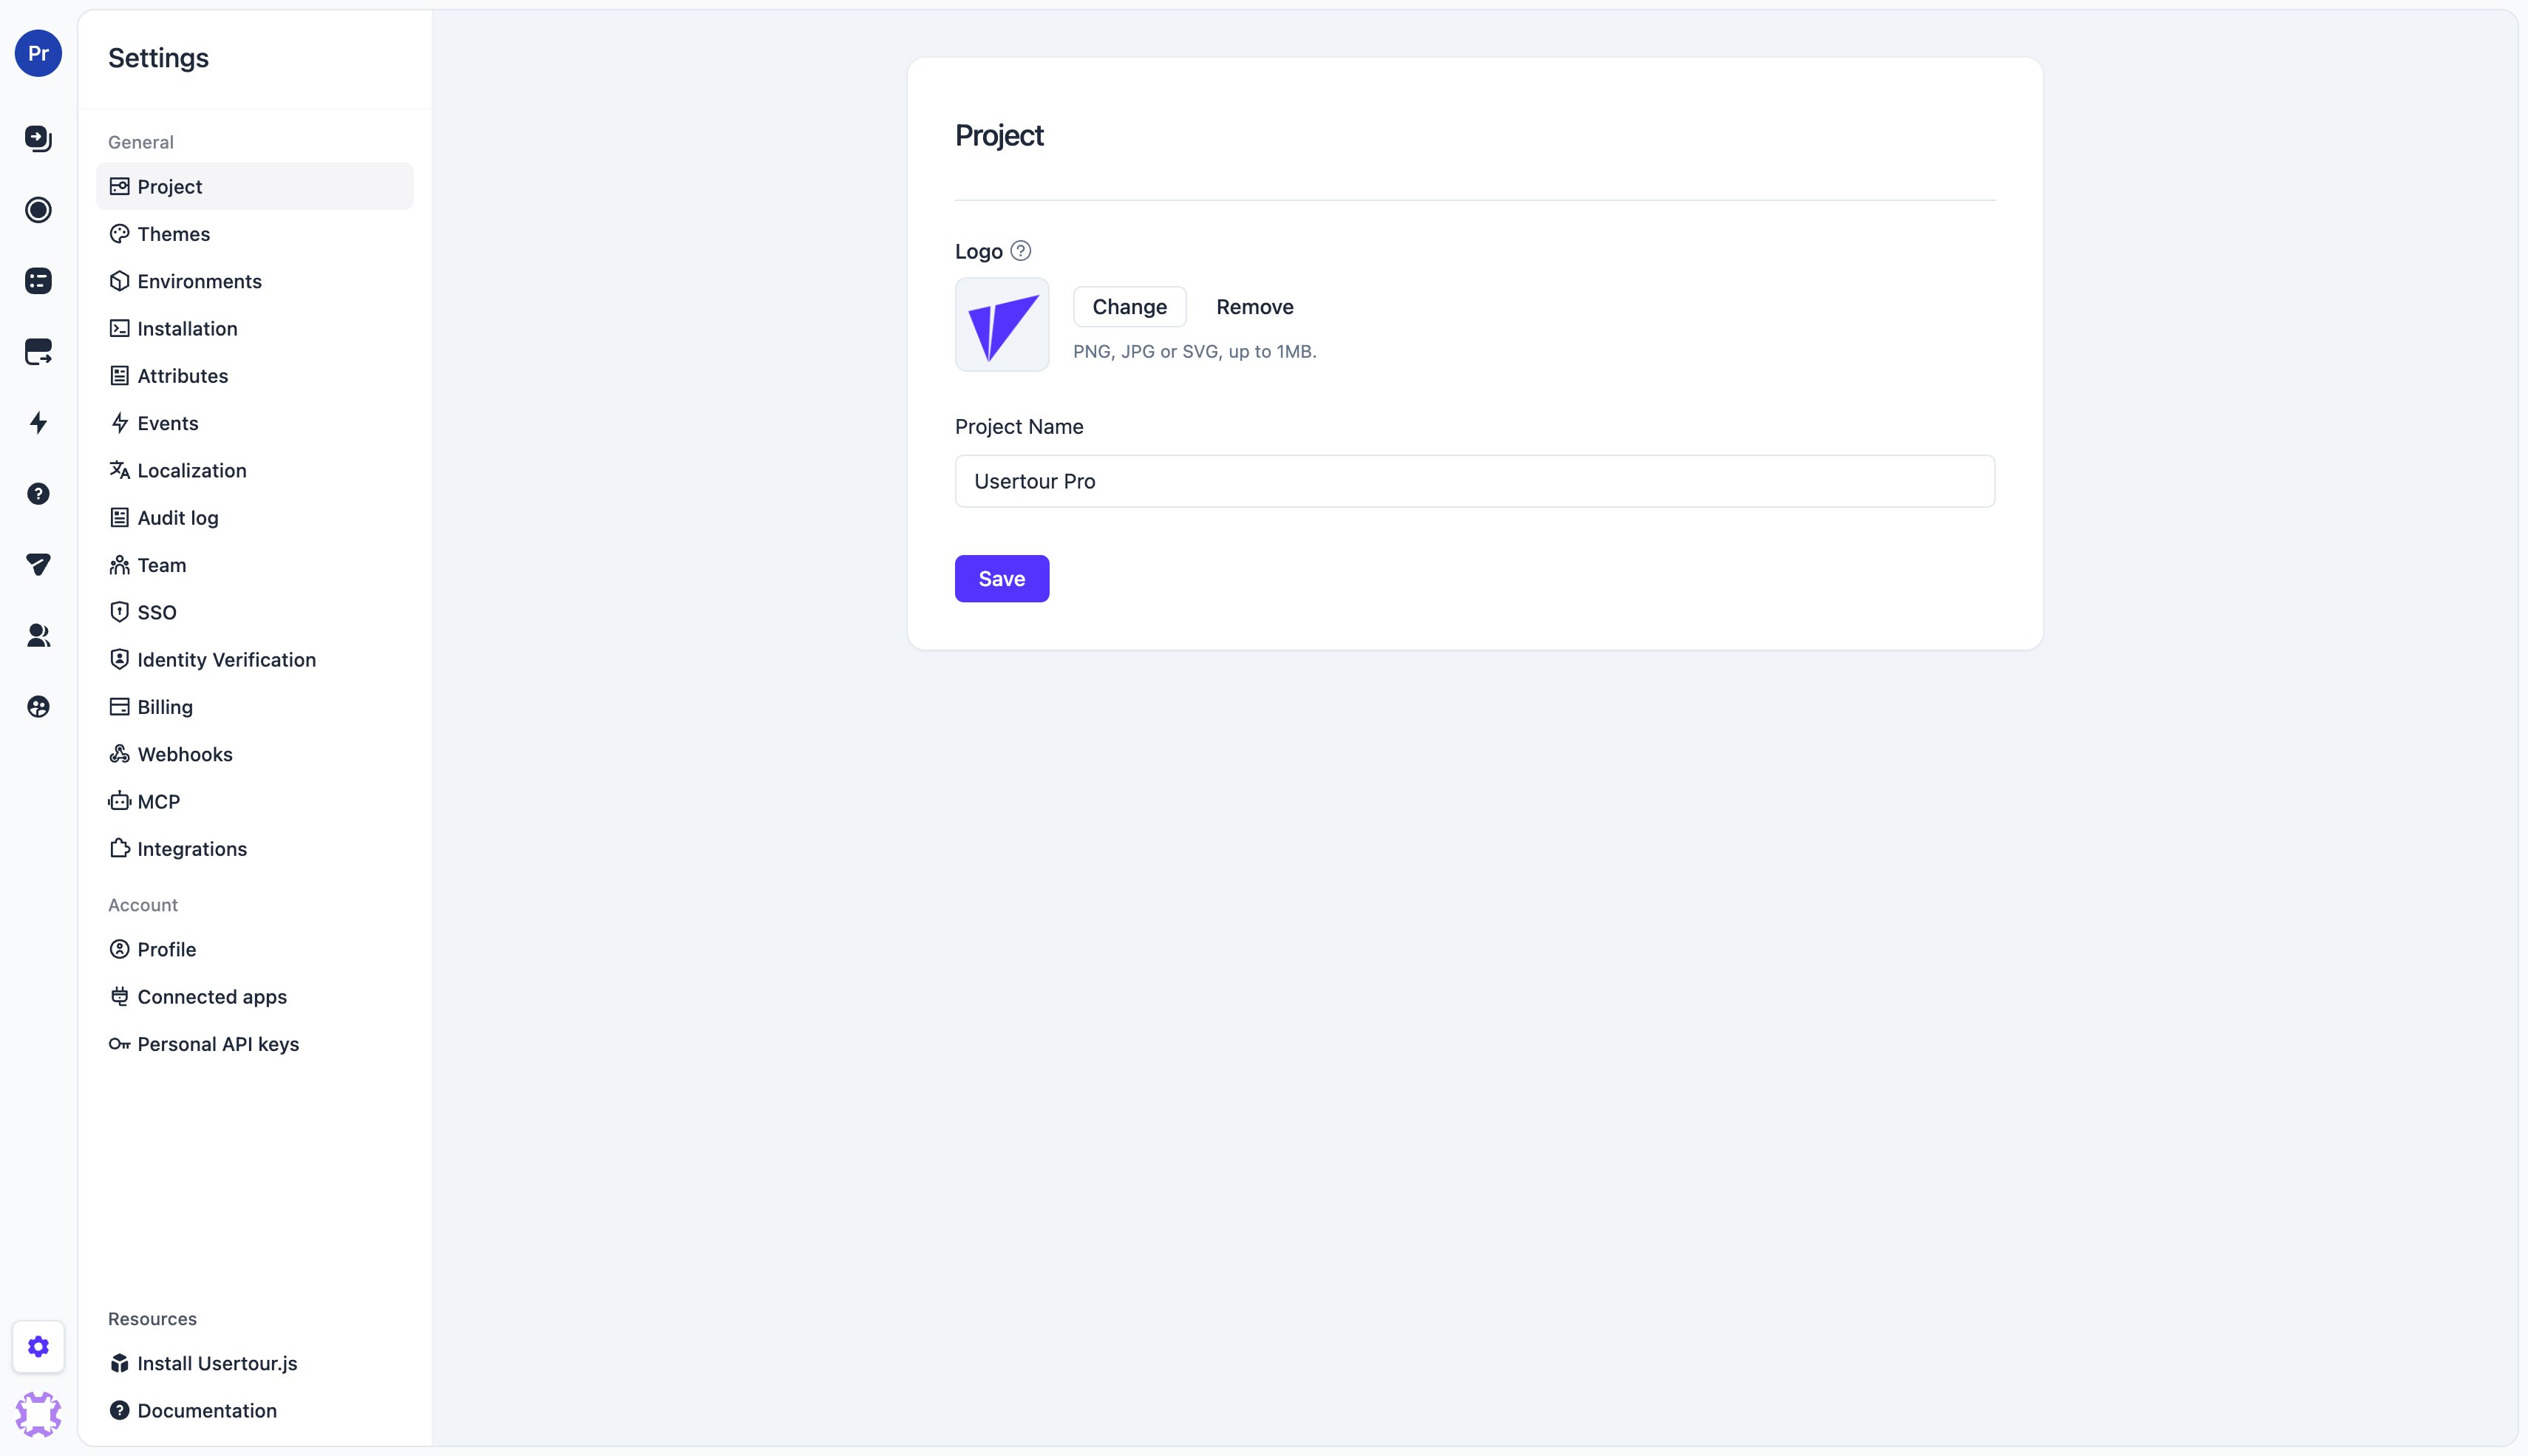
Working with more than one project
An account can belong to any number of projects, in any role. No plan limits how many projects you can be a member of.Switching between projects
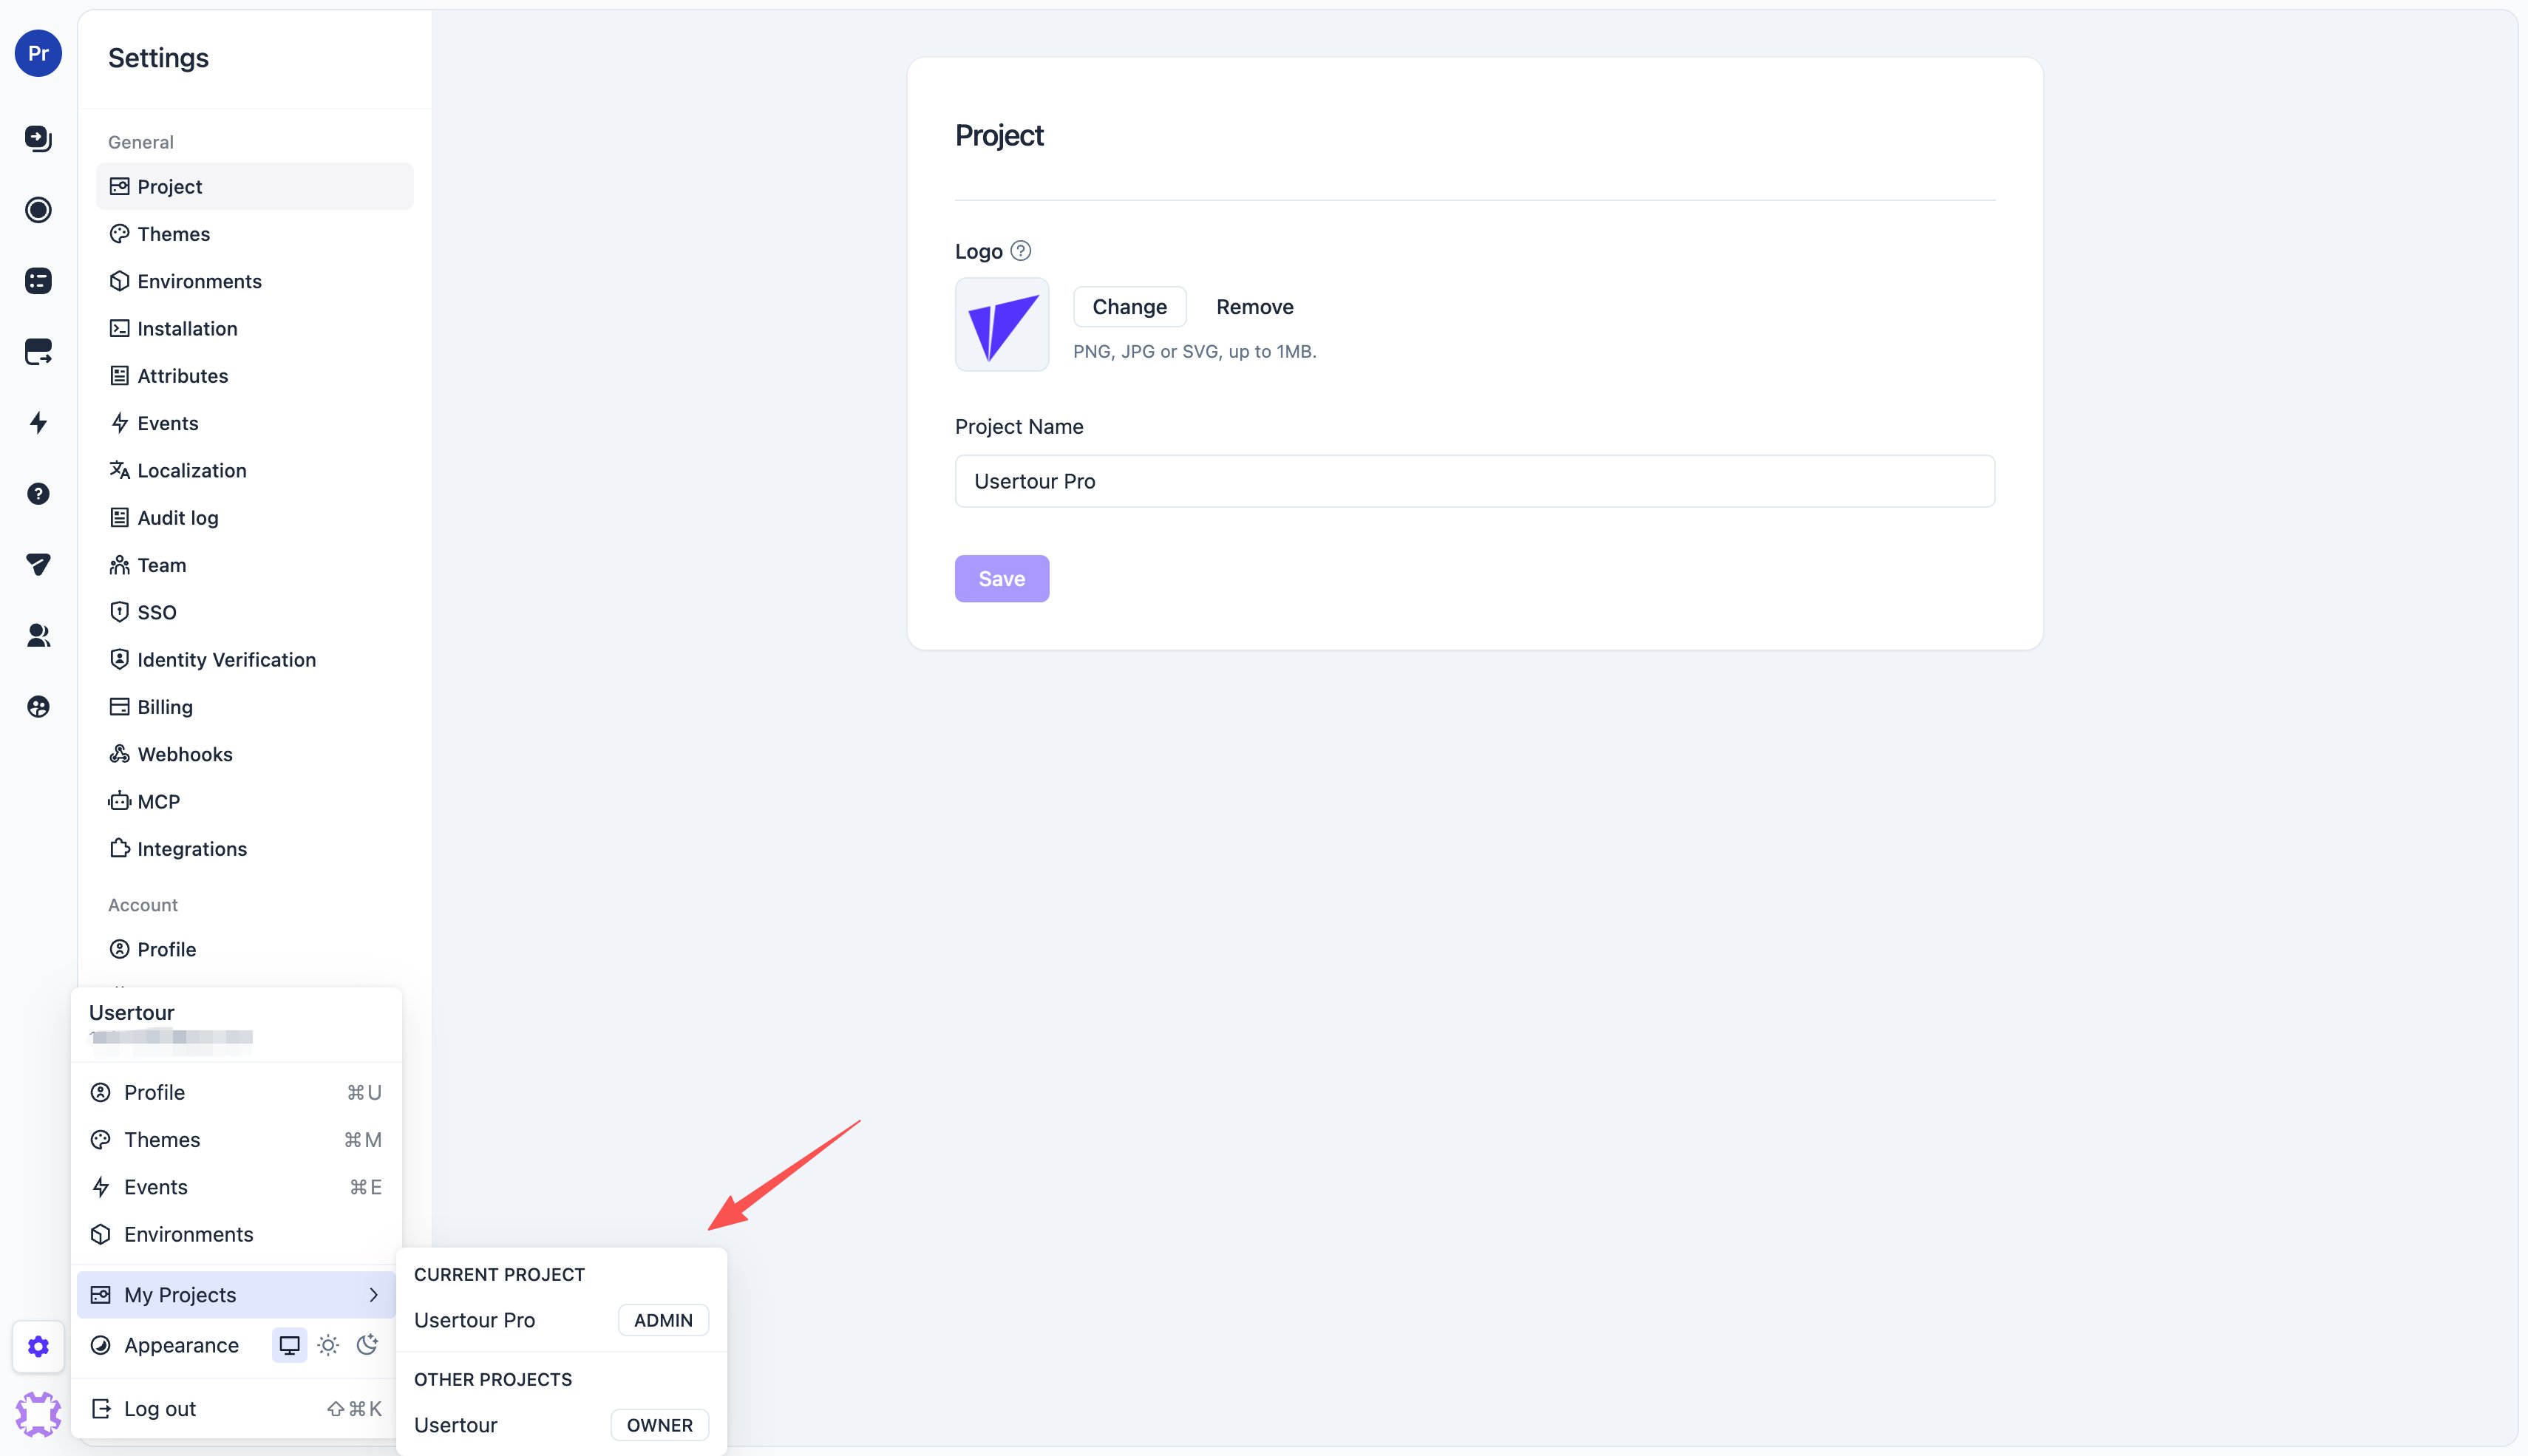
- Click your avatar at the bottom of the sidebar
- Open My Projects
- Under Other projects, click the project you want to open
Adding a project for another application
There is no New project button in Usertour: every sign-up creates exactly one project. To add a project for a second application, create it through a new sign-up and then invite your existing account into it.- Sign out, then sign up again with a different email address. A plus alias such as
you+admin-app@yourcompany.comworks and lands in your usual inbox. Name the project after the application. - In the new project, pick a plan under Settings → Subscription if you need more than the Hobby plan offers. See the note below on seats.
- Go to Settings → Team, click Invite team member and enter the email of your main account. Admin is the right role if that account should manage the project. See Team Management for what each role can do.
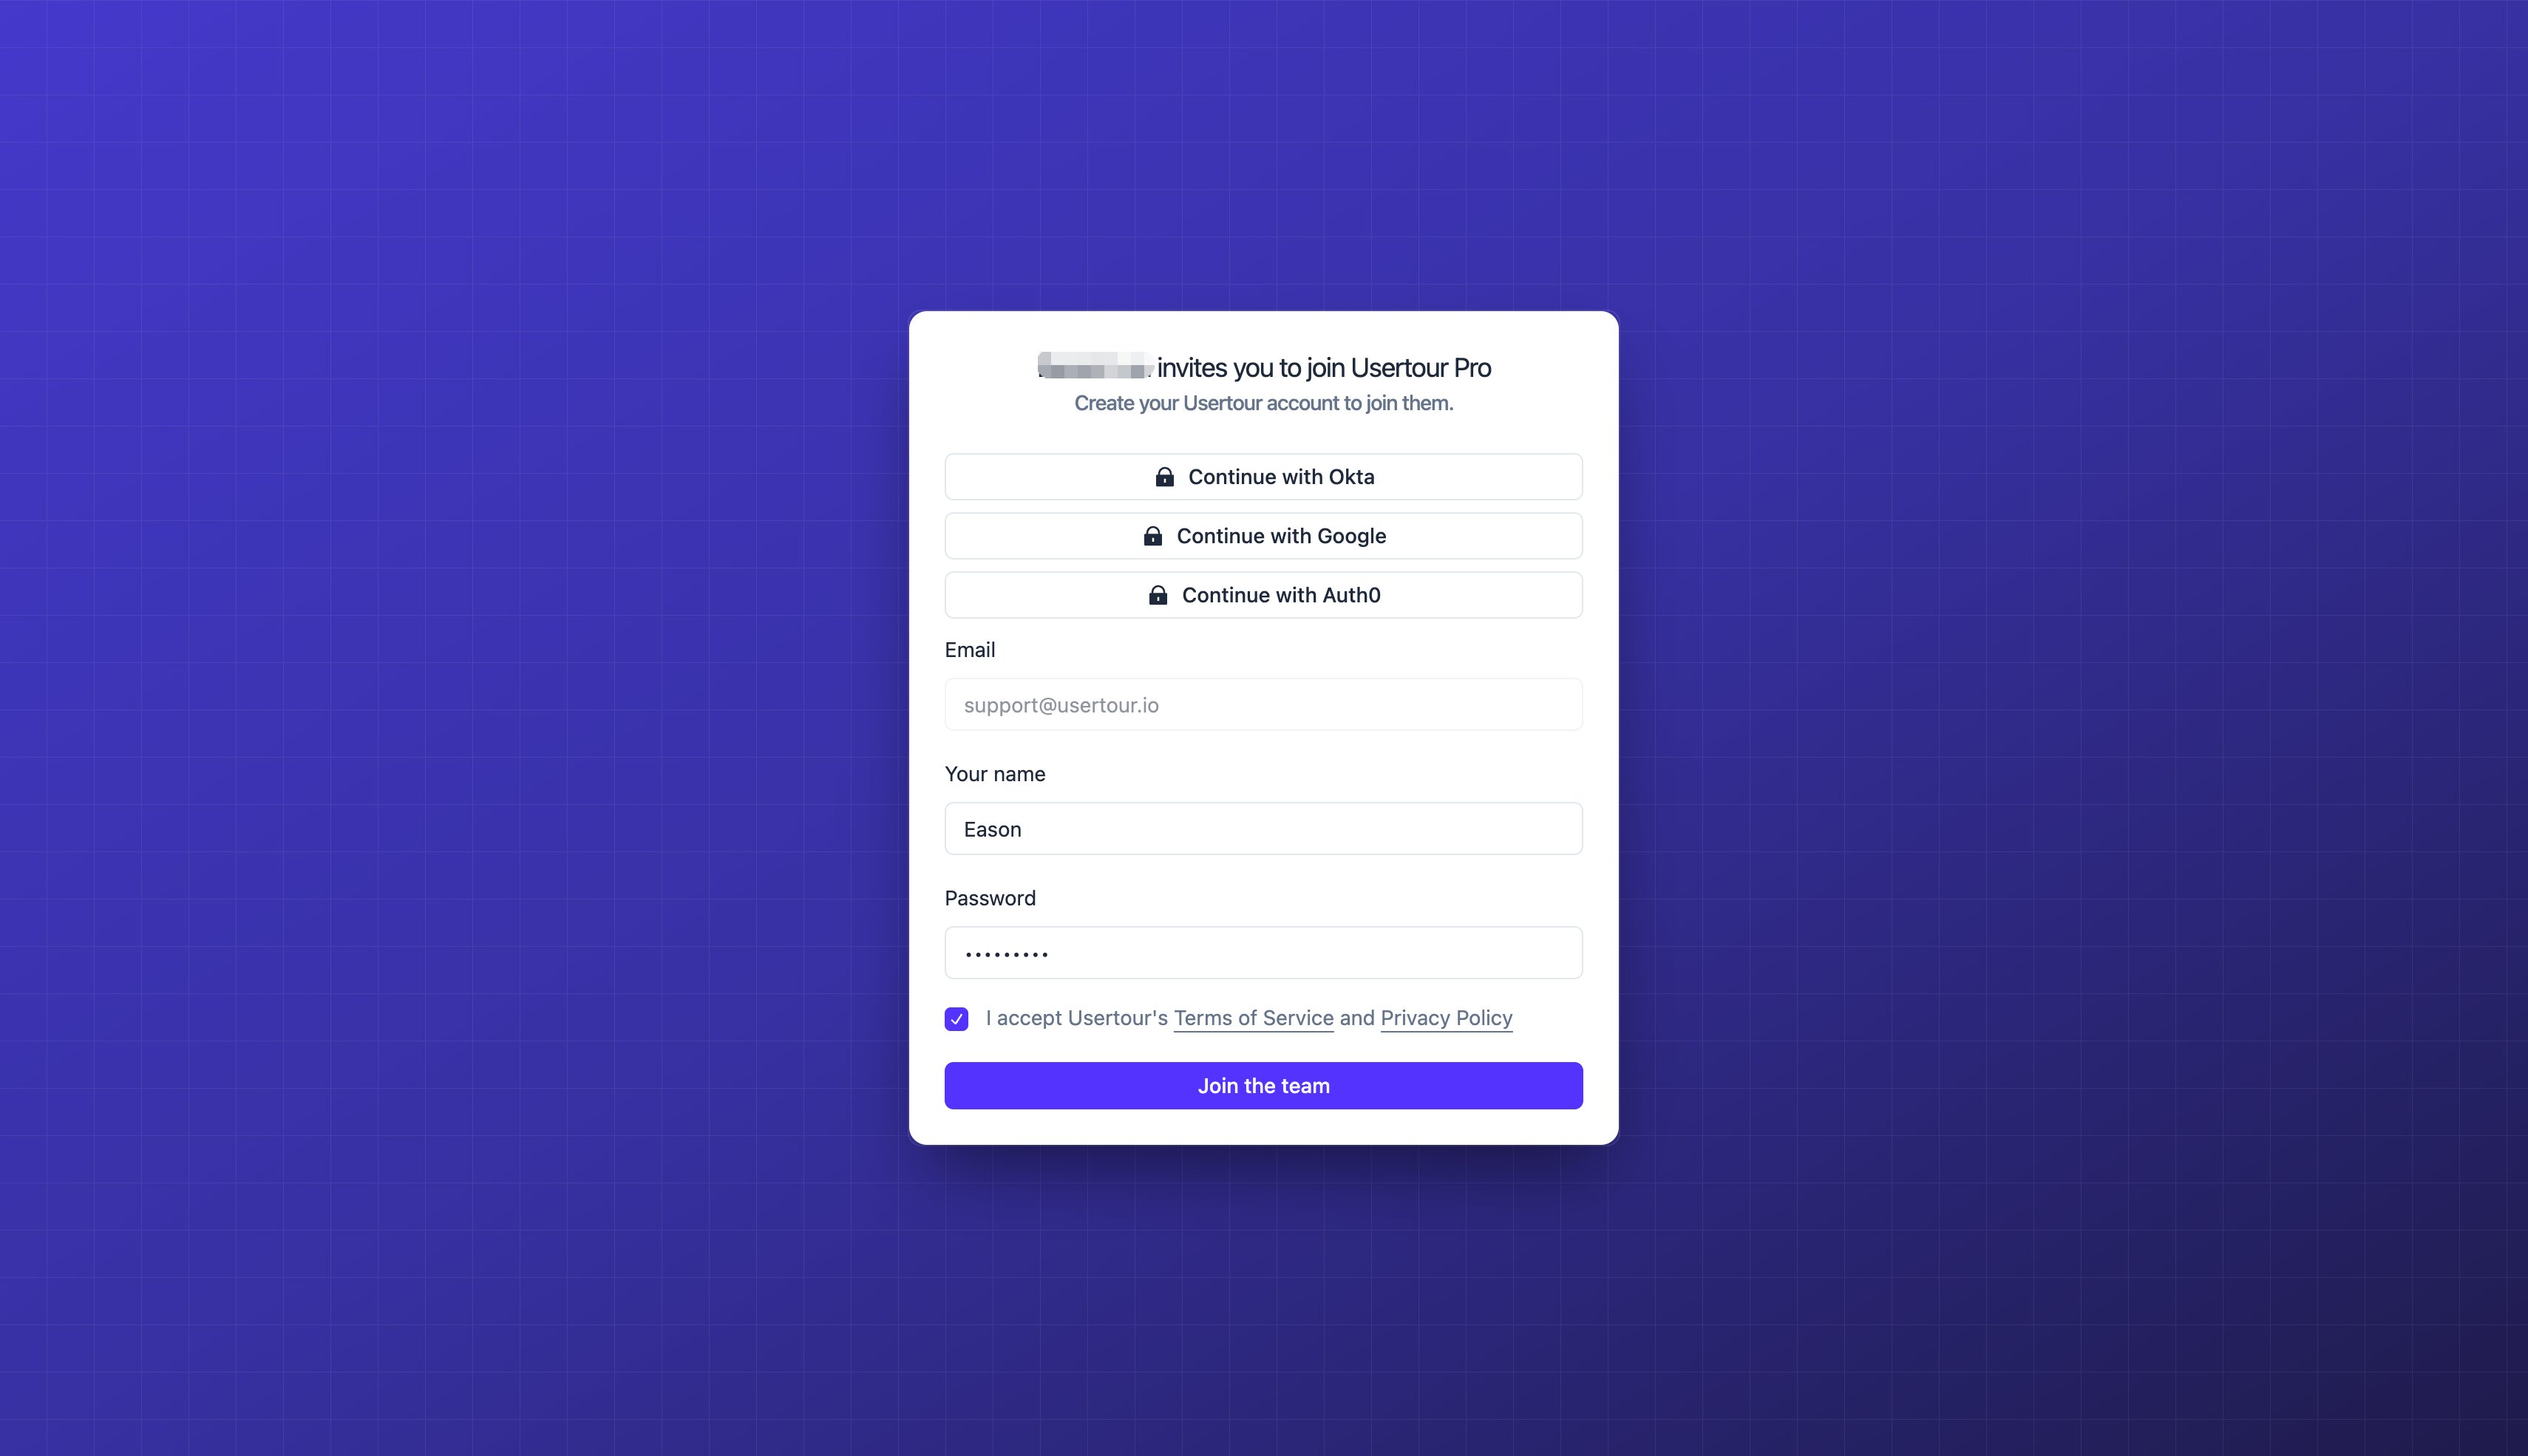
- Open the invitation email in your main inbox and click Join the team. Log in with your main account when asked.
- Your main account now lists both projects under My Projects.
Inviting a team member uses a seat, and the Hobby plan comes with a single seat, which the owner already occupies. If the new project is on Hobby, upgrade it before sending the invitation. Seats per plan are listed on the pricing page.
The sign-up email stays the Owner of the new project, and only the owner can change its plan. To manage billing from your main account, transfer ownership to it from Settings → Team. See Make another team member the Owner.